Grab your favorite pen and let’s dress up plain kraft paper with beautiful letters together. A few swoops, a little contrast, and a simple color theme can make a present feel extra thoughtful before it’s even opened.
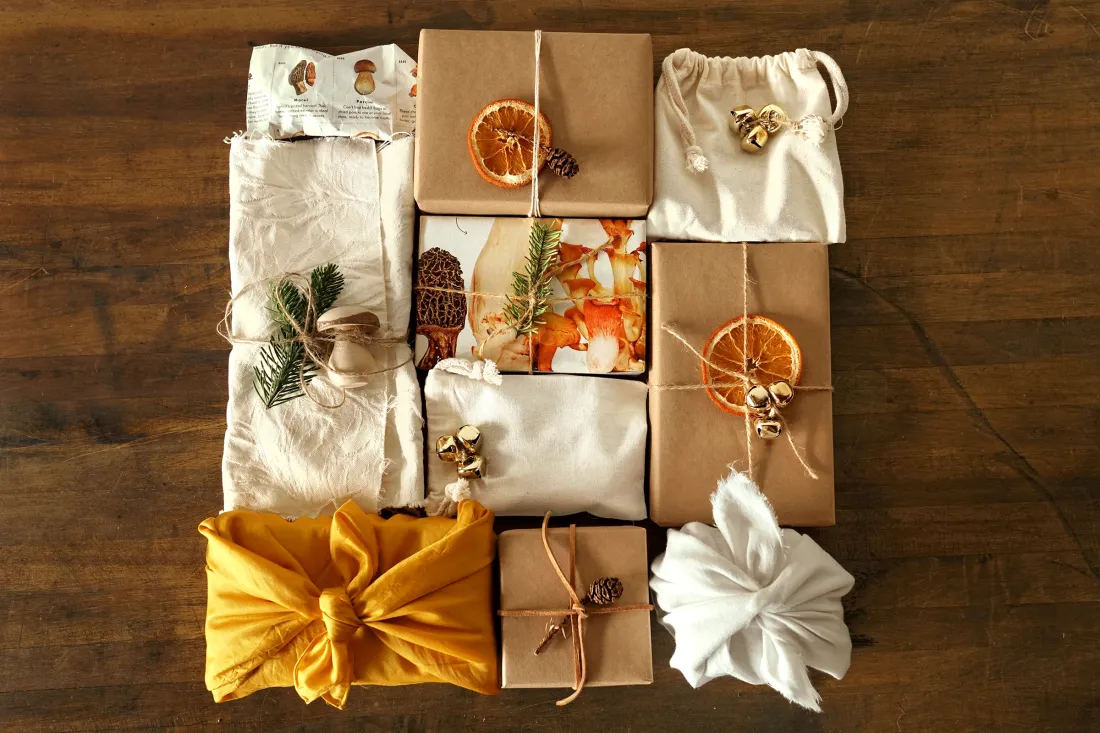
What works best on kraft paper
Kraft paper is often slightly toothy, which is charming for texture but can be tough on delicate brush tips. (It also varies a lot by roll and weight, so a quick pen test on a scrap is always worth it.) The best results usually come from tools that glide, dry with crisp edges, and show up with strong contrast.
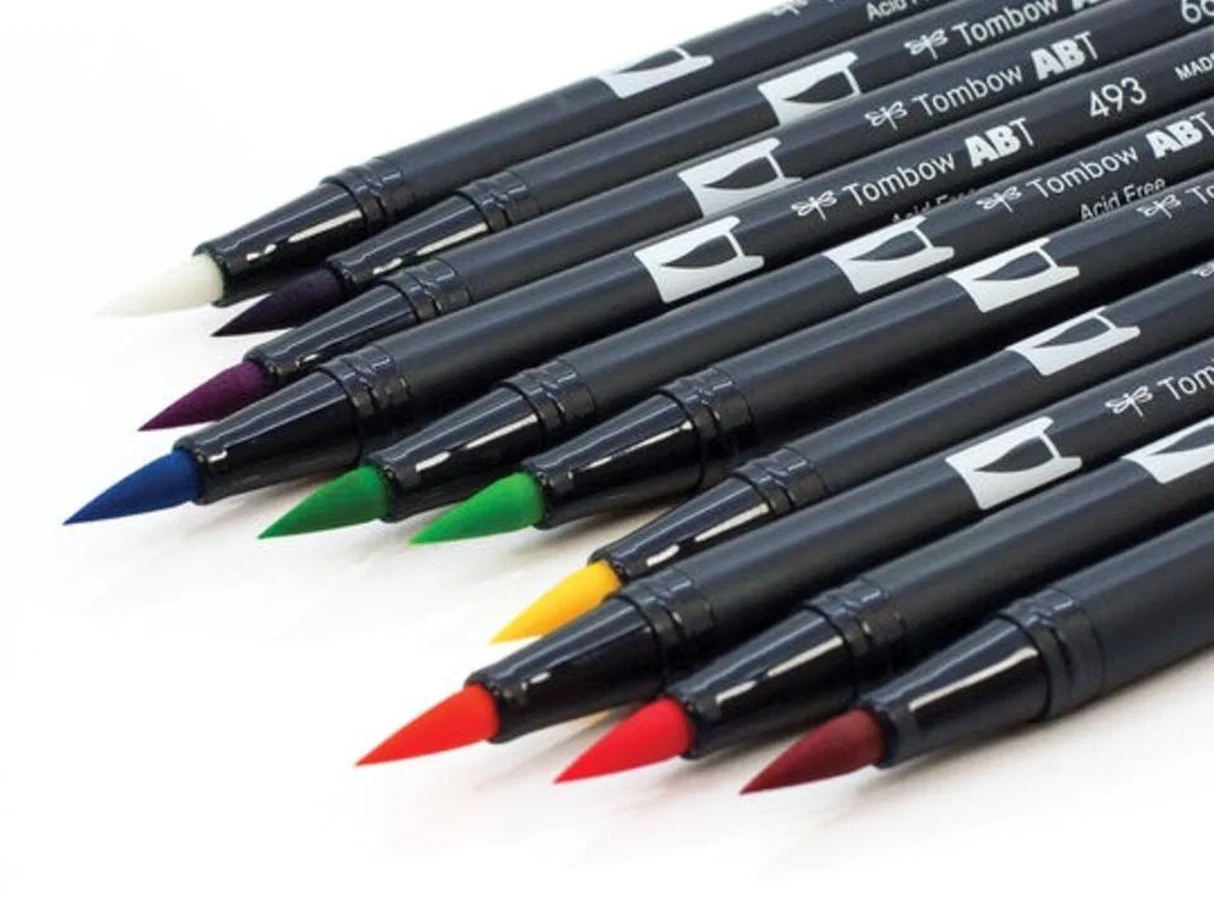
- For bold black lettering: a fineliner, felt tip marker, or a brush pen with a sturdier tip. If your brush pen starts to look fuzzy, see how to fix frayed brush pens.
- For bright colors on brown paper: paint pens and opaque markers. Kraft can soak up dye-based inks (which can soften edges), while pigment and paint pens tend to sit on top for stronger coverage. If you want metallics or vivid coverage on kraft, browse markers and paint pens that cover textured surfaces.
- For white ink details: use an opaque white pen for snow dots, stars, or highlight strokes. (These are also lovely for gift tags.) Here are favorites: best white pens and inks.
- For a calligraphy look with any pen: try faux calligraphy, which is perfect when kraft texture makes brush lettering feel scratchy. Follow this faux calligraphy tutorial.
Nib note: If a pen skips on kraft, slow down and lighten pressure. Often it is the paper grabbing at the tip, not your hands being “shaky.” If upstrokes wobble, these fixes help: how to fix shaky upstrokes.
Quick plan: pick a wrapping recipe
To make multiple gifts feel cohesive for a holiday season, choose one small set of rules and repeat them.
- Choose 1 lettering style: bouncy script, monoline, block serif, or all caps. Need a starting point? Try monoline lettering or serif and sans serif block letters.
- Choose 2 ink colors max: black plus one accent (white, gold, red, or evergreen).
- Choose 1 motif: dots, tiny stars, holly leaves, snowflakes, hearts, or simple stripes.
- Choose 1 placement: centered label area, a bottom corner signature, or an all-over pattern.
This little recipe keeps everything looking intentional, even if each gift gets different words.
Technique 1: Letter on the wrap
This is the fastest way to personalize a present, and it looks magical when the lettering is oversized.
Step by step: clean, centered name or message
- Wrap first, then letter. It is easier to place words when the gift is already boxed and folded. If you can, choose a flat panel and avoid writing across seams and folds.
- Make a quiet zone. Leave a blank rectangle where the message will go. You can lightly sketch the shape with pencil if you want.
- Lightly pencil guidelines. Two faint lines for baseline and x-height keep words from drifting. If you like playful movement, peek at bouncy baseline rules.
- Write in pencil first (optional). For long names, penciling avoids awkward spacing at the end. Use light pressure and a harder lead (HB or 2H), and test erasing on a scrap first.
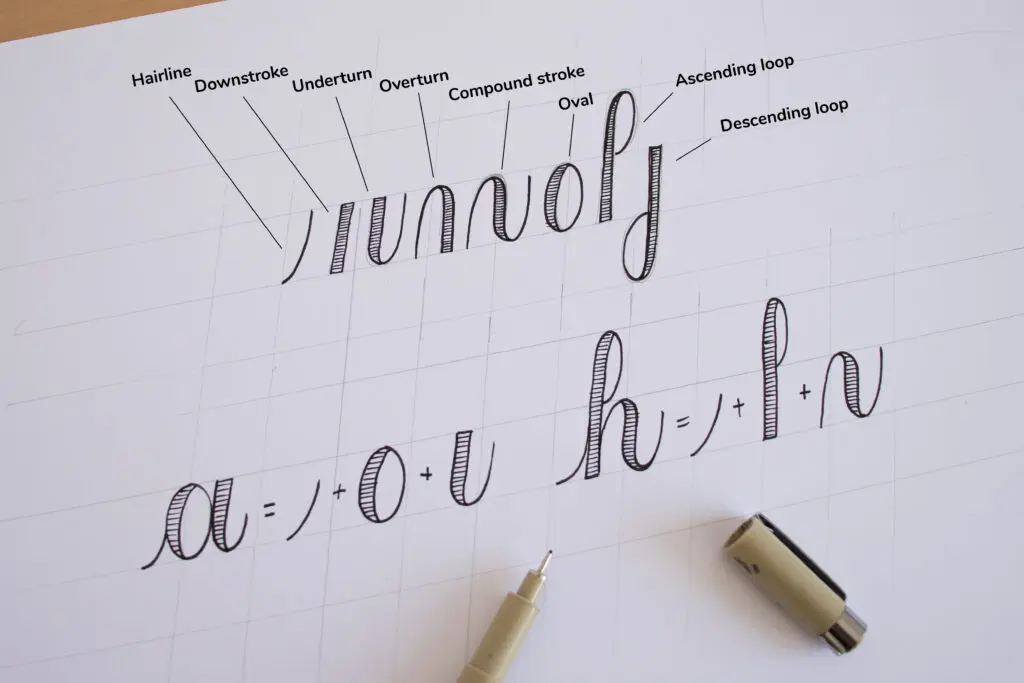
- Ink slowly. Let your downstrokes be confident. If you are brush lettering, warm up with the foundational moves in 8 basic brush lettering strokes.
- Erase when fully dry. Give ink a moment to set, then erase gently. Kraft can pill if you scrub, so use light pressure (a kneaded eraser is especially kind to the surface).
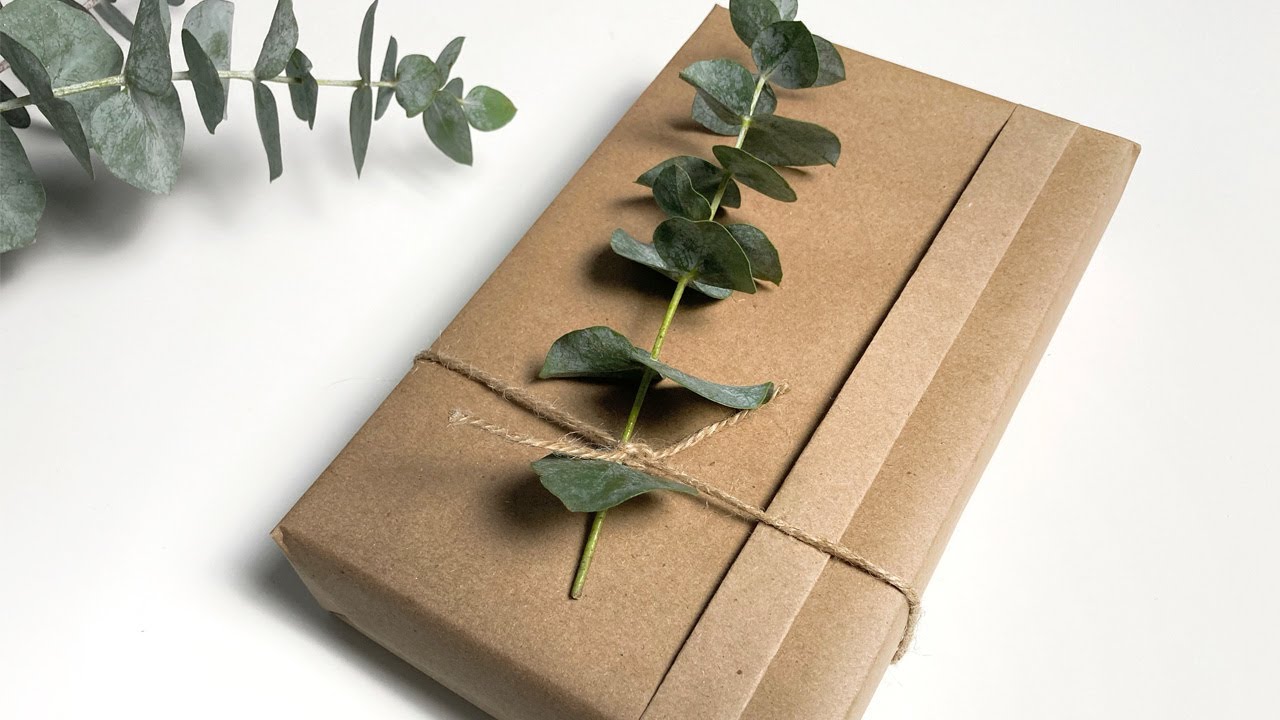
Three easy layouts
- The Big Name: the recipient’s name large in the center, tiny “to” and “from” tucked above and below.
- The Corner Note: a small message in the lower right corner, leaving the rest clean for a minimalist look.
- The Wrap Around Band: letter a repeated word like “joy” or “celebrate” in a strip around the box, like a hand-lettered ribbon.
Technique 2: Belly band
If you do not want to commit to writing directly on the gift, a belly band gives you that custom look with less pressure.
How to do it
- Cut a strip of kraft paper or cardstock long enough to wrap around the gift with a 1 inch overlap.
- Letter your message on the strip while it is flat. Add dots, stars, or simple leaf shapes around the words.
- Wrap the strip around the gift and secure the overlap with double-sided tape on the back side.
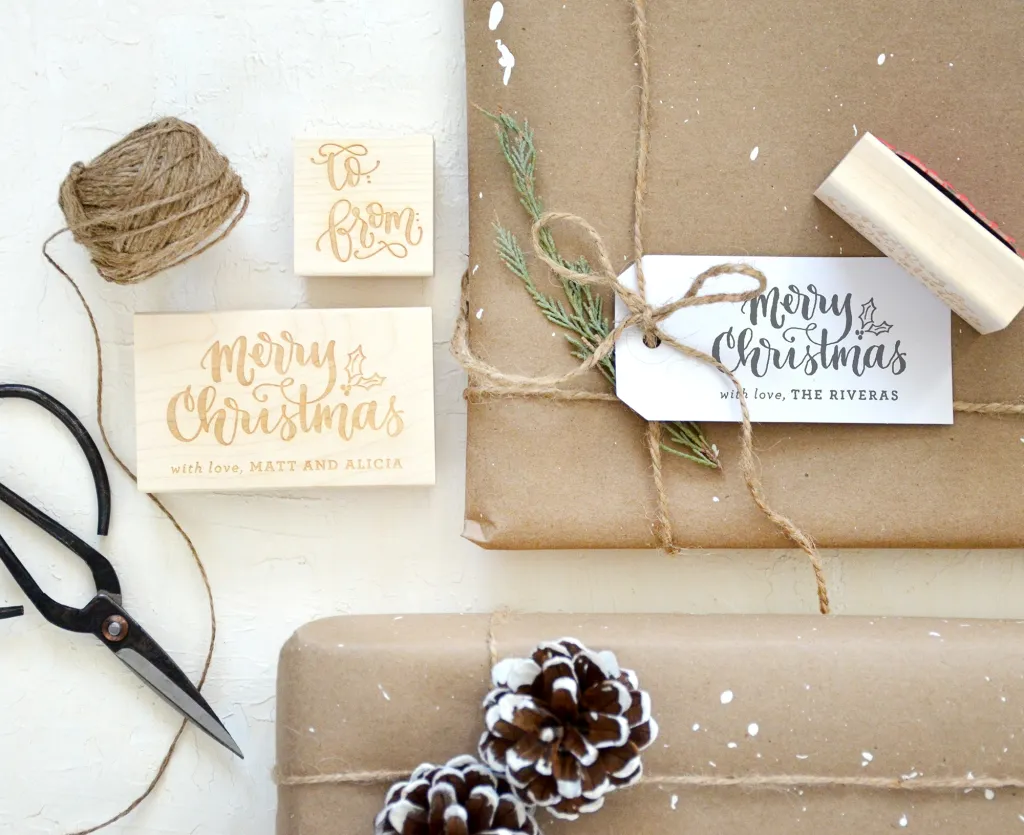
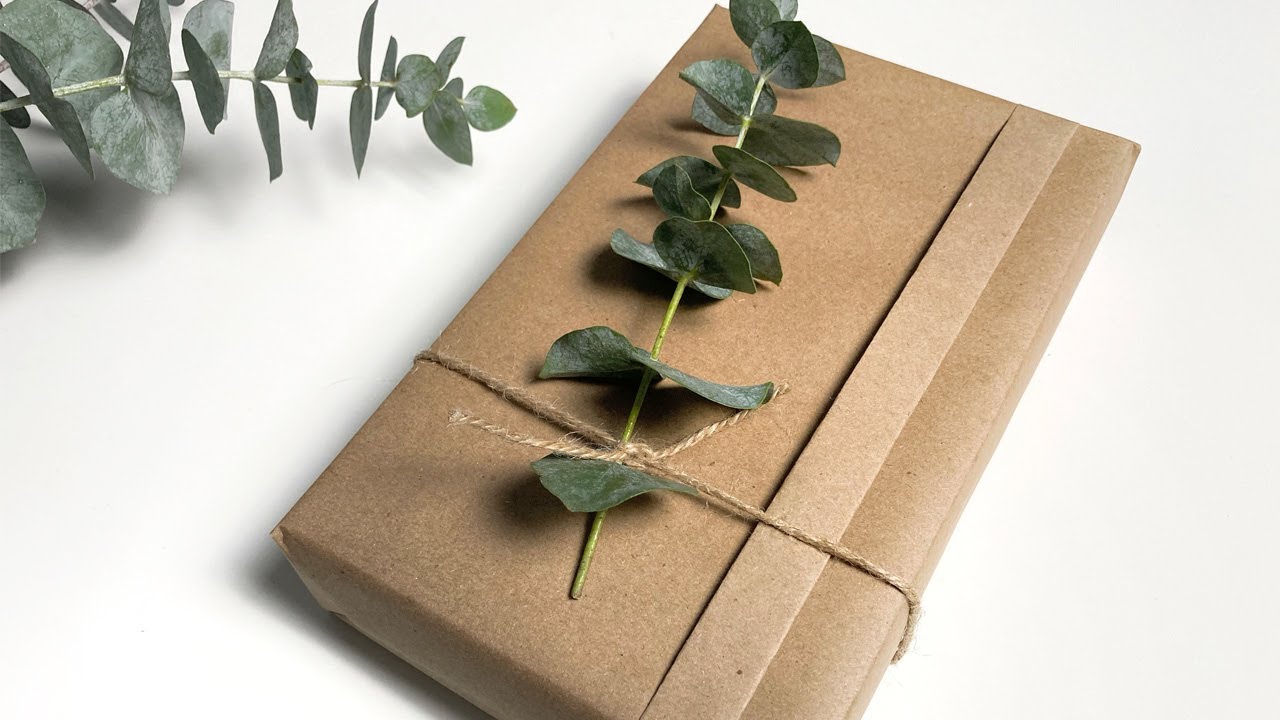
- Add twine, a sprig of greenery, or a tiny tag tied through a hole punch.
Design tip: A belly band is a perfect place for special effects. Try a simple shadow for instant pop using drop shadows and 3D effects.
Technique 3: Gift tags
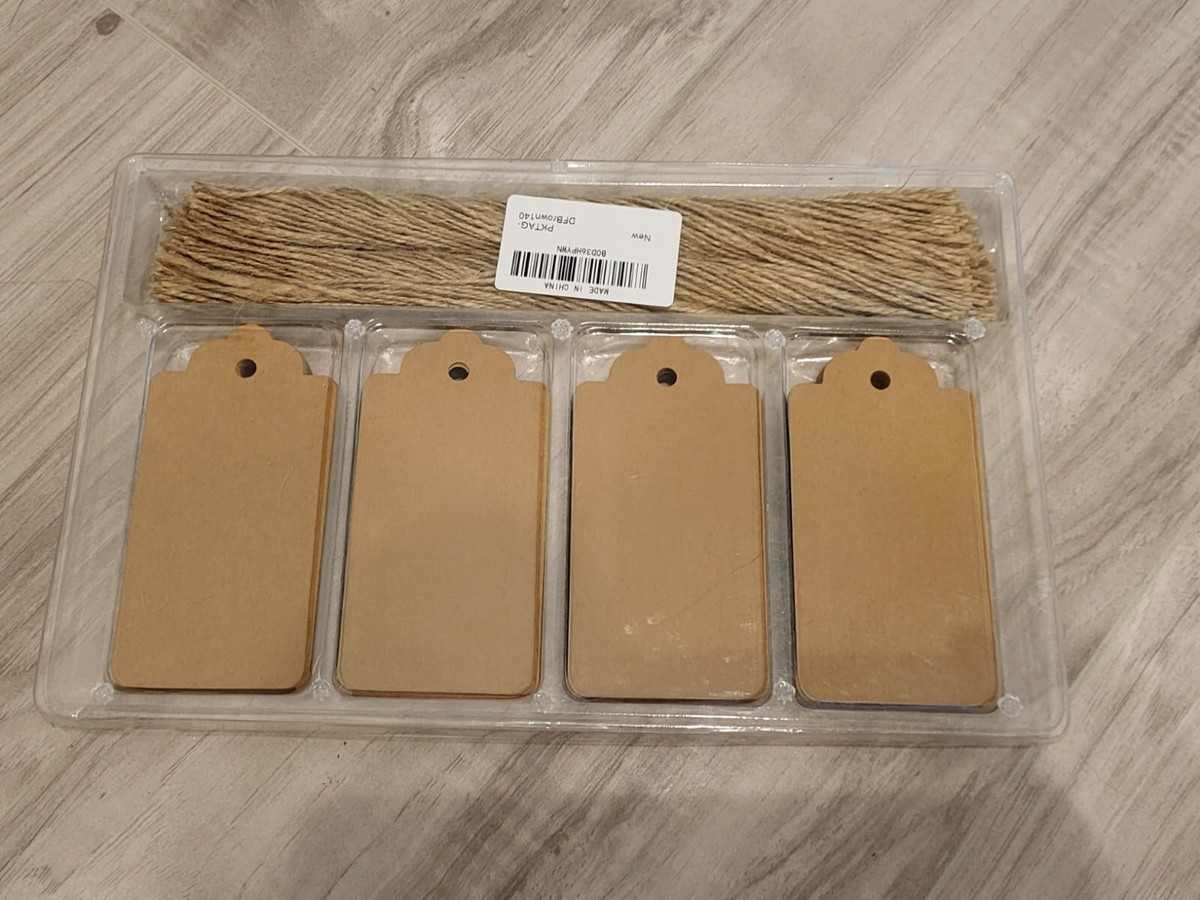
Gift tags are small, which means they are quick to make in batches. They also give you a place to try fancy letter styles without rewriting an entire package.
Simple tag shapes
- Classic: rectangle with clipped corners
- Soft: rounded rectangle
- Modern: tall skinny tag with one angled end
- Playful: circle tag
Tag lettering ideas
- Name in script, details in small caps: “To: MARA” in tiny block letters, “Mara” in a big swoopy style.
- Monoline + doodles: write the name with a monoline pen, then add tiny stars, confetti dots, or a border.
- Faux calligraphy flourish: add thickened downstrokes to a regular pen word, then tuck in a simple flourish. For flourish guidance, visit beginner calligraphy flourishing.
Smudge-free tip: If you are left-handed or your hand drags across fresh ink, the strategies in left-handed smudge-free techniques can help any writer, not just lefties.
Simple holiday themes
When every gift has the same visual language, the whole pile looks like a matching set. Here are theme ideas that work beautifully on kraft paper.
1) Classic black + white winter
- Black name lettering
- White gel pen snow dots and tiny stars
- Twine bow
2) Evergreen and gold
- Green block letters for the name
- Gold paint pen accents like berry dots or a thin border line
- Brown or olive ribbon
3) Candy cane stripe border
- Draw a simple diagonal stripe border around the edges of the top face of the gift
- Leave the center blank for a bold name
- Add a tiny shadow to the name for contrast
4) Cozy cottage handwriting
- Use faux calligraphy for a friendly, storybook look
- Add simple doodles like mugs, mittens, or little hearts
- Finish with a matte paper tape strip
Keep it crisp and smudge-free
- Protect brush tips: Kraft paper can fray softer brush pens. Reserve your softest brush tips for smooth paper and use sturdier pens on kraft. More paper tips live here: paper that keeps brush pens from fraying.
- Let layers dry: If you add white highlights or metallic accents, wait until the base ink is fully dry. Opaque paint pens and metallics often take longer to cure than regular markers, so give them extra time before stacking gifts.
- Use a scrap sheet under your hand: Rest your writing hand on a clean sheet of paper to avoid oil smudges and dragging.
- Test for bleed: Some kraft papers are thinner and can feather. Test your pen on a trimmed off scrap first.
- Seal only if you have tested: Most wraps do not need sealing. If a gift will be handled a lot, a very light mist of workable fixative can help, but some sprays can darken kraft, add odor, or feel tacky until fully cured. Test on scraps first, let it cure completely, and use it in a well-ventilated area. If you want to skip sprays entirely, your simplest upgrade is choosing a faster-drying pen and keeping embellishments minimal.
Three border ideas
Borders make a gift look finished fast. Here are three that are easy to repeat.
Confetti dot frame
- Draw an invisible rectangle area for your message.
- Tap small dots around the perimeter, closer together near corners.
- Add a few larger dots for rhythm.
Leafy corner sprigs
- In each corner, draw a small curved stem.
- Add teardrop leaves, pointing outward.
- Dot berries near the stem base for a festive pop.
Stitch line border
- Draw a thin rectangle border line.
- Add short dashes along the line, like stitches.
- Highlight a few dashes with white pen for dimension.
Match the card or envelope
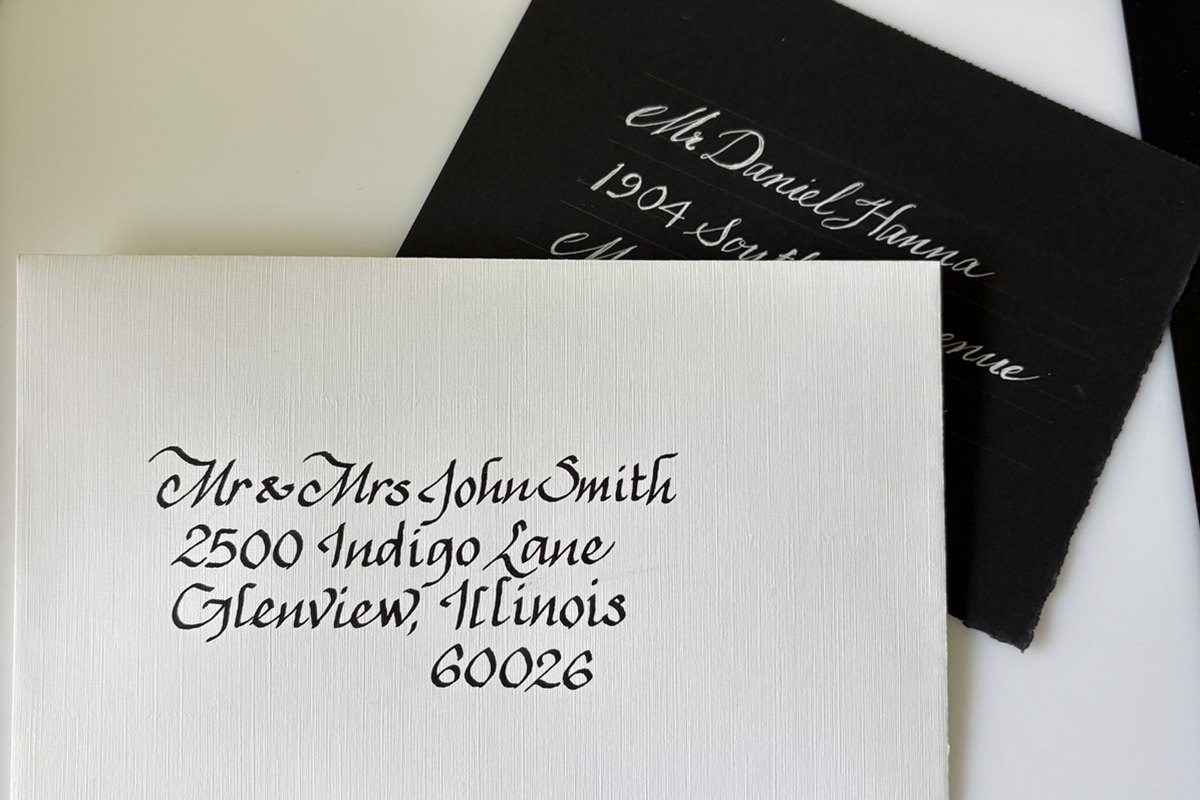
Matching your wrap lettering to your envelope addressing is a sweet extra touch. Keep the same pen and style, then repeat one small motif from the wrap on the envelope flap or card corner. If you want tidy centering for names and lines, these tips help: envelope addressing centering tricks.
Fast practice
Five minutes of warmups can make your letters look smoother on the first try, especially on textured kraft paper.
- Practice light upstrokes and heavier downstrokes with basic brush lettering strokes.
- Do a quick rhythm session from 15-minute daily calligraphy drills, even if you only do a few lines.
- Write the recipient’s name three times on scrap paper, then choose the best one to copy.
FAQ
What if I mess up a word on the wrapping paper?
Kraft paper is forgiving. Cover the mistake with a belly band, a tag, or a strip of paper tape and letter on top. Another option is to draw a simple label shape (a rectangle or oval), then rewrite the message inside it.
Can brush lettering work on kraft paper?
Yes, especially with sturdier brush tips and slower pressure control. If the paper texture fights you, switch to faux calligraphy with a smooth fineliner using any pen.
How do I make a bunch of gifts look coordinated?
Repeat one lettering style, one accent color, and one motif across all packages. Even if the messages change, the rules make the set feel designed.
A tiny wrap-up from Nib
Kraft paper is like a warm, blank little stage for your lettering. Choose a simple theme, keep your words bold and readable, and let your doodles be small and cheerful. Every present becomes a keepsake when the outside has as much heart as the inside.
If you want more hands-on projects like this, hop over to DIY Projects & Crafts and keep the ink joy going.