Grab your favorite dark envelope and let’s make it glow with bright, velvety white lettering together. When white ink behaves, it’s pure magic. When it doesn’t, it can skip, blob, or turn gray. This guide helps you pick the right kind of white tool for your envelope finish (smooth, coated, or textured), your lettering style, and your patience level, plus a few tricks for smooth, opaque strokes.
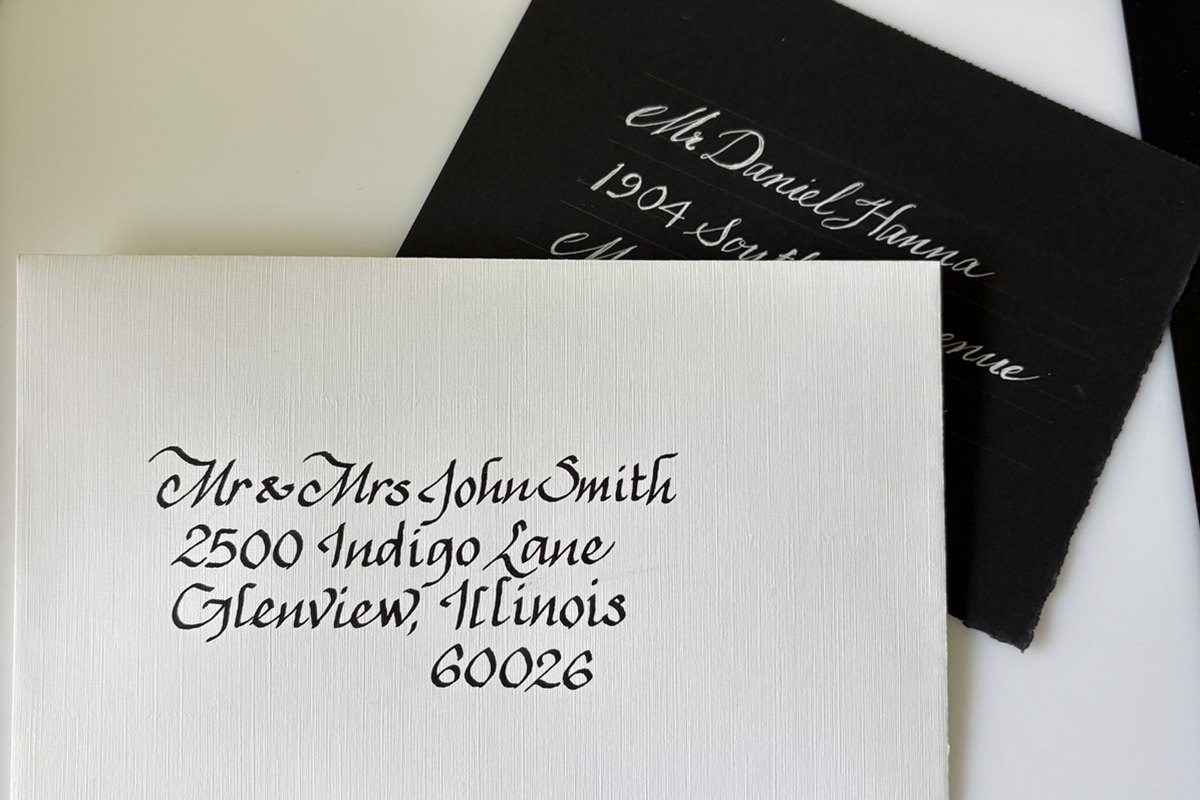
What makes a white pen great
White ink is tricky because it needs to stay mostly on the surface long enough to look bright instead of soaking in and turning translucent. Dark envelopes are often dyed, coated, textured, or slightly waxy, so the best tools share a few traits.
- Opacity: bright white in one pass, not “milky gray.”
- Flow: steady ink delivery without pressure, skipping, or scratchy starts.
- Tip control: fine enough for addresses or flexible enough for calligraphy.
- Dry time that matches your pace: quick-dry for fast addressing, or a little more open time for slower scripts and second-pass touch-ups.
- Smudge resistance: important for envelopes that will be handled and sorted.
If you are also fighting fraying or paper drag with your regular lettering tools, the envelope paper itself can be the real culprit. This is a helpful companion read: Paper that keeps brush pens from fraying.
Quick picker
- White gel pens: best for small writing and return addresses. They feel familiar and are easy to carry, but can struggle on very slick or very textured envelopes.
- White paint markers: best for bold, high-contrast addresses and thicker scripts. They are usually the most opaque in one pass.
- White dip inks: best for formal calligraphy looks and consistent thick and thin strokes with a pointed nib. They can be the brightest, but need drying time and a little setup.
At-a-glance comparison
- Gel: clean lines, easy, medium opacity; can skip on slick coatings; dries fairly fast.
- Water-based paint marker (like Posca): high opacity; smoother coverage; can smear or soften if exposed to moisture before fully cured.
- Oil-based paint marker: very opaque and grips stubborn surfaces; longer cure time and stronger odor; can smudge if handled too soon.
- Dip white or gouache: brightest and most traditional calligraphy control; more setup and cleanup; needs flat drying time.
One quick note on why these work: for dark envelopes, pigment-heavy and paint-like whites tend to outperform thin, dye-based inks when you want true opacity.
Best white gel pens
Gel pens are perfect when you want clean, crisp lines and minimal mess. On dark envelopes, pick a gel pen known for strong pigment and consistent flow.
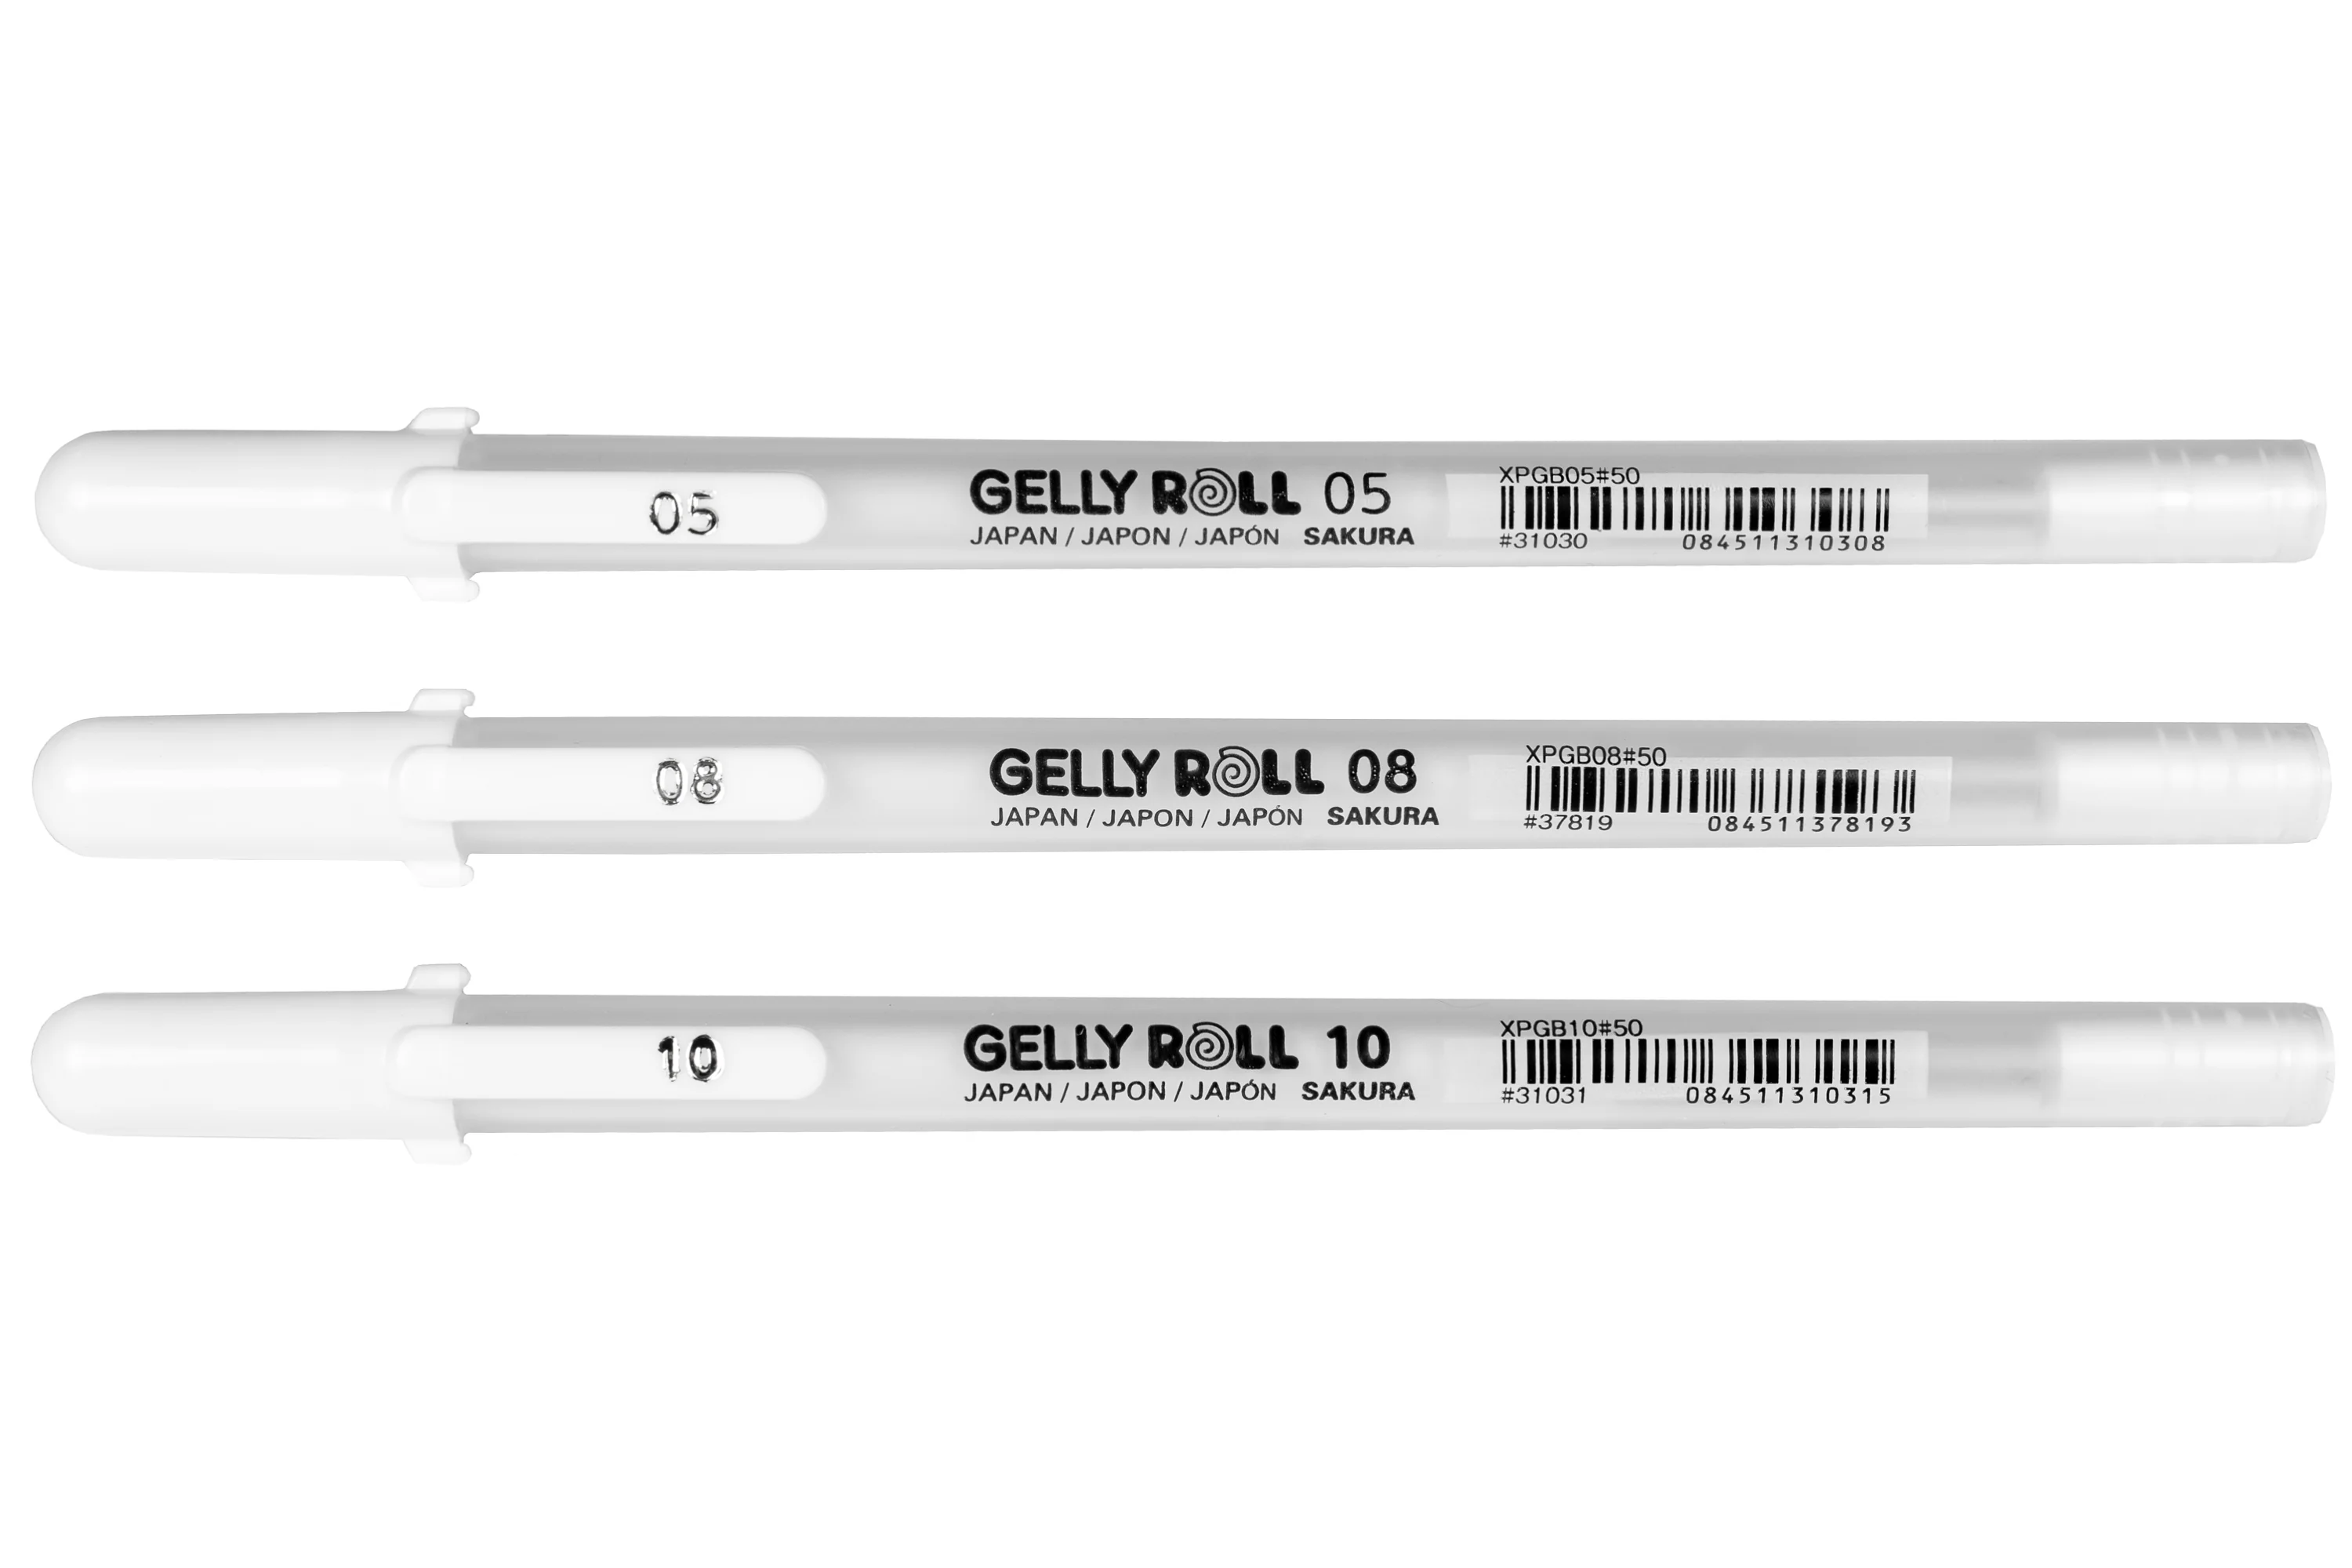
Sakura Gelly Roll (Classic and Moonlight)
Why it’s loved: reliable, widely available, and made for bold ink color. The Classic White is a go-to for addresses. The Moonlight line is designed for dark paper and can look especially bright.
- Best for: print styles, simple scripts, small flourishes
- Tip sizes: choose a larger tip if your envelope is textured
- Watch for: skipping on very slick coatings, especially in tiny tips
Uni-ball Signo (white gel)
Why it’s loved: strong, opaque gel ink with smooth writing. Many letterers reach for Signo when they need white lines that look more “paint-like” than a typical gel pen line.
- Best for: address legibility, smooth dark envelopes, everyday use
- Watch for: occasional clogging if the pen is stored tip-up and rarely used, so store tip-down or horizontal
Uni-ball Signo Broad (UM-153 white)
Why it’s loved: if you want a gel pen line that reads bright and bold on dark paper, this broader Signo is a classic. The thicker line also helps bridge light texture, so you get fewer scratchy skips.
- Best for: larger addressing, thick print, envelopes with a little tooth
- Watch for: less tiny-detail control than a fine tip, so give your letterforms a little breathing room
Best white paint markers
If you want the brightest white with the fewest passes, paint markers are the usual winners. They are also great when your envelope surface is a little slick and gel ink wants to slide around.
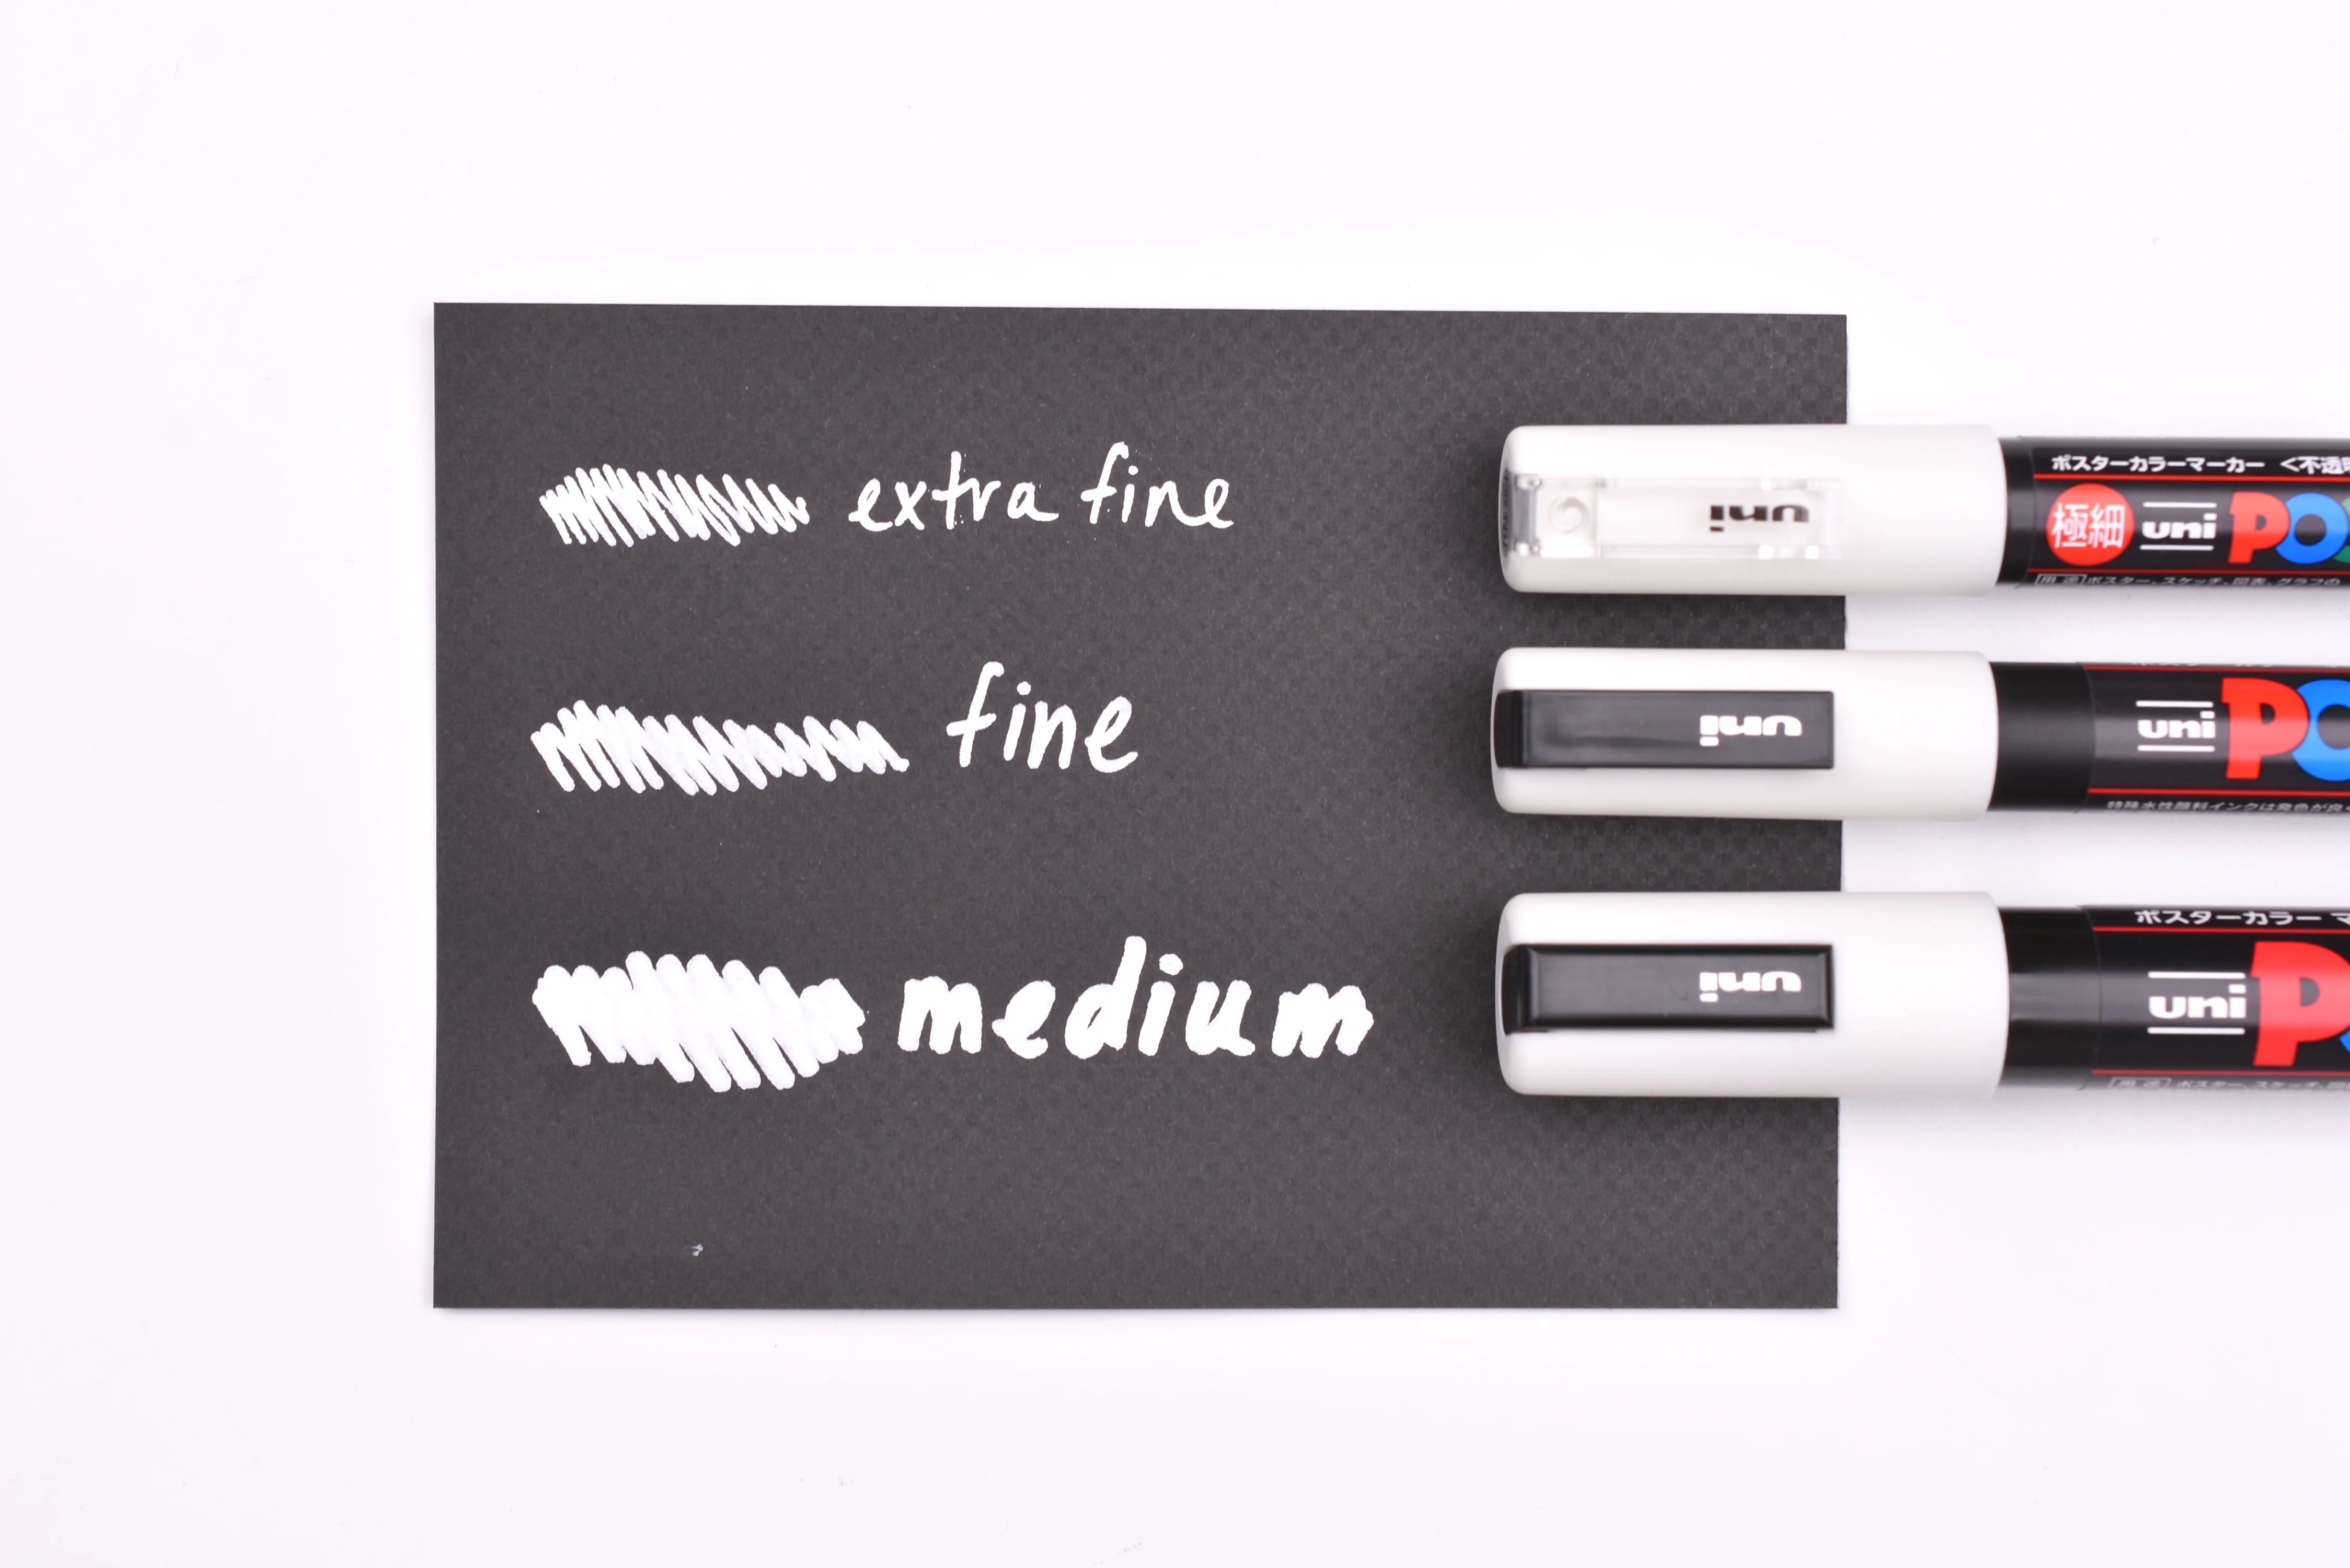
Posca Paint Markers (PC-1M, PC-3M, PC-5M)
Why it’s loved: opaque water-based paint, smooth coverage, and multiple nib sizes. A fine Posca tip can handle addresses, while medium tips shine for bold modern calligraphy.
- Best for: bold scripts, thick downstrokes, high contrast on black envelopes
- Pro tip: let paint dry fully before stacking envelopes, even if it feels dry to the touch
- Watch for: paint can “railroad” on very textured paper, so slow down and angle the nib
White paint pens with felt tips
Why it’s loved: felt-tip paint pens are easy to steer and great for casual scripts, doodles, and simple decorations when you want a softer, marker-like feel than a valve-action paint marker.
- Best for: doodles, borders, stars, tiny florals around addresses
- Watch for: on rough stock, felt tips can wear faster and start to look fuzzy, so keep one “nice envelope” pen separate from your craft paper pen
Sharpie Oil-Based Paint Marker (fine or medium)
Why it’s loved: very opaque and tends to write on difficult surfaces. It can be a strong choice for coated envelopes.
- Best for: super dark, slick, or stubborn envelope finishes
- Watch for: longer cure time and a stronger odor than water-based markers, so allow extra time before handling
Best white dip inks
Dip ink is the pick for that classic pointed-pen look: hairlines, dramatic contrast, and beautiful rhythm. With dark envelopes, you want a white ink that is heavily pigmented and not overly watery.
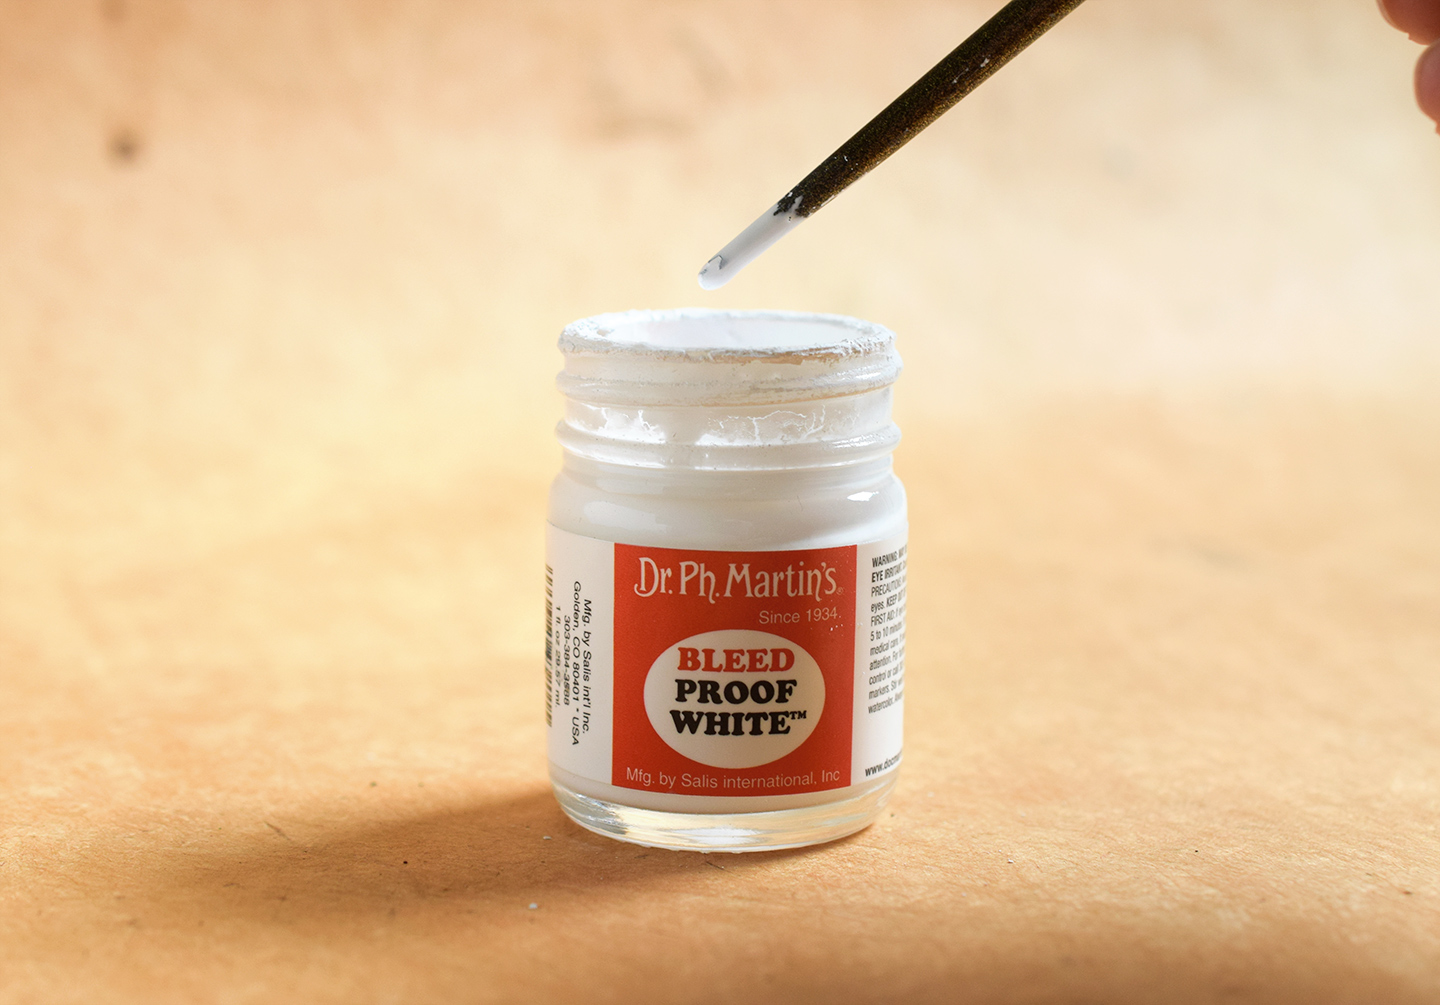
Dr. Ph. Martin’s Bleed Proof White
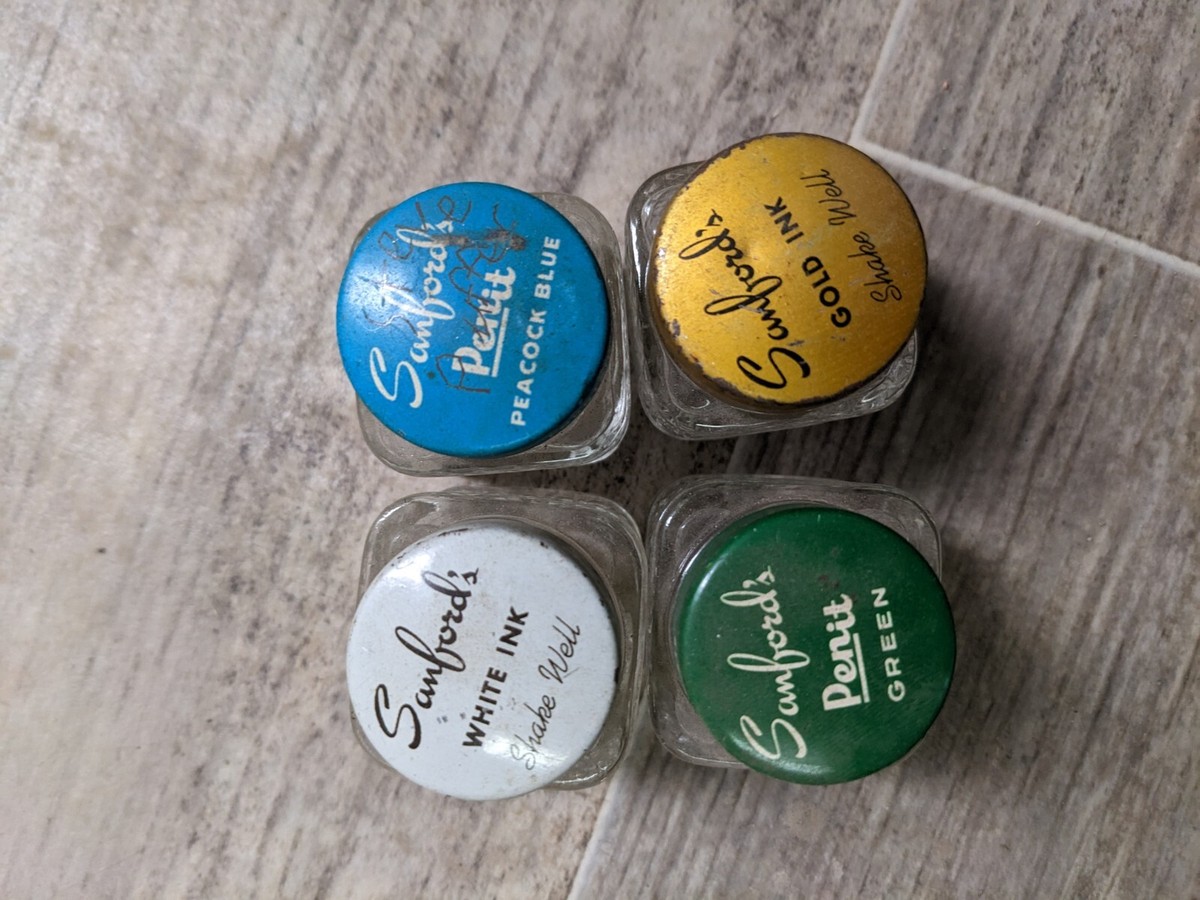
Why it’s loved: famously opaque. It can be used with a dip nib and is excellent for bright lettering on dark paper.
- Best for: high-contrast pointed pen calligraphy, thick highlights, touch-ups
- How it behaves: pigment settles, so gentle stirring helps keep it consistent
- Watch for: too-thick ink can cling to the nib, so adjust with tiny drops of water if needed
FW Acrylic Ink (White) and other acrylic-based whites
Why it’s loved: strong pigment and a smooth painted look. Acrylic inks can be a great fit for dark envelopes, especially when you want a very solid, modern white.
- Best for: broader strokes, decorative scripts, envelope art
- Watch for: acrylic can dry on a nib, so rinse nibs often
Gouache (white) as a flexible alternative
Why it’s loved: it’s mixable. You can thin it for hairlines or keep it creamy for bold strokes. Many letterers use white gouache for envelopes because it can be tuned to the paper.
- Best for: custom consistency, practicing technique, matching a specific white tone
- Watch for: too much water makes it translucent, so build slowly
Nibs and cleanup tips
- Use an older nib you do not mind babying. Opaque whites can be a little harder on tools.
- Rinse often, especially with acrylic-based whites. Dried acrylic on a nib causes scratchy starts and drag.
- Do not let white ink dry on the nib. A quick rinse and wipe between envelopes saves a lot of frustration.
If dip tools are new to you, it helps to get your basics straight first. This guide covers ink behavior clearly: Sumi, India, or Walnut Dip Pen Ink Basics.
Clean white lettering tips
1) Test the envelope first
Even envelopes in the same color can vary by finish. Before addressing your whole stack, test on:
- the envelope flap
- a corner on the back
- an extra envelope if you have one
2) Clean, dry hands matter
Lotions and skin oils can repel gel ink and paint. If you notice skipping, wipe your hands and try again.
3) Use light pressure
Pressing hard can scratch a coating and make ink look patchy. Let the tool do the work.
4) Let it dry longer than feels necessary
Dark envelopes can keep ink sitting wet on the surface. For mail that will be handled, allow generous drying time, then do a gentle smudge test on a spare spot.
5) Keep a scrap sheet under your hand
This prevents palm smears and keeps paint marker edges crisp.
Before you mail them
- Give paint time to cure: water-based paint markers can feel dry quickly but still smear or soften if they get damp too soon. Oil-based paint markers usually need even longer before they stop transferring.
- Do a quick rub test: after everything has dried, lightly rub a spare corner or the back flap with a clean finger to make sure nothing lifts before you stack or stuff them.
- Avoid raised extras near the address: thick paint, heavy layering, and wax seals near the address block can scuff during automated sorting.
- Keep the address on the flattest area: try to avoid writing across seams or heavily textured spots where the tool will chatter.
- Transport with a buffer: if you have to stack or carry them, place a clean sheet of paper between layers until everything is fully cured.
Common problems
My gel pen is skipping
- Switch to a slightly thicker tip size.
- Get the ink flowing by scribbling small circles on scrap paper.
- Try a paint marker for slick envelopes, or dip ink for textured ones.
My white looks gray
- Use a more opaque tool type (paint marker or bleed-proof white).
- Let the first layer dry completely, then add a second pass only where needed.
- Avoid overworking while wet, which can lift dye or coating on some envelopes and dull the white.
My paint marker blobs at the start
- Prime the marker on scrap paper, not on the envelope.
- Start each word with a light touch, then settle into your stroke.
- Store the marker as recommended by the manufacturer so paint stays evenly mixed.
My dip ink is dragging or pooling
- Adjust consistency: add tiny drops of water if it is too thick. If it is too thin, use less water next time or mix in a little more from the jar or palette to thicken it back up.
- Rinse and dry the nib more often so dried acrylic does not catch.
- Write slightly slower and lift between strokes to avoid puddles.
A simple tool kit
If you want an easy, low-stress setup, this little kit covers most envelope situations:
- One opaque gel pen for small print and return addresses
- One white paint marker for bold scripts and maximum contrast
- One dip option (bleed-proof white or white gouache) for formal calligraphy and special occasion envelopes
- Scrap paper for priming and testing
When you are building out your lettering supplies, the Tools & Supplies section has more friendly picking help, and if you want your letterforms to feel steadier on any surface, cozy up with practice drills in Tutorials & Practice Drills.
FAQ
Do I need to seal white lettering?
Usually, no. Sealing can change the envelope finish and may affect mail processing. The safer plan is using an opaque tool and allowing full dry time. If you expect heavy handling, a paint marker or a very opaque dip ink tends to hold up better than a thin gel line.
Will white ink smear in the mail?
It can, especially if it goes into the mail stream before it is fully cured. Let envelopes dry flat, avoid stacking too soon, and do a light rub test after drying.
What tip size is best for addressing?
For most hands, a fine or extra-fine gel pen works on smooth envelopes. On textured envelopes, a slightly larger tip often looks cleaner because it bridges the texture instead of catching in it.