Grab your favorite brush pen and let's draw some beautiful letters together! Today we are hopping onto shiny ceramic mugs, where the goal is simple: crisp calligraphy that cures into a design you can actually wash without watching it flake away.
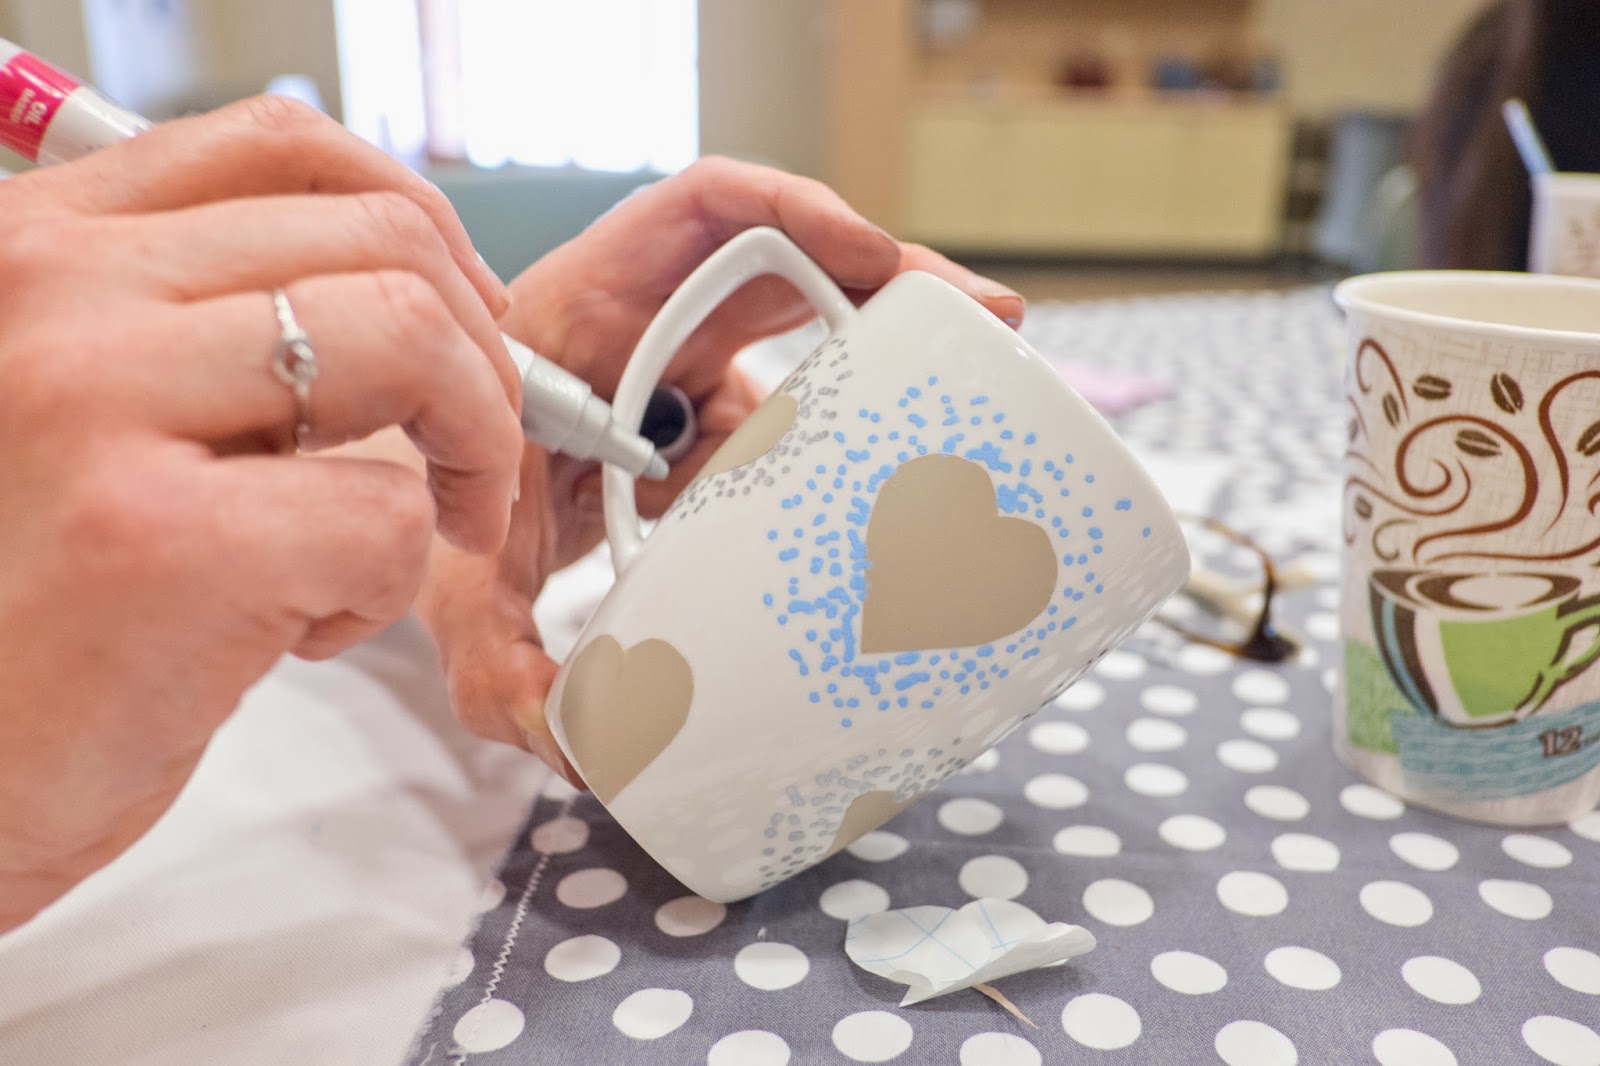
Before you start: what “permanent” means
Most DIY mug lettering tutorials fall into two camps:
- Oil-based paint pens (cured, often with heat): Great for bold, opaque lettering and simple designs. Heat can help the paint film harden and grip the glazed surface better.
- Porcelain paint: Also popular, but the steps and cure times vary a lot by brand.
This guide focuses on oil-based paint pens plus curing because it is beginner-friendly and gives you a clean hand-lettered look.
Important: “Permanent” in DIY crafting usually means durable for gentle hand-washing. Even cured paint can wear faster if it is scrubbed aggressively, soaked for hours, or run through high-heat dishwasher cycles.
Food-safety note: Many oil-based paint pens are not certified food-safe. Keep lettering on the outside only, and do not paint the rim or anywhere that touches the mouth or food.
Supplies checklist
- Plain glazed ceramic mug (smooth surface works best)
- Oil-based paint pen(s) in your chosen color
- Rubbing alcohol (isopropyl alcohol) and a lint-free cloth or paper towel
- Pencil (optional for sketching)
- Low-tack tape (painter’s tape or washi tape)
- Copy paper for sketches and spacing tests
- Transfer option: graphite transfer paper, or a soft graphite pencil (6B to 8B) if you prefer the “rub the back” method
- Oven (a standard kitchen oven works)
- Baking sheet (optional, for stability)
- Oven mitts
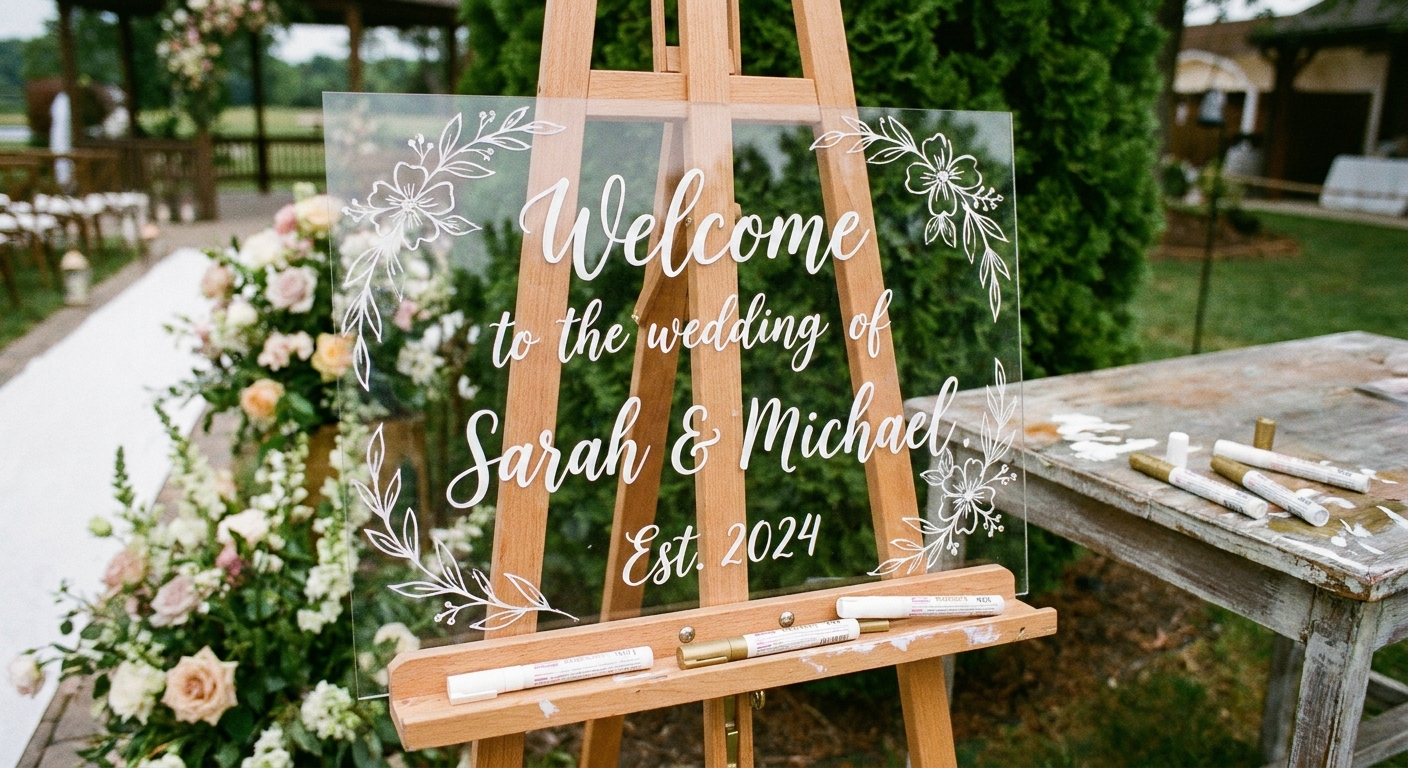
If you are deciding which pens to use, peek at best markers and paint pens for lettering on glass, wood, and acrylic. Many of the same paint-pen behaviors apply on glossy ceramic too.
Pick a safe placement
A cute phrase can still be a practical mug. For the best durability and safer use:
- Keep lettering off the rim and interior so paint does not contact mouths or drinks.
- Avoid the rim area where dish sponges cause the most abrasion.
- Avoid the bottom ring where it rubs on countertops.
- Best zone: the front “billboard” area, centered between rim and base.
For a balanced look, the same centering tricks used on envelopes help a lot. The curved surface can make things feel off-center, so it helps to mark a visual middle line. Try the spacing ideas in calligraphy envelope addressing centering tricks, then apply them to your mug’s printable area.
Step 1: Clean the mug
Glazed mugs often have oils from hands, store shelves, or manufacturing residue. Paint will not adhere well to oils.
- Wash the mug with dish soap and warm water. Dry fully.
- Wipe the lettering area with rubbing alcohol on a lint-free cloth.
- Let it air-dry for a minute so the surface is squeaky clean.
Skip fabric softener towels here. Little fibers can get trapped in paint lines.
Step 2: Letter on paper first
Oil-based paint pens cannot be erased cleanly once applied, so paper practice is your best friend.
- Write your quote or name in the size you want.
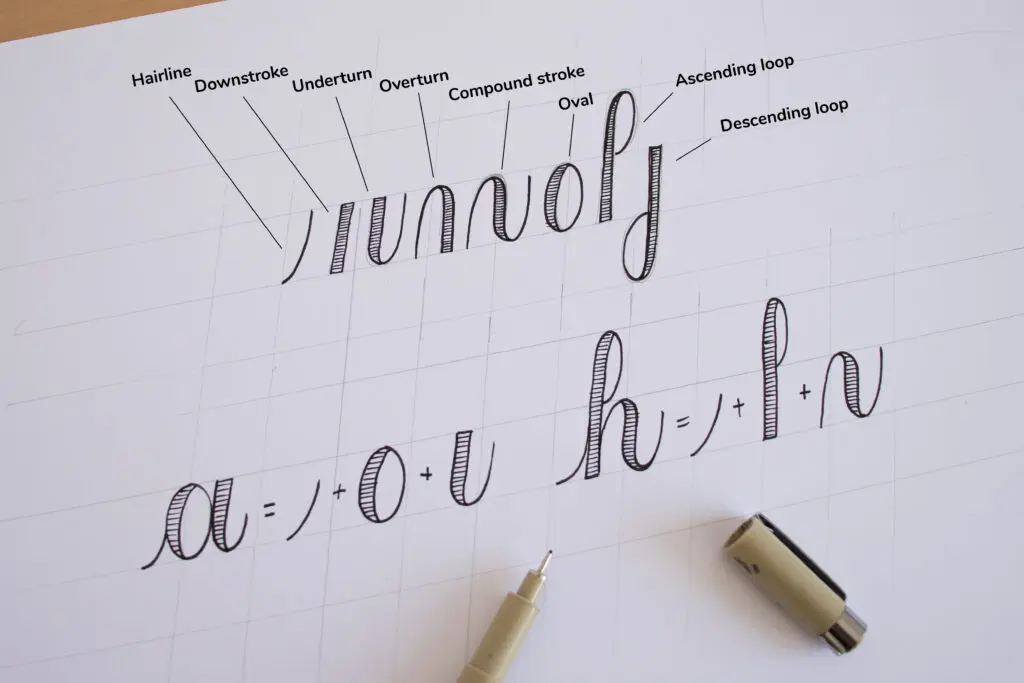
- If you want modern calligraphy structure, warm up with a few strokes from 8 basic brush lettering strokes before you commit to the final design.
- Keep thick downstrokes and give thin upstrokes extra space. On ceramic, thin lines can look lighter than expected.
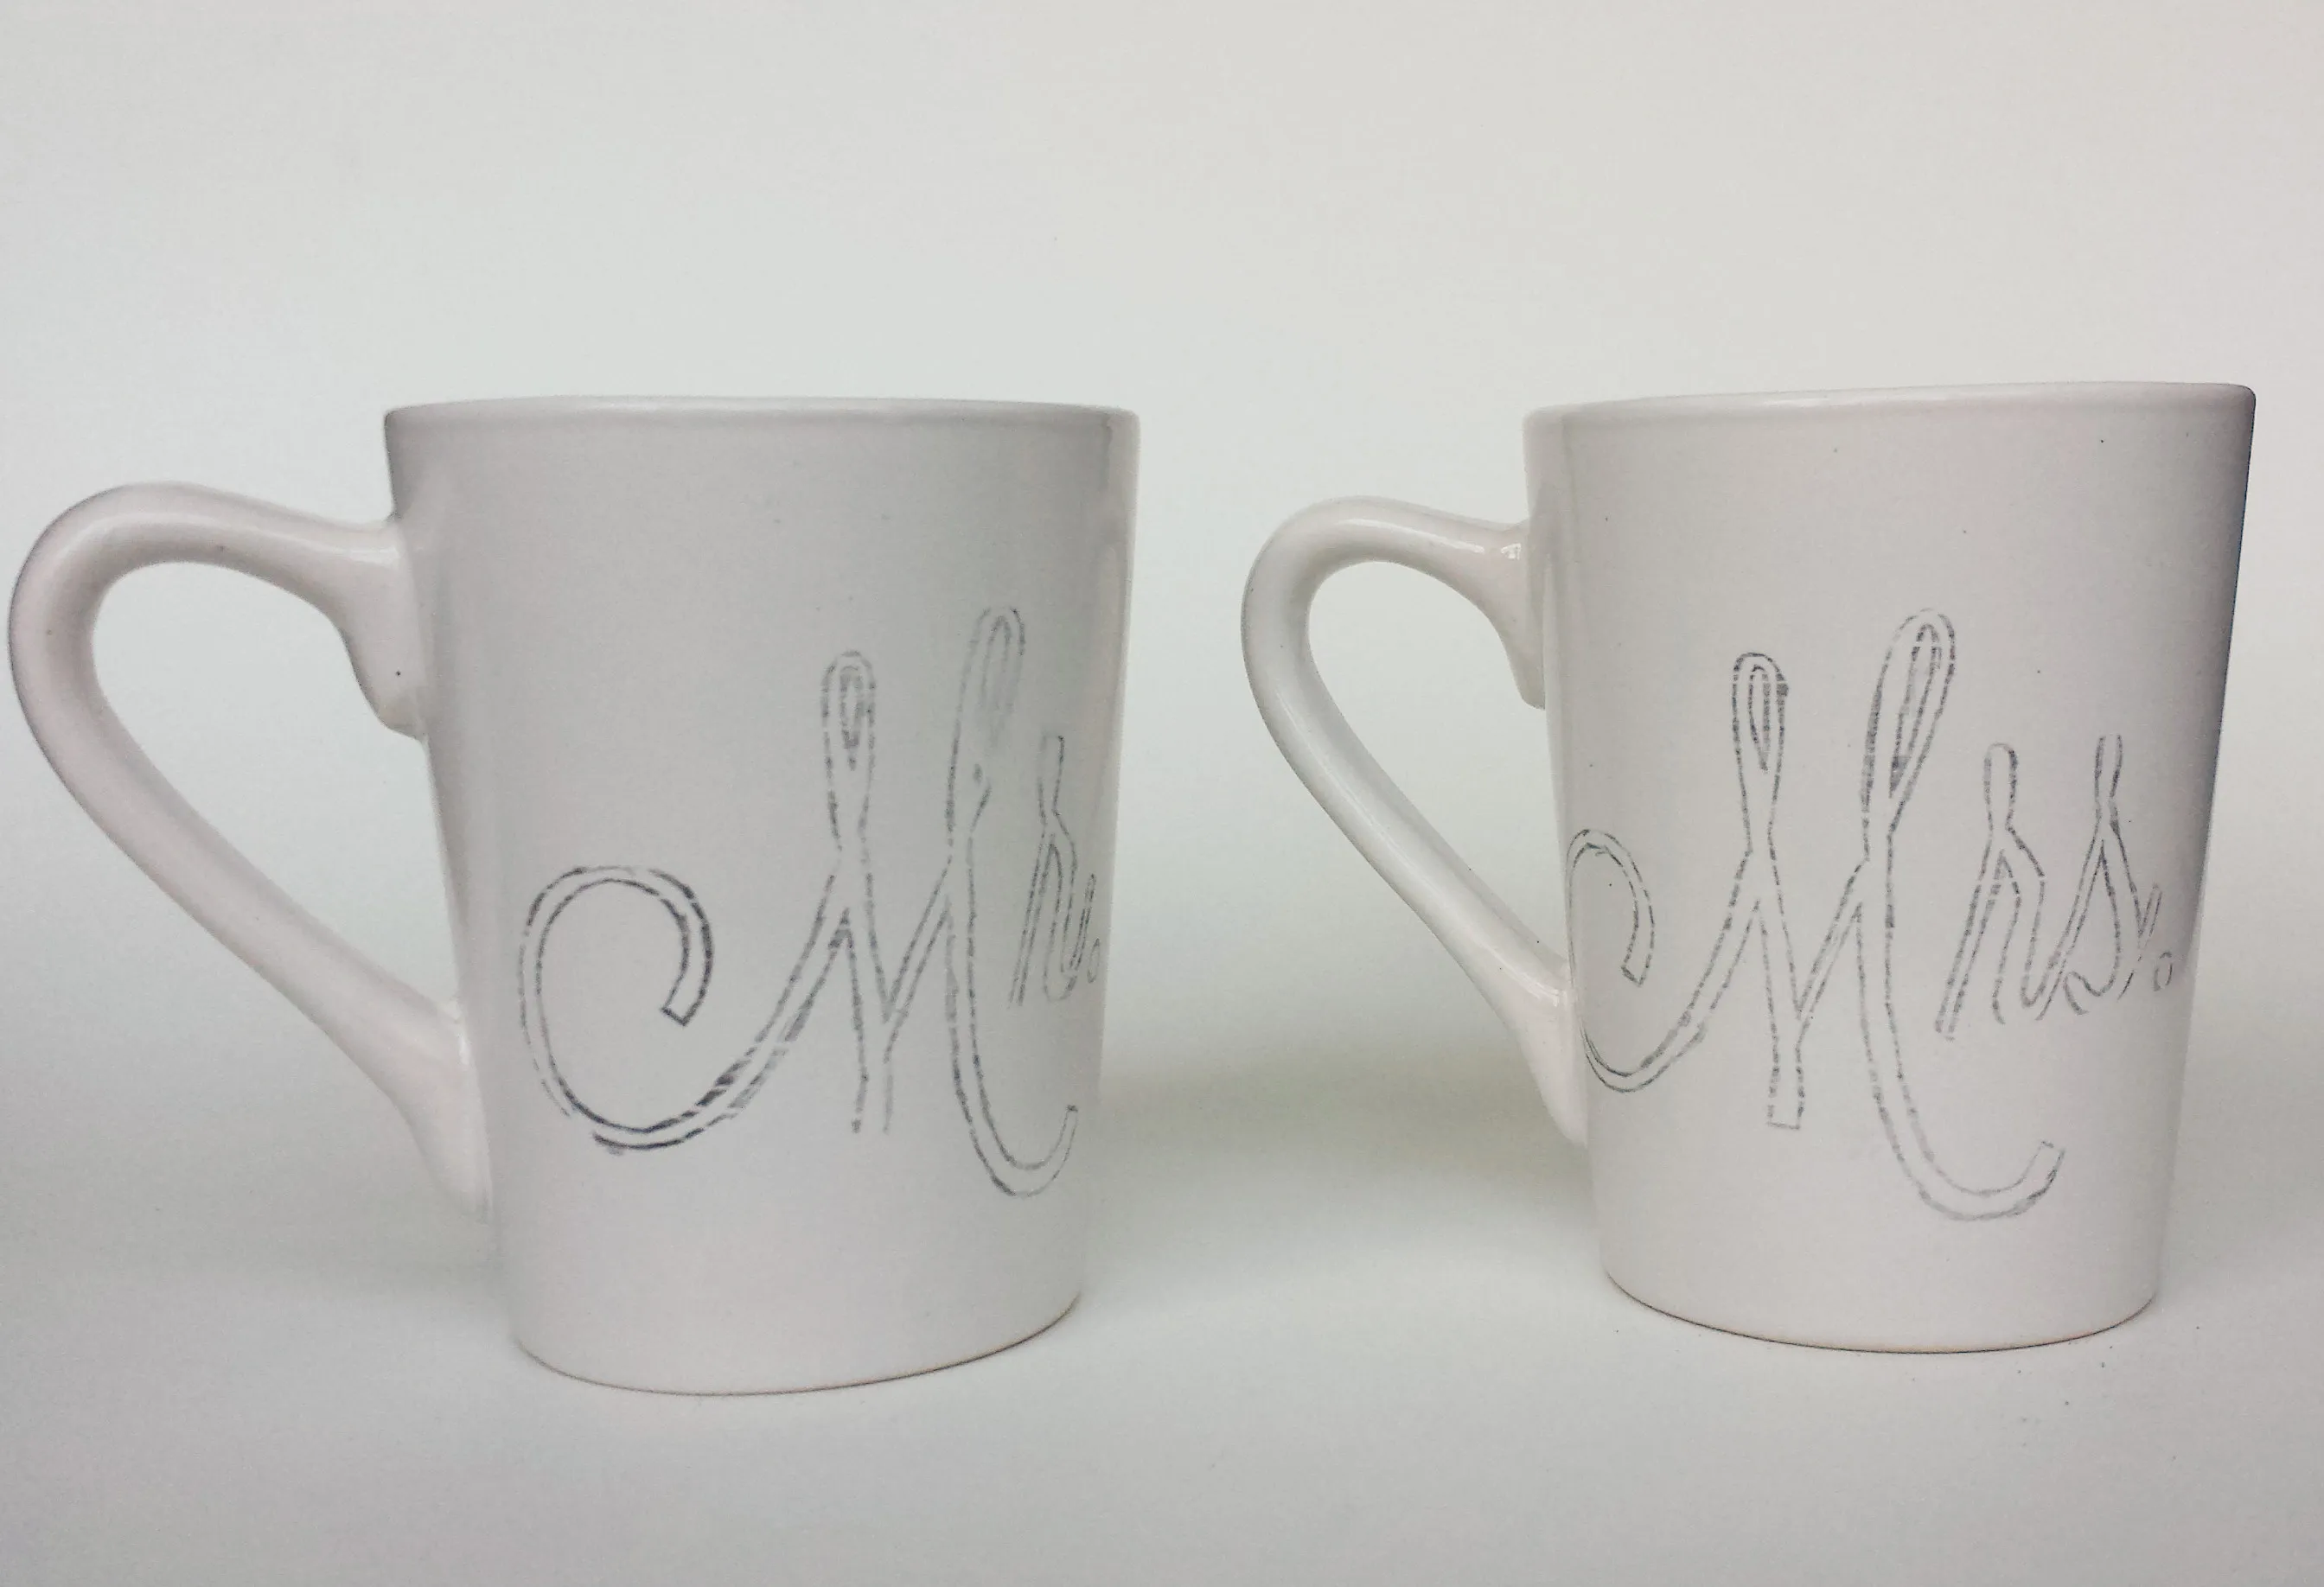
Step 3: Transfer your design
There are two easy, clean transfer methods. Choose the one that matches your supplies.
Option A: Graphite transfer paper
- Cut a small piece of graphite transfer paper to fit your design.
- Tape your paper design to the mug using low-tack tape.
- Slip the transfer paper between the design and the mug, graphite side touching the mug.
- Trace your design firmly with a pencil or ballpoint pen.
- Carefully remove the papers. You should see a light outline.
Option B: Pencil-rub method
- Flip your paper design over.
- Shade the back of the letters heavily with a soft graphite pencil (6B to 8B). You are making your own transfer layer.
- Tape the design to the mug so it cannot slide.
- Trace over the front of your design with steady pressure.
- Remove the paper slowly.
Nib-sized tip: If the transfer looks too dark, lightly dab with a clean eraser or gently wipe with a barely damp cotton swab. Do not soak the area.
Step 4: Trace with the paint pen
Oil paint pens behave differently than water-based markers. A little patience makes the lines sharper.
Prime the pen
- Shake the pen with the cap on (most brands need a good shake).
- Press the tip on scrap paper until paint flows evenly.
Letter slowly in short sections
- Use light pressure for thin lines. Let the pen glide.
- Rotate the mug instead of twisting your wrist into awkward angles.
- Keep your hand off fresh paint. Rest your pinky on a clean part of the mug or hold the handle.
- Do a quick scrap stroke whenever you restart. After a pause, many paint pens release a little blob on the first touch.
- If you want a bouncy style, decide your baseline before you begin. This helps your word feel intentional on the curve. See bouncy calligraphy baseline rules for quick guidance.
Fix small mistakes
While the paint is still wet, a cotton swab lightly dampened with rubbing alcohol can lift small slips. Then let the area dry completely before re-lettering.
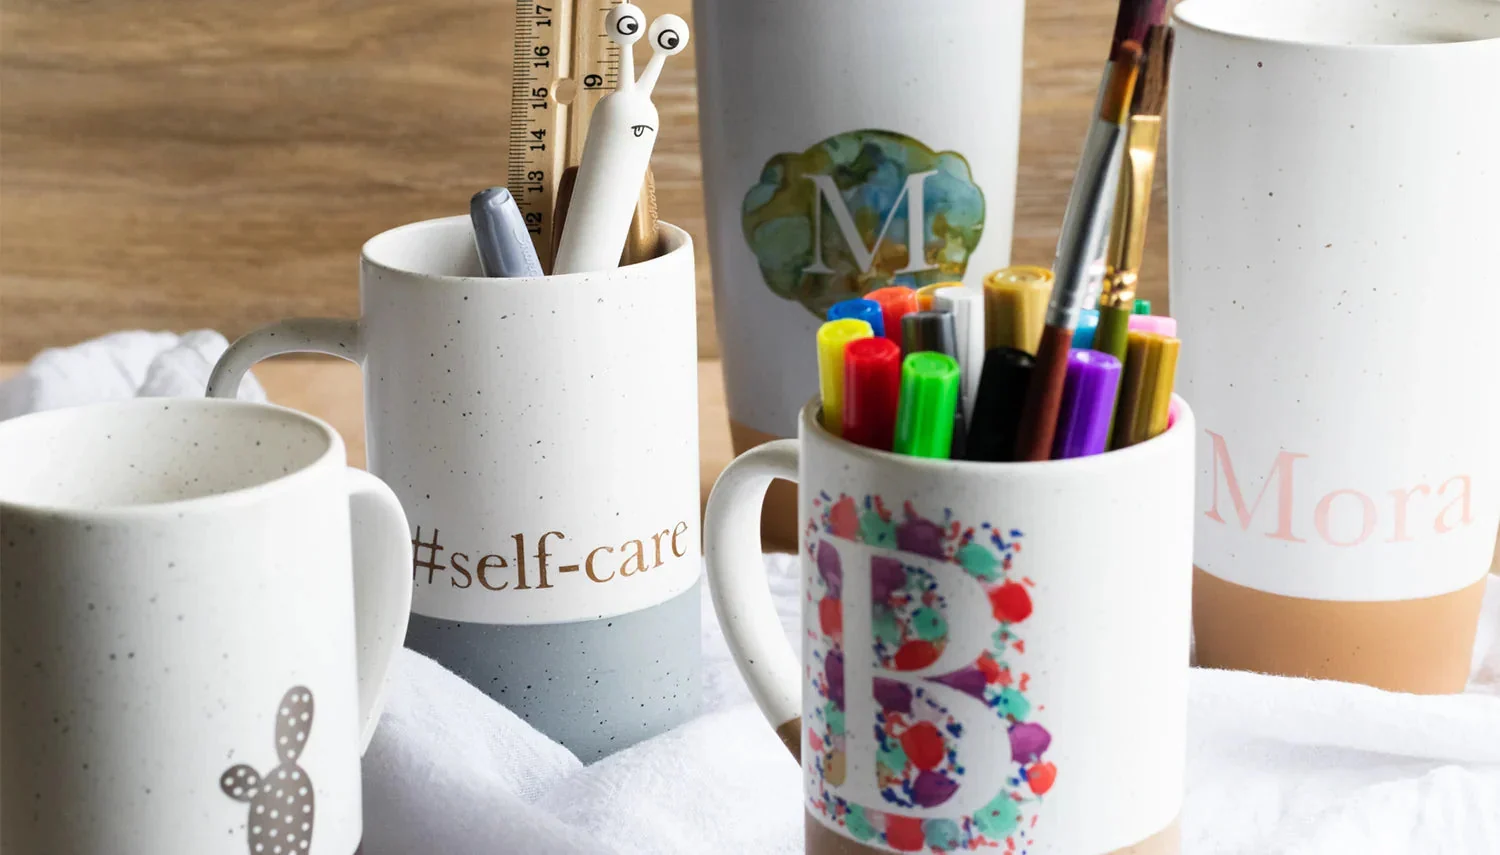
Step 5: Dry before curing
Dry time reduces smears and helps the paint film set up before you cure it.
- Minimum: 1 hour air-dry
- Better: 24 hours air-dry if you have the time
If your design has thick filled-in areas, give it longer. Thick paint holds solvents longer and benefits from extra dry time.
Step 6: Cure the design
Curing helps the paint harden and adhere. Your pen label is the boss, so check it first for temperature, timing, and whether heat-curing is allowed. If your marker says not to bake, skip the oven and rely on air cure.
If your marker gives no guidance, the method below is a common starting point many crafters use for oil-based paint pens on glazed ceramic. The cold-oven start and slow cool-down are the key parts.
Do not bake these mugs
- Mugs with metallic accents (gold trim, foil, metallic decals)
- Cracked or chipped mugs
- Vintage or unknown mugs where you cannot verify the glaze or decorations
- Mugs with parts that are not oven-safe (decorative add-ons, glued elements)
Ventilation note
Oil-based paint can smell while curing. Crack a window, run your range hood, and keep the kitchen ventilated.
Cold-oven curing steps
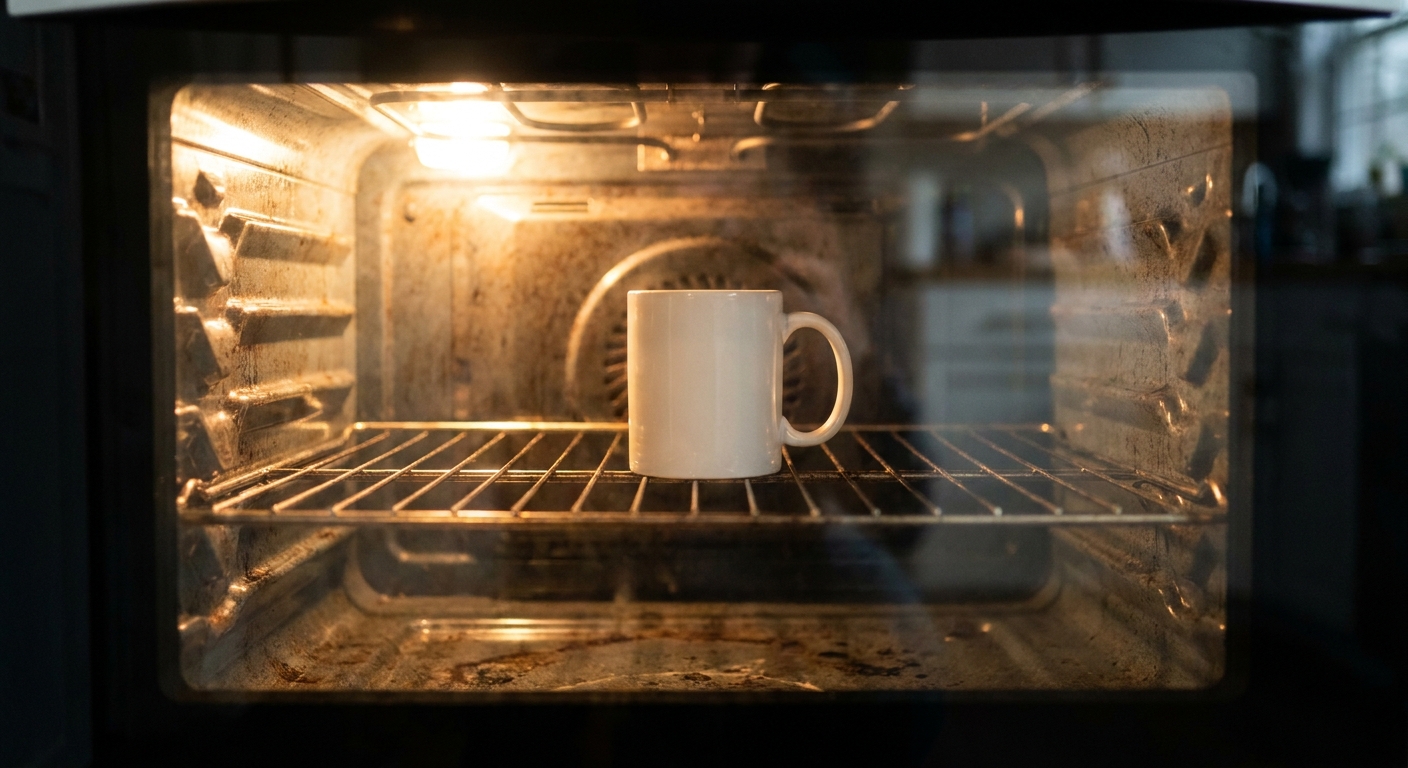
- Start with a cold oven. Place the mug on a baking sheet or directly on the rack. A baking sheet makes it easier to move.
- Set the oven to 350°F (175°C).
- Once the oven reaches temperature, bake for 30 minutes.
- Turn the oven off and let the mug cool inside the oven for at least 1 hour, or until completely cool to the touch.
- Remove carefully only when cool. Sudden temperature changes can crack ceramic and can stress the cured paint film.
Why the cold-oven method helps
Putting a room-temperature mug into a preheated oven can create a fast temperature jump. Starting cold lets the mug warm gradually, which lowers the risk of cracking.
Safety reminder: If your marker label suggests a different temperature or time, follow that instead of the numbers above.
Step 7: Wait before washing
Even after curing, paint benefits from a little extra time to fully harden.
- Wait 48 to 72 hours before the first wash if possible.
- Hand-wash only with a soft sponge.
- Avoid soaking for long periods, and avoid abrasive scrubbers.
If you can, give the mug a gentle day of “rest time” after baking before heavy handling. It is a small patience tax that often pays off.
Prevent chipping and fading
- Keep paint thickness even. Very thick blobs can cure unevenly and become more prone to lifting.
- Do not place lettering where fingers rub constantly. If the design sits exactly where the hand grips, it will wear faster.
- Skip the dishwasher. Dishwasher detergents and high heat are tough on DIY paint finishes.
- Microwave with caution. Microwave safety depends on the paint and pigment. When in doubt, avoid microwaving a decorated mug. If you choose to test, do short runs with water in the mug and stop if you notice odor, softening, or excessive heat near the design.
Design ideas for ceramic
- Monoline names for a clean, modern look. If you want a refresher, visit monoline lettering 101.
- Simple faux calligraphy with thickened downstrokes, especially if your paint pen has a firm tip. See faux calligraphy tutorial with any pen.
- Small flourishes around a short word like “hello” or “sip”. For flourish fundamentals, hop to beginner calligraphy flourishing.
Troubleshooting
My paint looks streaky
- Re-prime the pen on scrap paper and try slower strokes.
- Apply a second thin coat after the first is fully dry.
My lines bead up on the mug
- This usually means residue is still on the surface. Clean again with rubbing alcohol and let dry.
My design chipped after washing
- Check placement. Areas that rub (near the handle grip, rim area, or base) chip first.
- Use gentler washing and avoid soaking.
- Make sure the mug cooled in the oven, not on a cold counter right after baking.
My lettering smeared while I worked
- Rotate the mug and keep your hand off the wet area.
- Give the paint more time to set between close strokes.
Cleanup and storage
Oil-based paint pens last longer when the tips stay clean and capped tightly. Store them horizontally if the brand recommends it, and keep caps snug so the nib does not dry out. If you want a full marker care routine, how to store calligraphy pens and markers is a helpful studio habit builder.
One last tiny cheer
Lettering on ceramic feels a little slippery at first, but once you have a clean transfer and a steady cure, it becomes a wonderfully repeatable DIY gift. Start with one word, keep the strokes simple, and let patience do the hardening magic.
If you want more crafty projects that pair beautifully with hand lettering, hop through DIY projects and crafts.