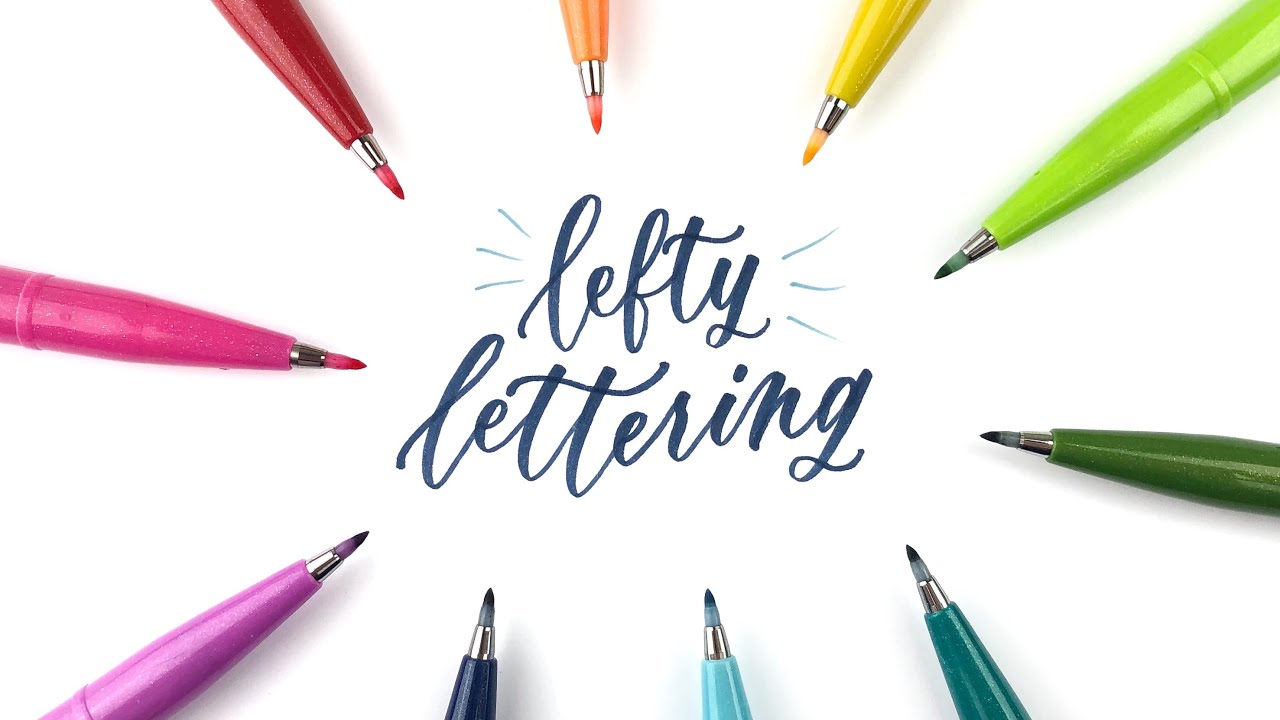
Grab your favorite brush pen and let's draw some beautiful letters together! If you are left-handed, you are not doing it wrong when ink smears happen. You are simply writing through a different traffic pattern. With a few smart rotations, grip options, and stroke adjustments, you can keep your hand clean and your letters crisp.
Why lefties smudge
Most calligraphy drills are shown from a right-handed viewpoint. Left-handed writers often move the hand across fresh ink, especially when:
- The pen points in the same direction your hand is moving, so your hand follows through wet ink.
- The page is straight instead of rotated for the natural arm path.
- The grip forces the hand above the line, turning the wrist into a hook.
- The ink is juicy and the paper surface keeps it wet longer.
The goal is simple: set up your page and hand so you write away from wet ink as often as possible.
Step 1: Rotate the paper
Paper rotation is the quickest smudge reducer. It changes the direction your hand travels relative to the ink.
Try these rotations
- Underwriter setup (recommended to start): Rotate the top of the page slightly clockwise (often a 10 to 30 degree starting point). Your hand stays below the writing line and moves rightward without dragging across the letters.
- Sidewriter setup: Rotate the page more clockwise (often around 30 to 60 degrees to start) so your strokes feel like they move down and right instead of straight across.
- Overwriter setup (if it feels natural): Some lefties rotate the page counterclockwise and write with the hand above the line. It can work, but it often increases smudging with wetter inks.
A tiny checklist
- Keep your forearm supported on the table so the wrist does not curl into a hook.
- Shift the page as you move down, instead of twisting your wrist to reach.
- Use a sheet of clean paper under your hand as a glide guard. An artist glove can do the same job if you prefer.
If you want baseline help that works for any handedness, peek at bouncy calligraphy baseline rules and apply the same guides with your left-handed rotation.
Step 2: Choose a grip
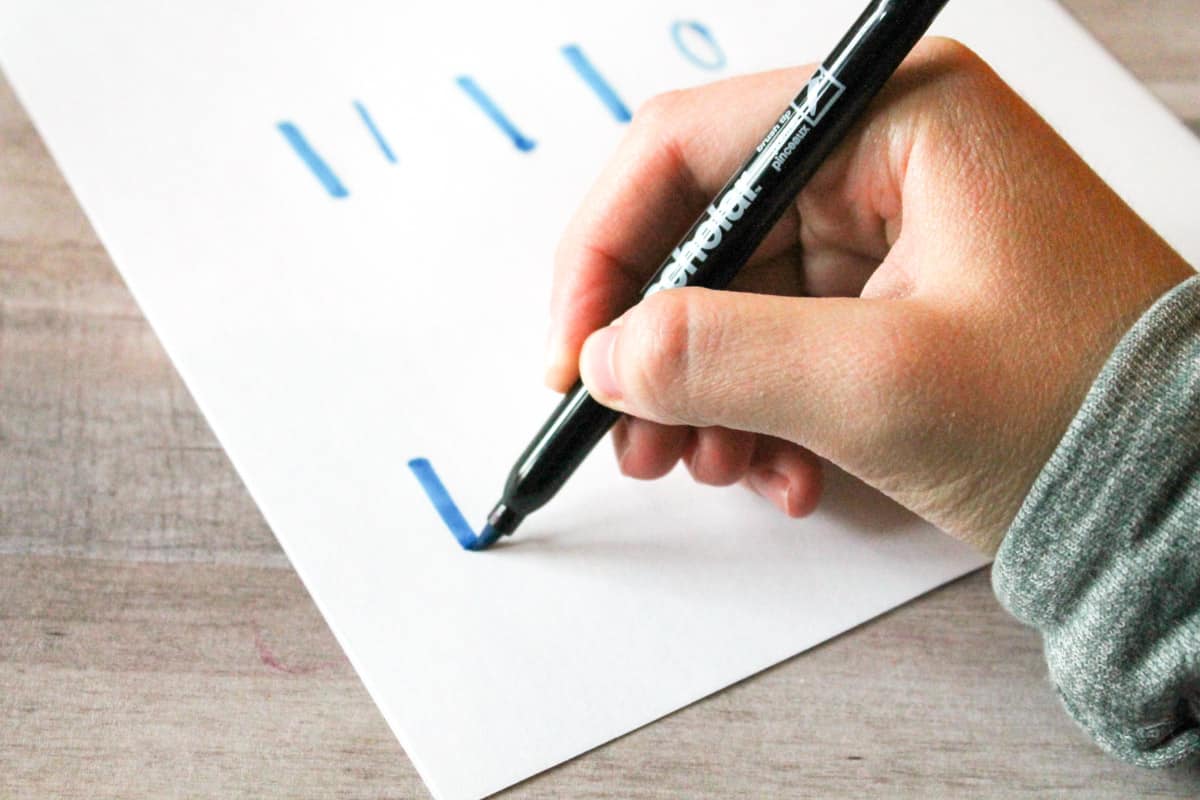
There is no single correct grip. The best grip is the one that lets you make consistent thick downstrokes and hairline upstrokes without strain or smearing.
Option A: Underwriter
What it looks like: Your hand stays below the writing line and you push the pen slightly forward as you move right.
- Keep the wrist straight, not hooked.
- Hold the pen a bit farther from the tip than usual for lighter pressure control.
- Let the shoulder and forearm guide movement, not tiny finger-only motion.
Option B: Sidewriter
What it looks like: Page is more rotated and your hand approaches letters from the side.
- Great for large worksheets and signage style lettering.
- If upstrokes feel scratchy, reduce pressure and slow down.
Option C: Overwriter
What it looks like: Your hand sits above the line, wrist can curl, and you pull across the ink.
- If your wrist hooks, pause and reset with more page rotation.
- Use a glove or guard sheet to reduce friction and smearing.
Step 3: Adjust stroke order
Modern calligraphy is built from basic strokes, not a single required route. Lefties can keep the same look while making small direction choices that help you avoid wet areas.
Use these stroke-friendly tweaks
- Crossbars last: On t and f, write the main stem first, then cross after the ink has had a moment to set.
- Dots last: Dot i and j at the end of the word or line.
- Lighten entry strokes: Softer pressure on the first hairline reduces puddling where your hand might pass.
- Pause between letters: A micro-pause after a heavy downstroke gives ink a head start.
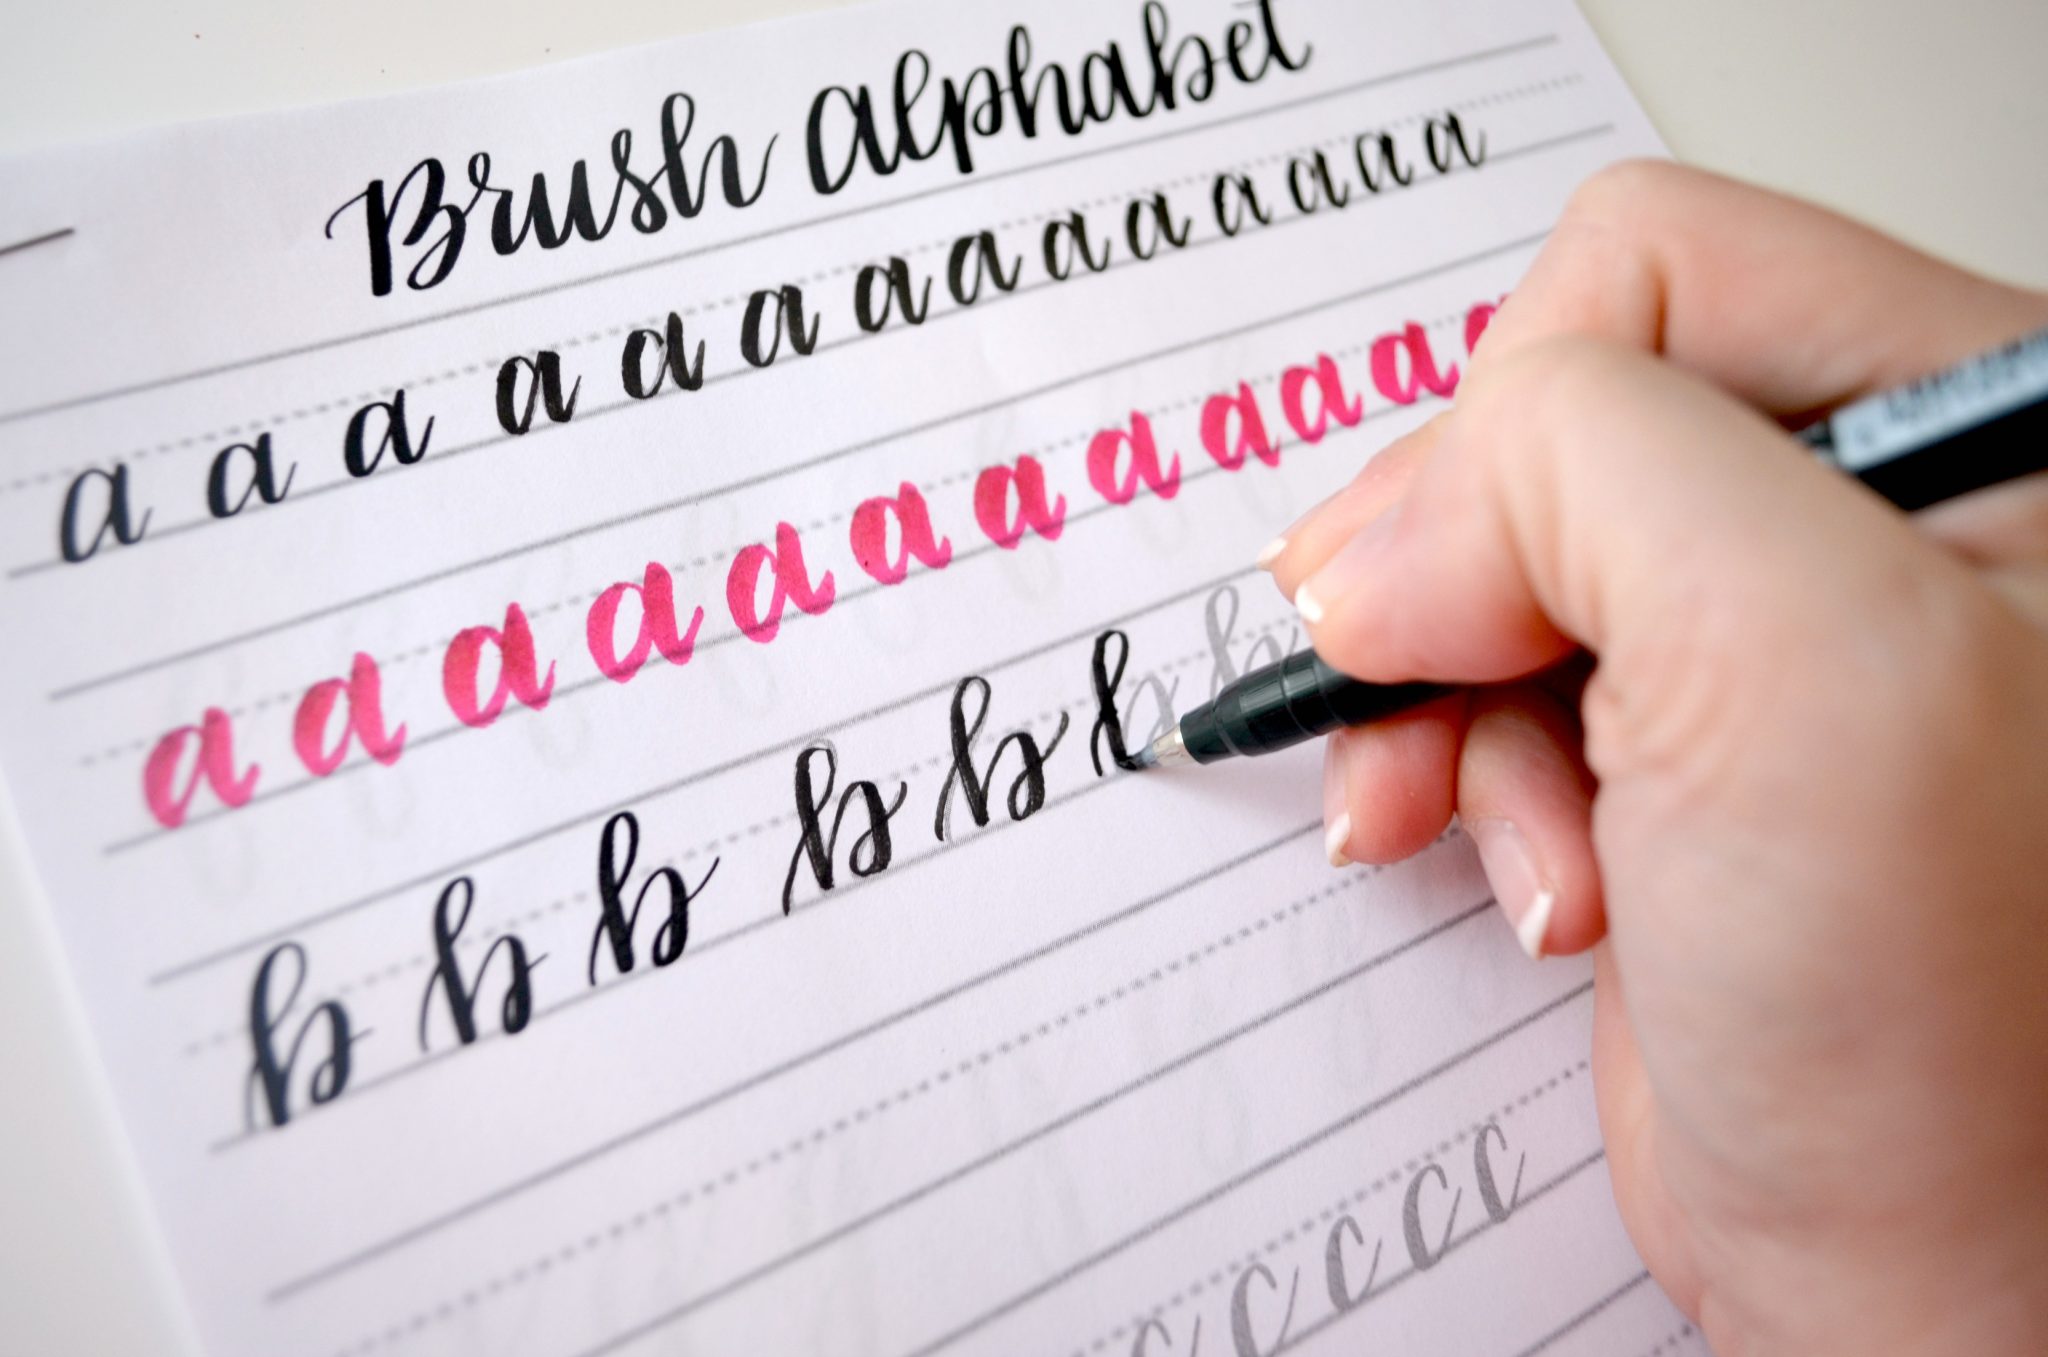
If you are building your strokes from the ground up, practice the foundational shapes in 8 basic brush lettering strokes. Clean strokes often dry a bit faster because there is less accidental extra ink sitting on the page.
Step 4: Use helpful materials
Technique does most of the work, but materials can make your practice feel instantly easier.
Paper choices that help
- Smooth, bleed-resistant paper: Reduces feathering and drag, which helps your strokes look crisp. Drying time depends on the paper coating and the ink.
- Watch very slick paper with very wet pens: Ink can sit on top longer and smear.
For a deeper paper dive, see paper that keeps brush pens from fraying. A paper that protects tips is often smooth enough to reduce drag for left-handed angles, too.
Pen and ink habits that help
- Choose a brush pen with control: Very juicy pens are fun, but can be smudge-heavy for lefties learning a new setup. If you are shopping, start here: best brush pens for calligraphy beginners.
- Use less pressure than you think: Heavy pressure lays down more ink than needed.
- Keep tips healthy: A frayed tip can dump ink unevenly. If your pen feels fuzzy, try how to fix frayed brush pens.
Quick note: brush pens vs dip pens
If you switch between tools, expect different smudge behavior. Many brush pens use water-based ink that can stay smudgeable longer on coated paper. Dip pen inks (like sumi, india, or walnut) can also be slow to dry depending on the brand, the paper, and how much ink you load. If you are exploring dip inks, this primer helps: sumi, india or walnut dip pen ink basics.
Step 5: A daily warmup
This mini routine focuses on clean ink release and an underwriter hand path. Set a timer for 10 minutes.
10-minute lefty warmup
- Paper rotation check (30 seconds): Rotate clockwise until your wrist feels straight and your forearm can glide.
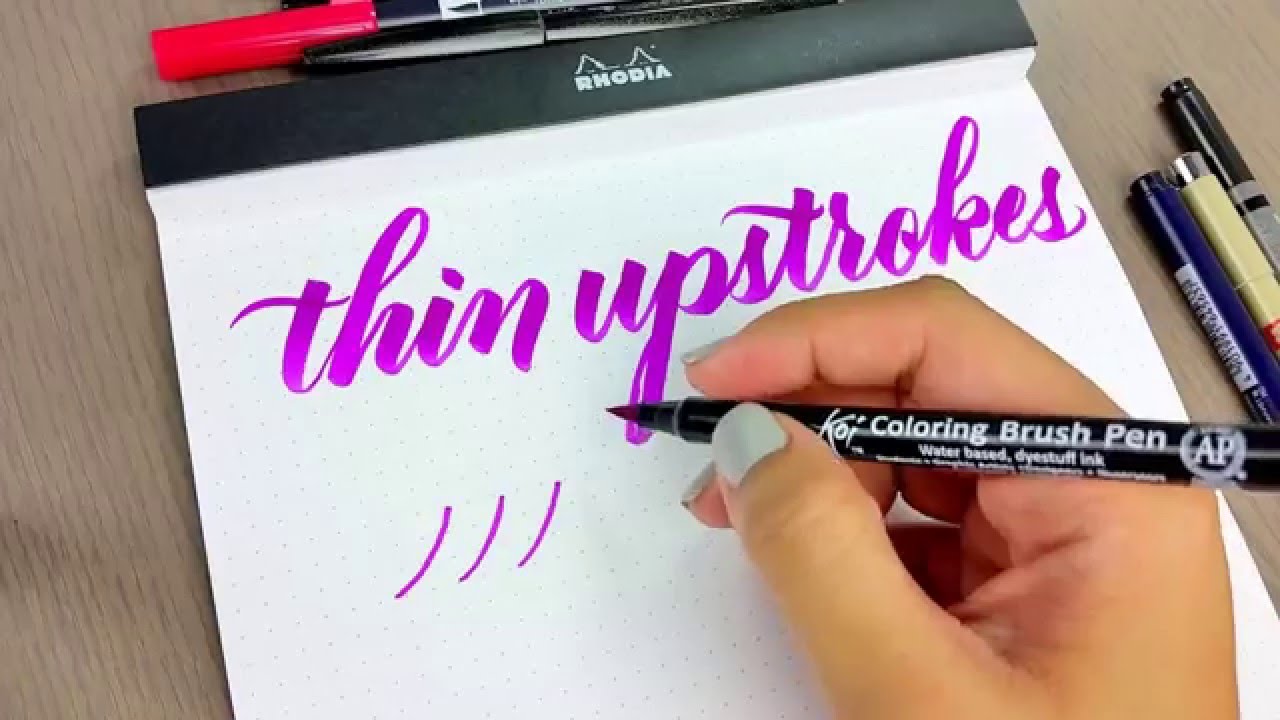
- 5 rows of light upstrokes (2 minutes): Whisper-light pressure, consistent slant.
- 5 rows of downstrokes (2 minutes): Press, release, and lift cleanly at the end.
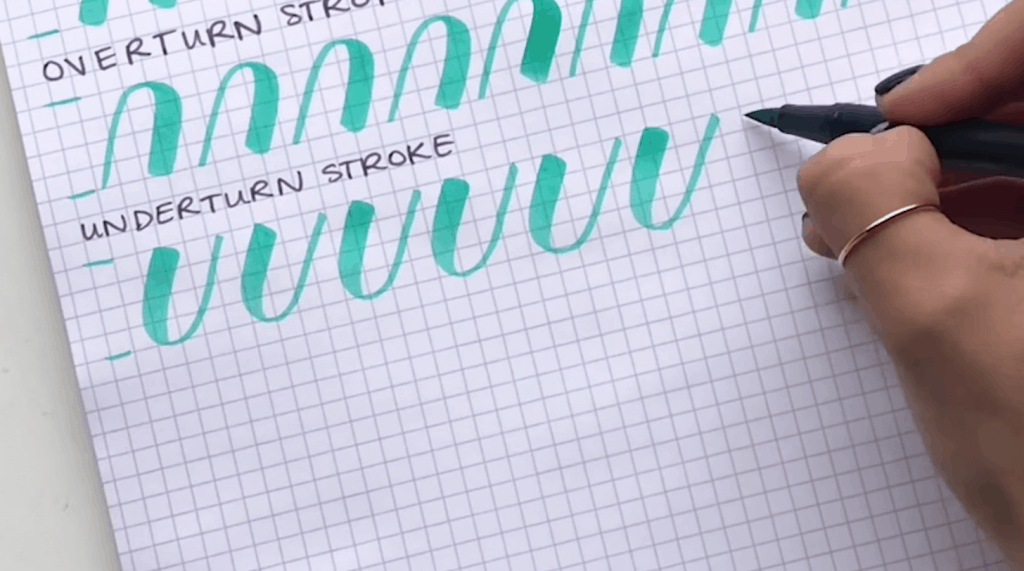
- Ovals (2 minutes): Slow, even turns, no extra ink at the bottom curve.
- Connect a simple word (3 minutes): Try minimum or hello. Cross and dot only after the word is complete.
- Glide test (30 seconds): Place a clean scrap sheet under your hand and rewrite the word once more.
Want a longer guided rhythm? Pair this with 15-minute daily calligraphy drills and keep your left-handed rotation and grip choices consistent.
Troubleshooting
My hand drags through wet ink
- Rotate the page more clockwise and try underwriter positioning.
- Work in short lines and reposition the paper as you move down the page, so your hand stays in a comfortable zone.
- Write a little smaller while you adjust, so your hand travels less distance over fresh ink.
- Use a guard sheet or an artist glove.
My upstrokes look shaky
- Slow down and reduce pressure even more.
- Let the forearm move the pen, not just the fingers.
- Try these fixes: how to fix shaky upstrokes.
My brush pen catches on paper
- Check that you are not pushing the tip too steeply into the page.
- Hold the pen at a slightly lower angle and lighten pressure on turns.
- Switch to smoother paper when practicing heavy drills.
My letters slant the wrong way
That is usually a rotation mismatch. Keep your slant lines consistent and rotate the page until the pen naturally follows them. The paper moves so your hand does not have to.
Easy letter connections
Connecting letters is often where lefties press harder and smear more, because the hand wants to speed up through joins. Aim for gentle, narrow connectors and save the pressure for true downstrokes.
- Make connectors with the lightest touch possible.
- Pause before each downstroke to place it intentionally.
- If joins feel tricky, practice along with how to connect letters in modern calligraphy.
Quick FAQ
Should left-handed calligraphy be mirrored?
Nope. Your letterforms can look exactly like right-handed samples. The difference is in setup and motion, not in flipping the alphabet.
Do I need special left-handed nibs or pens?
Not usually. Most lefties do well with standard brush pens and nibs. The bigger win is paper rotation, a straighter wrist, and cleaner pressure control.
Is fast drying ink the answer?
Fast drying helps, but it is not the whole solution. A comfortable underwriter position plus a guard sheet can reduce smudges even with juicier inks.
What if I love flourishing but it smears?
Try adding flourishes after the main word dries for a moment, and flourish into open space. When you are ready, explore beginner calligraphy flourishing with your left-handed setup.
A tiny pep talk from Nib
Left-handed calligraphy is not a detour. It is just your own path across the page. Rotate the paper, pick a grip that keeps your wrist relaxed, and let those strokes dry in peace. One swoop at a time, you've got this.