Grab your favorite brush pen and let's draw some beautiful letters together! Fabric lettering feels a little bit like magic: one good swoop, and suddenly a plain denim jacket or tote bag turns into a wearable message.
The secret is not just pretty letters. It's prep, the right paint or marker, and the right kind of curing so your design stays bright through real life and real laundry days.
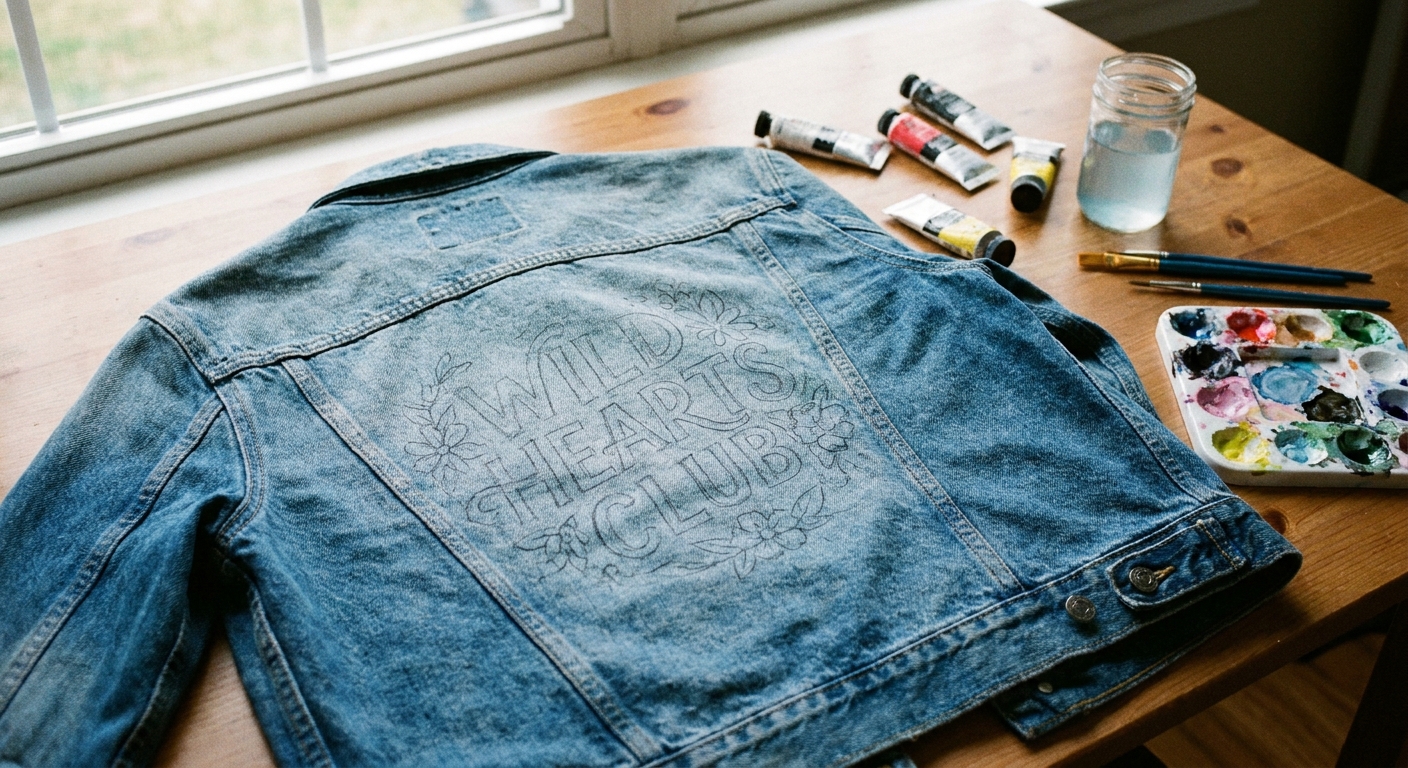
Before you start: pick your fabric
You can letter on almost any fabric, but denim jackets and tote bags are especially friendly because they are sturdy and less stretchy than knits.
Best beginner surfaces
- Denim jackets: thick, stable weave, great for bold quotes and big letters.
- Cotton canvas totes: smooth enough for clean lines, easy to flatten and tape down.
- Cotton tees: possible, but stretchy knit fabric requires extra care to prevent wobbly lines and cracking.
What to avoid at first
- Very stretchy knits (ribbing, spandex blends) unless you are using a flexible fabric paint and stretching the fabric on a board.
- Water-repellent or coated fabric because paint may bead up or peel.
- Heavily textured fabric (chunky canvas, fuzzy fleece) because fine lettering edges get bumpy.
Supplies for fabric lettering
There are a few ways to get letters onto fabric. The best choice depends on how bold you want the lettering, how much detail you need, and how washable the project must be.
Core supplies
- Fabric item (denim jacket, tote bag)
- Cardboard, chipboard, or a cutting mat to slide inside (prevents bleed-through)
- Optional: a thin plastic sheet (like a report cover) behind the cardboard if you are using very wet paint
- Painter's tape or masking tape
- Lint roller
- Pencil or washable fabric pencil or tailor's chalk
- Eraser (soft white eraser is gentlest)
- Paper towels and cotton swabs for quick cleanups
Lettering tools that work on fabric
- Fabric paint (often the most durable): use with a small brush for crisp strokes.
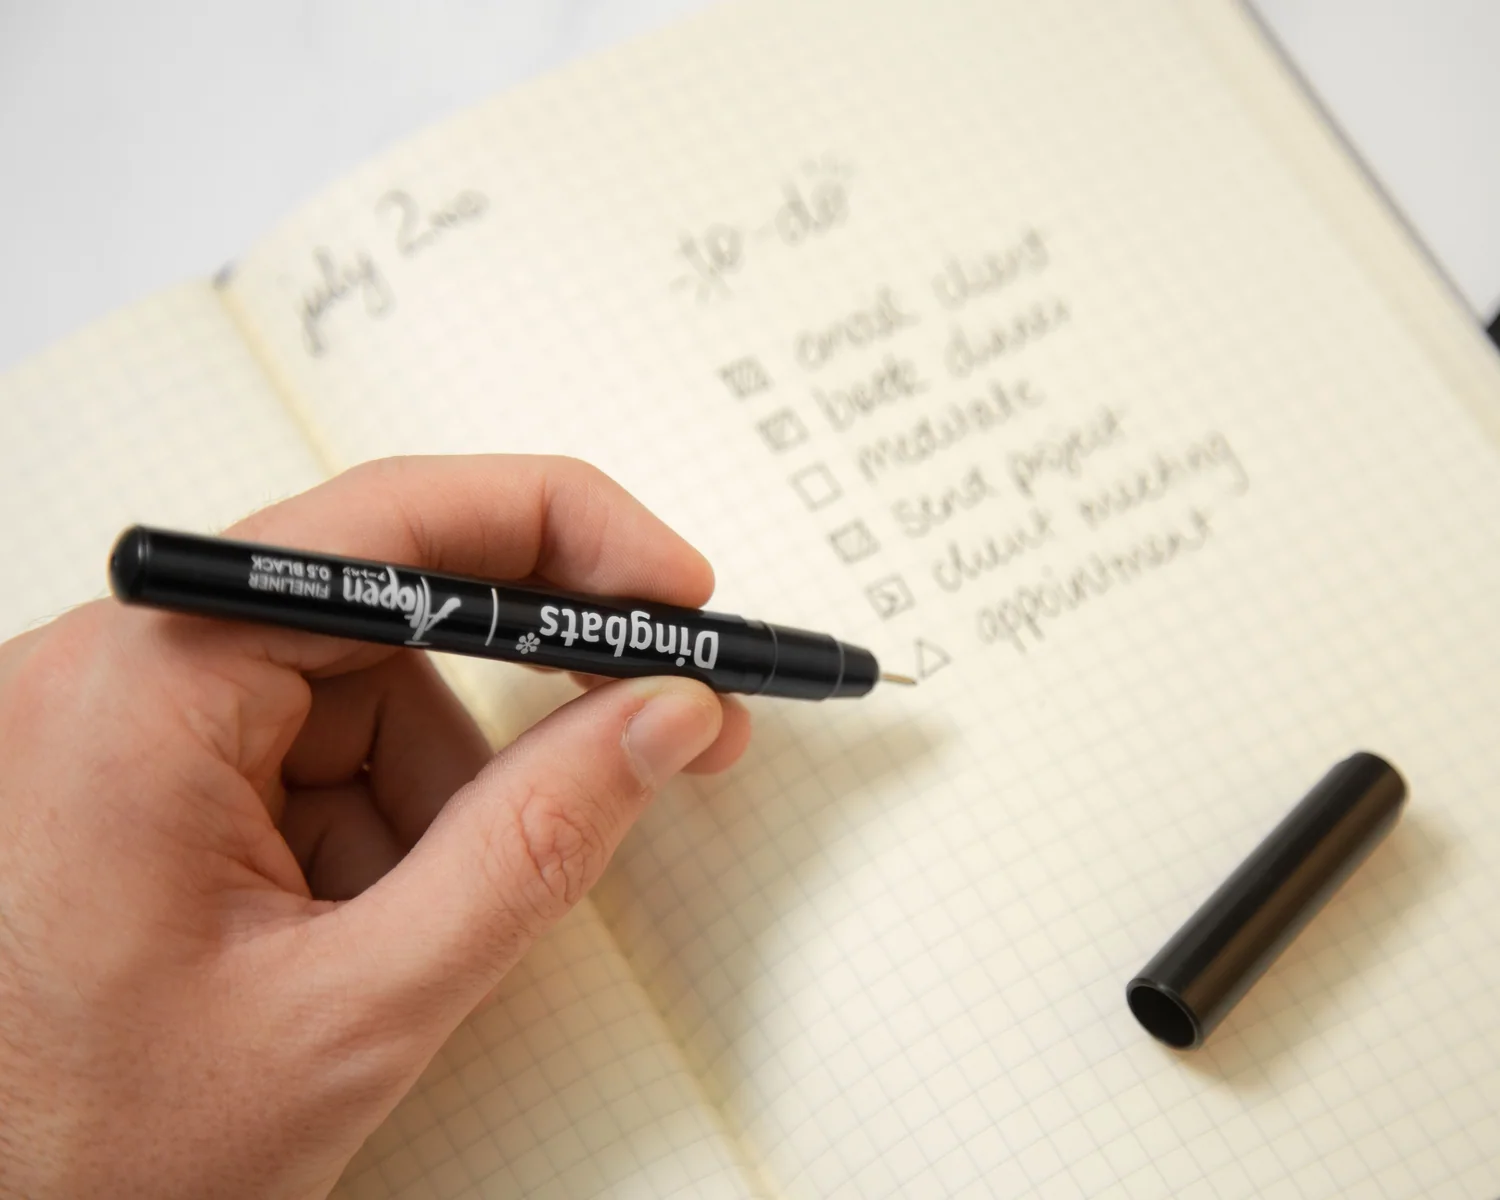
- Fabric markers: great for outlines and small details, but choose ones labeled permanent and washable.
- Acrylic paint plus fabric medium: good if you already have acrylics and want a softer, more flexible finish than acrylic alone (when mixed and applied as directed).
- Paint pens labeled for fabric: convenient, bold, and tidy for linework.
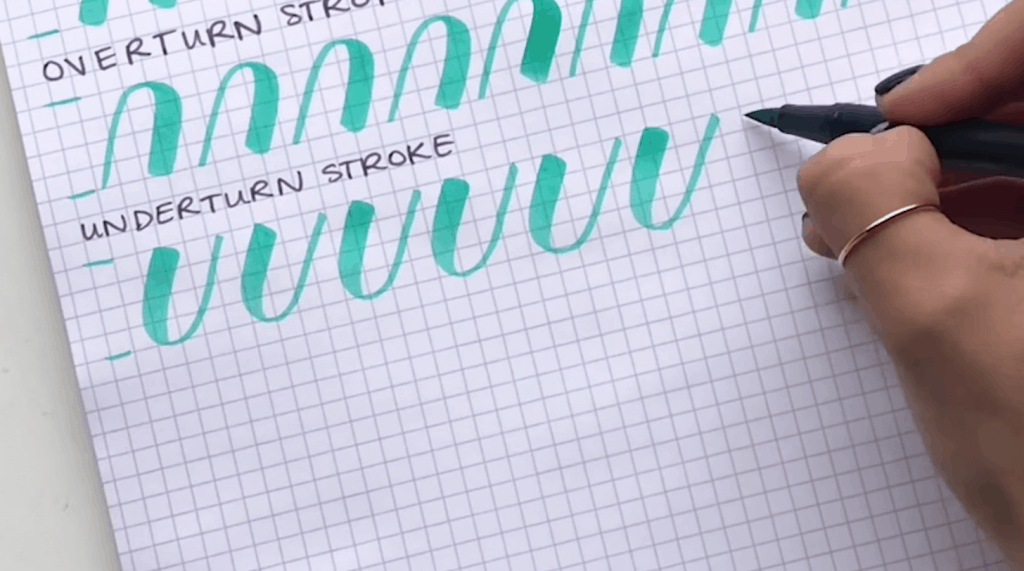
If you are still building basic letter shapes, a quick warmup helps before you touch the jacket. These foundational strokes make brush lettering feel much less wiggly: 8 Basic Brush Lettering Strokes.
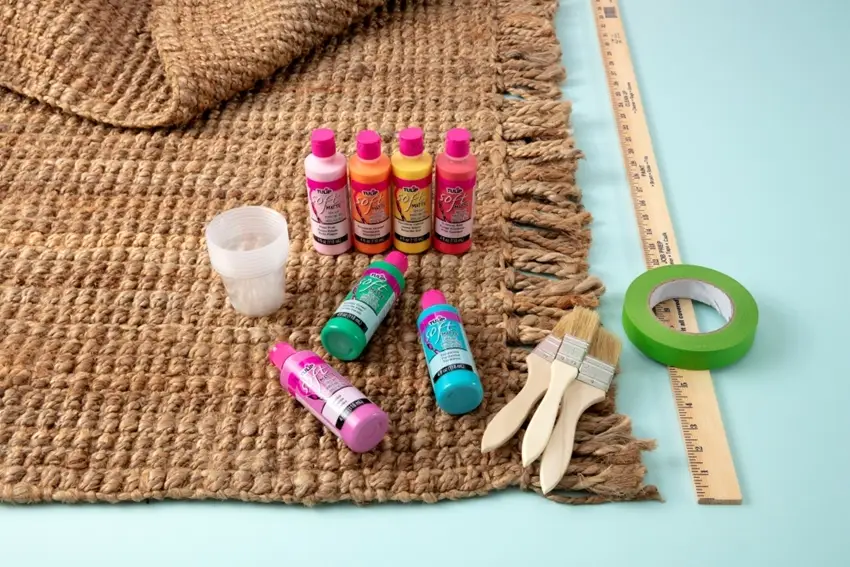
Do a test swatch first
This is the step that saves the most heartbreak.
- Test your paint or marker on scrap fabric, an inside hem, or a hidden seam area.
- Check for bleed, opacity (especially on dark denim), and how stiff the paint feels once dry.
- Practice one or two letters so you can feel how the surface drags compared to paper.
Fabric prep that makes it last
Fabric is full of tiny surprises: sizing, oils from hands, lint, and softener residue. Prep clears the stage so paint can bond well.
Step 1: Pre-wash and dry
- Wash the fabric item first to remove factory sizing and finishes.
- Skip fabric softener and dryer sheets because they can leave a coating that resists paint.
- Dry completely before lettering.
Step 2: Press it flat
Wrinkles distort lettering. Iron the area you will letter so your guidelines and strokes stay true.
Step 3: De-lint and de-dust
Use a lint roller, especially on denim. Any fuzz caught under paint can create rough edges.
Step 4: Stabilize the surface
- Slide cardboard, chipboard, or a cutting mat inside the jacket or tote.
- Tape the fabric to your table or board if it shifts.
For tote bags: add a second layer inside so paint cannot soak through to the back panel.
Plan your design
Fabric lettering is easiest when your layout is clear before paint comes out.
Pick a location
- Denim jacket: back panel, shoulder yoke, chest pocket area, cuff, or along a seam.
- Tote bag: centered on the front panel, bottom corner, or along the top edge under the hem.
Make quick layout decisions
- Bold and readable wins from a few feet away.
- Fewer words usually looks stronger on clothing.
- High contrast is your friend, especially on dark denim.
Use guidelines (yes, even on denim)
Lightly sketch a baseline and x-height so your letters do not drift. If you like playful movement, bouncy baselines are adorable on jackets and totes. This guide helps you keep bounce intentional instead of accidental: Bouncy Calligraphy Baseline Rules.
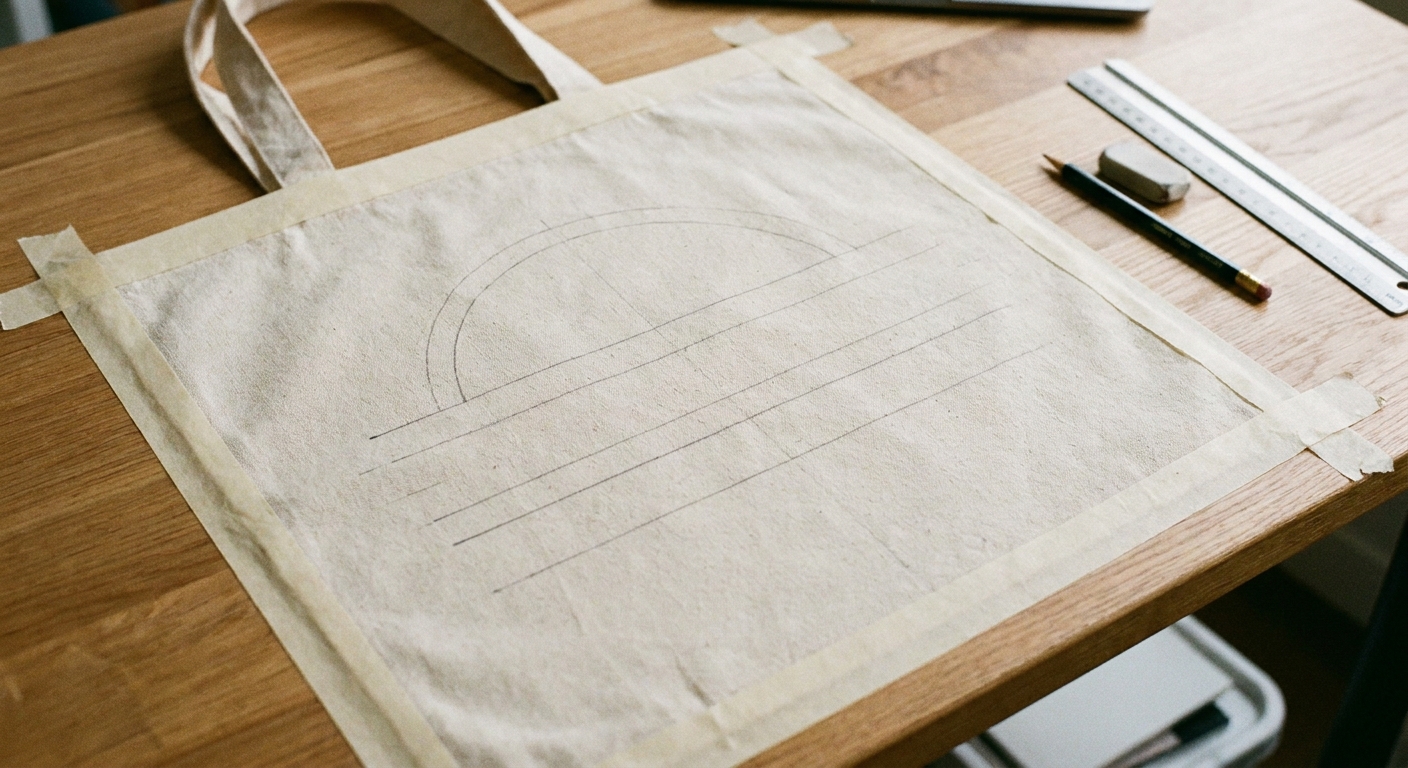
How to transfer lettering
There are a few reliable transfer methods. Choose the one that matches your tools and how confident you feel freehand.
Option A: Sketch directly
- Write your phrase lightly in pencil or washable fabric pencil.
- Refine letter shapes with gentle erasing.
- Paint over the sketch once you love the layout.
Tip: Keep pencil pressure light. Heavy graphite can show through lighter paint.
Option B: Trace with a window or light source
- Print your design on paper.
- Tape it inside the tote bag.
- Hold the tote against a bright window and trace onto the fabric with pencil or fabric marker.
Note: This is harder on thick denim because less light passes through.
Option C: Transfer paper
- Place transfer paper between the printed design and fabric.
- Trace with a ballpoint pen or stylus.
- Lift a corner to check the transfer before removing tape.
Graphite transfer paper can work really well on denim, but keep in mind that dark transfer lines may show under light paint. If you are planning white or pastel lettering, test first or choose a washable or lighter transfer option when possible.
Choosing paint and markers
On fabric, the best lettering tools are the ones designed to stay flexible and wash-safe.
Fabric paint
Why it is great: strong color, excellent wash durability, and you can adjust thickness with a brush.
- Use a small round brush for curves and thick to thin transitions.
- Use a flat shader brush for filling block letters.
- Apply 1 to 3 thin coats depending on opacity and your paint label, rather than one heavy coat to reduce cracking.
Fabric markers
Why they are great: quick lines, easy outlines, tidy travel supply kit.
- Look for markers labeled permanent and washable.
- Use for monoline scripts, outlines, and small accents.
If monoline lettering is your happy place, this refresher keeps your strokes even and clean: Monoline Lettering 101.
Acrylic paint plus fabric medium
Why it is great: lets you use acrylic colors you already own while improving flexibility and wash resistance when mixed correctly.
- Mix according to the fabric medium instructions.
- Expect a slightly more "painted" feel than true fabric paint, especially if you apply it thick.
Paint pens
Why they are great: controlled linework, solid opacity, especially nice for white details on denim.
- Prime the pen as directed so paint flows evenly.
- Test on scrap fabric to check for bleed and nib drag.
Tip for dark fabric: use an underbase
If you are lettering in a bright color on dark denim or black canvas, paint a thin white underbase first (just where the letters will be), let it dry, then add your color. It makes shades look cleaner and helps you use fewer heavy coats.
Denim jacket step by step
Denim is sturdy, which makes it a cozy surface for bold lettering.
1) Protect and tape
- Insert a firm layer inside the jacket.
- If you want extra protection from wet paint, add a thin plastic sheet behind the firm layer.
- Tape around the design area if you want a clean boundary.
2) Sketch your layout
- Mark a center line on the back panel if you want symmetry.
- Draw light baselines for each line of text.
3) Outline first (optional)
For crisp edges, outline your letters with a fabric marker or a thin brush and slightly thicker paint. Then fill in.
4) Paint in thin layers
- Load your brush with enough paint to glide, not blob.
- Pull strokes slowly so paint sits on top of the weave rather than soaking straight down.
- Let each coat dry fully, then add another if needed for opacity.
5) Add details last
- Highlights, tiny sparkles, dots, or little flourishes go on after the main letters are dry.
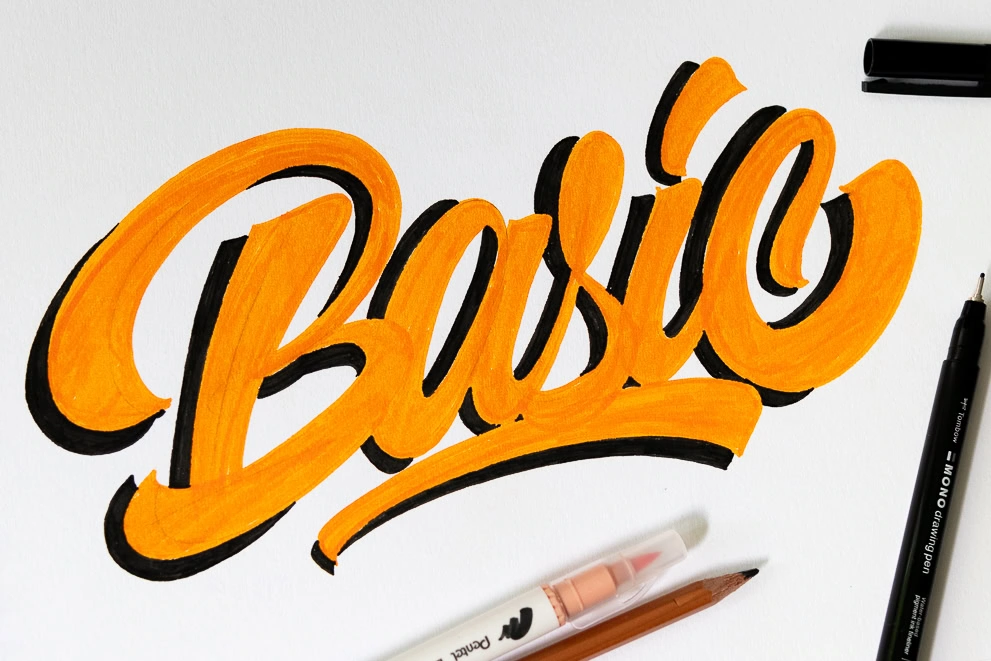
- If you want depth, keep shadows simple so they do not fight the fabric texture. This guide is full of friendly options: Drop Shadows and 3D Effects for Hand Lettering.
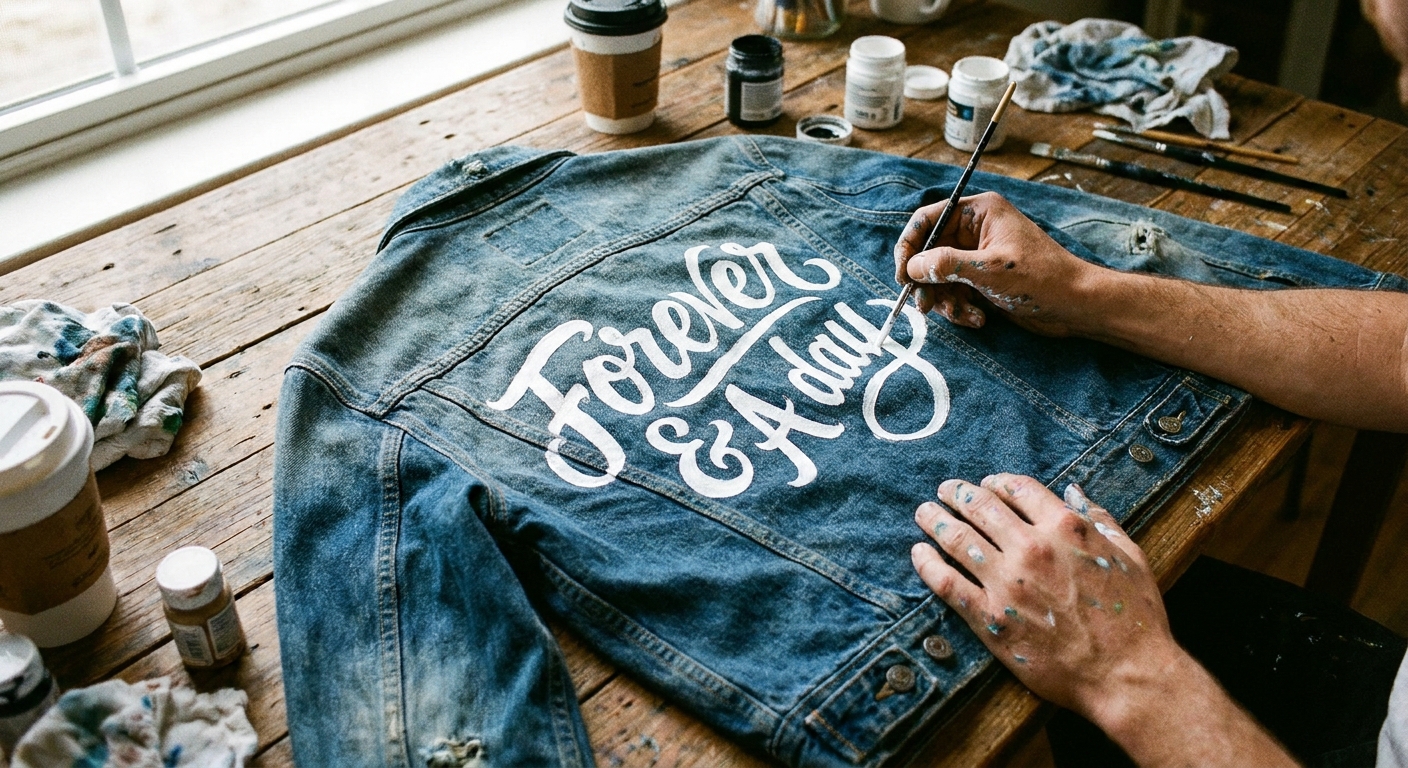
Canvas tote step by step
Tote bags are wonderful practice surfaces because they lie flatter than clothing.
1) Flatten and stabilize
- Insert a firm layer inside.
- Tape the tote down so it does not scoot around.
2) Transfer your design
- Use a window trace method, transfer paper, or a light pencil sketch.
- Keep the design a few inches away from seams for the smoothest strokes.
3) Letter with your tool
- Fabric marker: use steady pressure and let ink dry before resting your hand.
- Paint and brush: work from top to bottom so you do not brush against wet sections.
- Paint pen: go slowly on textured canvas so the nib does not catch.
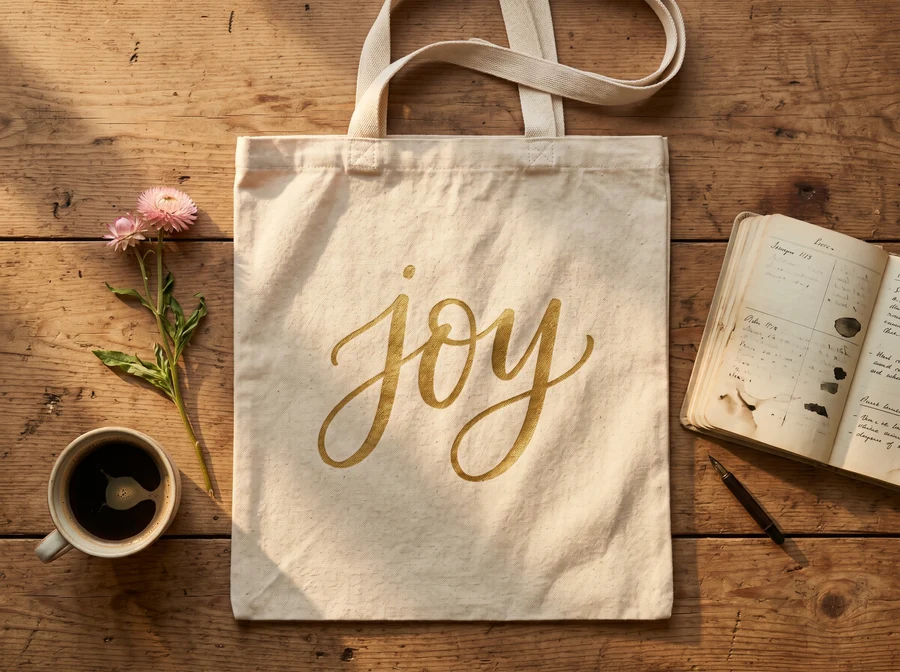
4) Let it cure
Even before any heat-setting, let the design dry flat. Many products also need additional cure time for maximum durability, so always follow your label for dry time and cure time.
Heat-setting and curing
Not every product uses the same finishing process. Some fabric paints and markers are air-cure only, and others want heat to fully set. The only universal rule is this: follow the directions on your specific product for time, temperature, and whether to heat from the front or the reverse side.
Safety and care check
- Check the fiber content and care label before you use heat.
- Make sure the paint is fully dry (and cured, if your label calls for cure time before heat).
- Use a pressing cloth and protect your ironing board with a towel or extra cloth.
- Avoid steam unless your product specifically says it is okay.
Method 1: Iron
- Place a pressing cloth over the design.
- Use no steam.
- Press in sections, lifting and placing the iron rather than sliding.
- If your label recommends it, heat-set from the reverse side of the fabric to protect the surface.
Extra tip for denim: thick seams can lift the iron away from parts of your design. Press carefully in small sections to keep contact even.
Method 2: Dryer
Some products allow heat-setting by running the item through a dryer cycle after the paint is dry. Others do not. Treat the dryer as an option only when your label specifically lists it.
Method 3: Heat press
If you have a craft heat press, it can give even heat and pressure. Use a pressing cloth and match the time and temperature to your paint or marker instructions.
First wash rules
- Wait for full cure time: many fabric paints want 24 to 72 hours before washing, but your label is the boss.
- Turn inside out before washing, especially for jackets.
- Cold water, gentle cycle keeps lettering happier.
- Mild detergent is best. Avoid bleach.
- Air dry when possible to reduce wear. If using the dryer, keep heat moderate.
Fabric lettering is tougher than it looks, but it still appreciates gentle laundry habits.
Common problems and fixes
Paint bled under my edges
- Use less paint on the brush and build in thin coats.
- Stabilize the fabric more tightly on a board.
- On canvas, consider outlining first, then filling.
My brush skips on textured fabric
- Switch to a slightly stiffer brush.
- Use a paint pen for the outline, then fill with paint.
- Keep strokes slower and shorter so you do not catch on the weave.
Letters cracked after drying
- Cracking often comes from paint applied too thickly. Use multiple thin coats.
- Make sure you are using a product meant for fabric or acrylic plus fabric medium.
- Avoid stretching the fabric while painting and while the paint cures.
My transfer lines are showing
- On your next project, use a lighter, washable transfer method for light paint.
- Try outlining with opaque paint first, or use an underbase coat so the final color covers more cleanly.
Smudges happened while I worked
- Work top to bottom and keep a clean scrap of paper under your hand.
- Give each section extra dry time before adding details.
Design ideas for jackets and totes
- Big single word: brave, bloom, create, sunshine.
- Mini mantra: two to four words in bold script.
- Block letters with a shadow: high readability and fun depth.
- Script plus sans-serif: one word in script, the rest in clean caps.
- Simple border motifs: tiny leaves, dots, or stars framing the phrase.
If you want help mixing styles without clutter, the composition tips here translate beautifully to fabric layouts: Hand Lettering Composition for Quotes.
Quick FAQ
Can brush pens be used directly on fabric?
Some markers labeled for fabric can feel brush-like, but many regular brush pens are water-based and may fade or bleed on fabric. For washable results, choose tools specifically made for fabric or use fabric paint.
Do you need to seal fabric paint?
Most fabric paints and fabric markers are designed to be permanent when cured and finished as directed (air-cured, heat-set, or both). A compatible topcoat can add protection on high-friction areas, but always test first to avoid stiffness or cloudiness.
What is the best color for dark denim?
Opaque paints and paint pens, especially white or light neutrals, show up beautifully. For bright colors, a thin white underbase helps a lot. If you are layering, let each coat dry fully before adding the next for the cleanest edges.
How do you keep tote lettering centered?
Fold the tote in half vertically to find the center crease, then mark a tiny center point with pencil. Build your design outward from that center line.
A tiny pep talk from the studio
Fabric lettering gets easier the moment you treat it like two projects in one: first a tidy layout, then a careful, patient paint job. Slow strokes, thin coats, and the right cure or heat-set turn your words into something you can actually use and wash.
If you want a quick confidence boost before painting the real thing, a short daily warmup helps your hand feel steady and your curves feel smooth: 15-Minute Daily Calligraphy Drills.