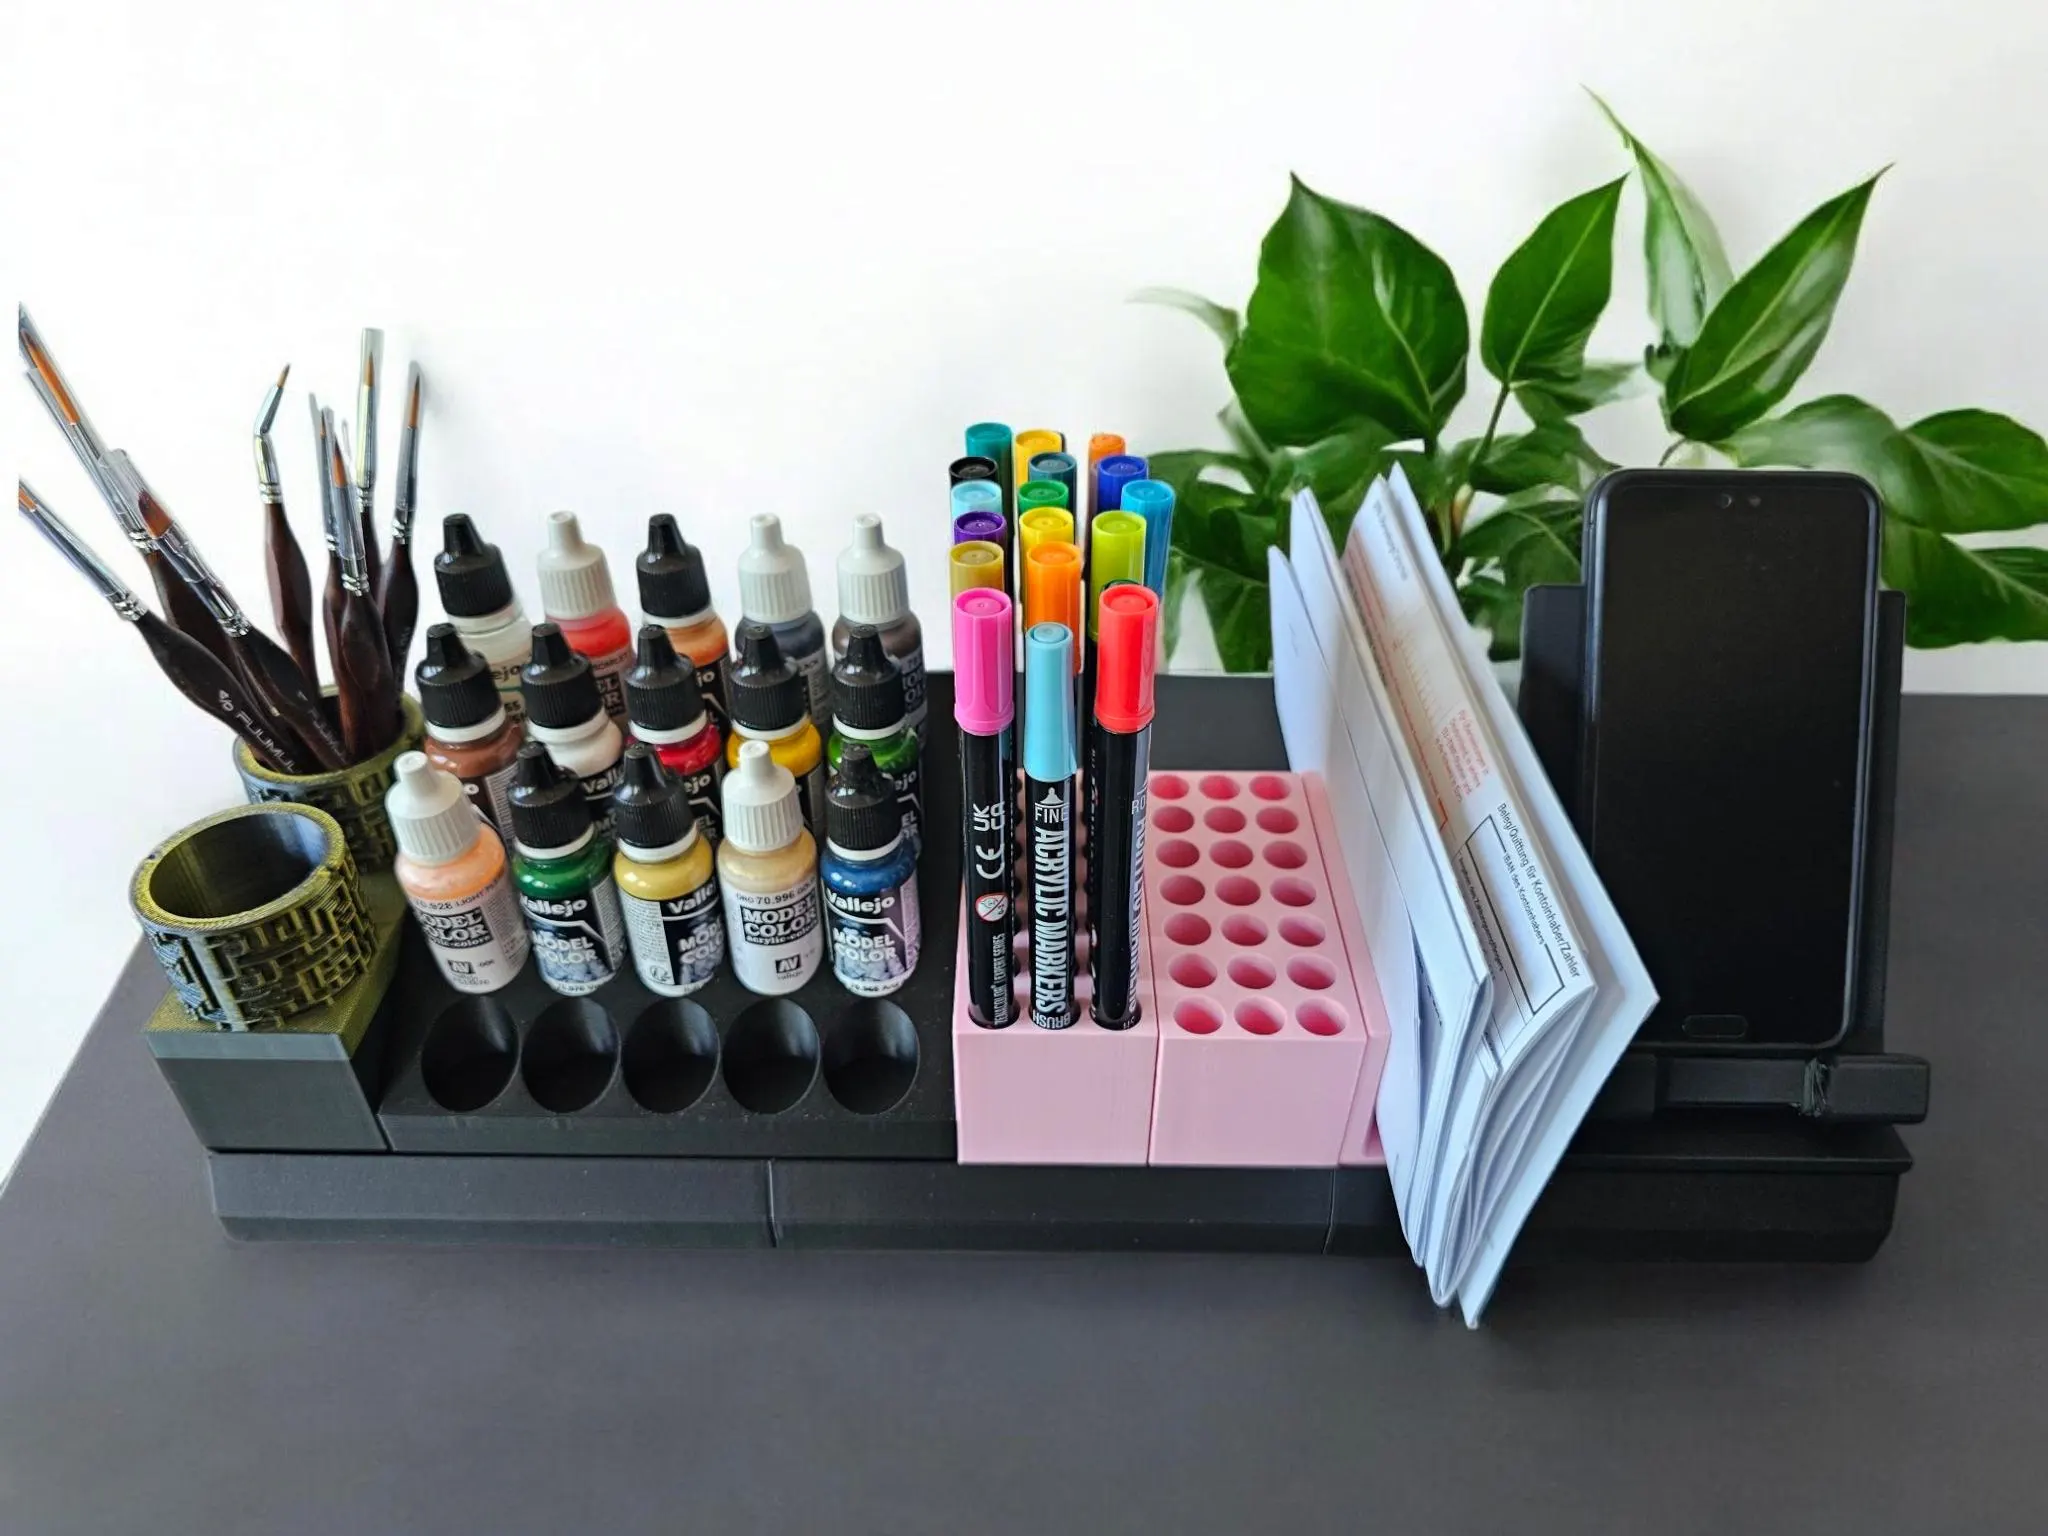
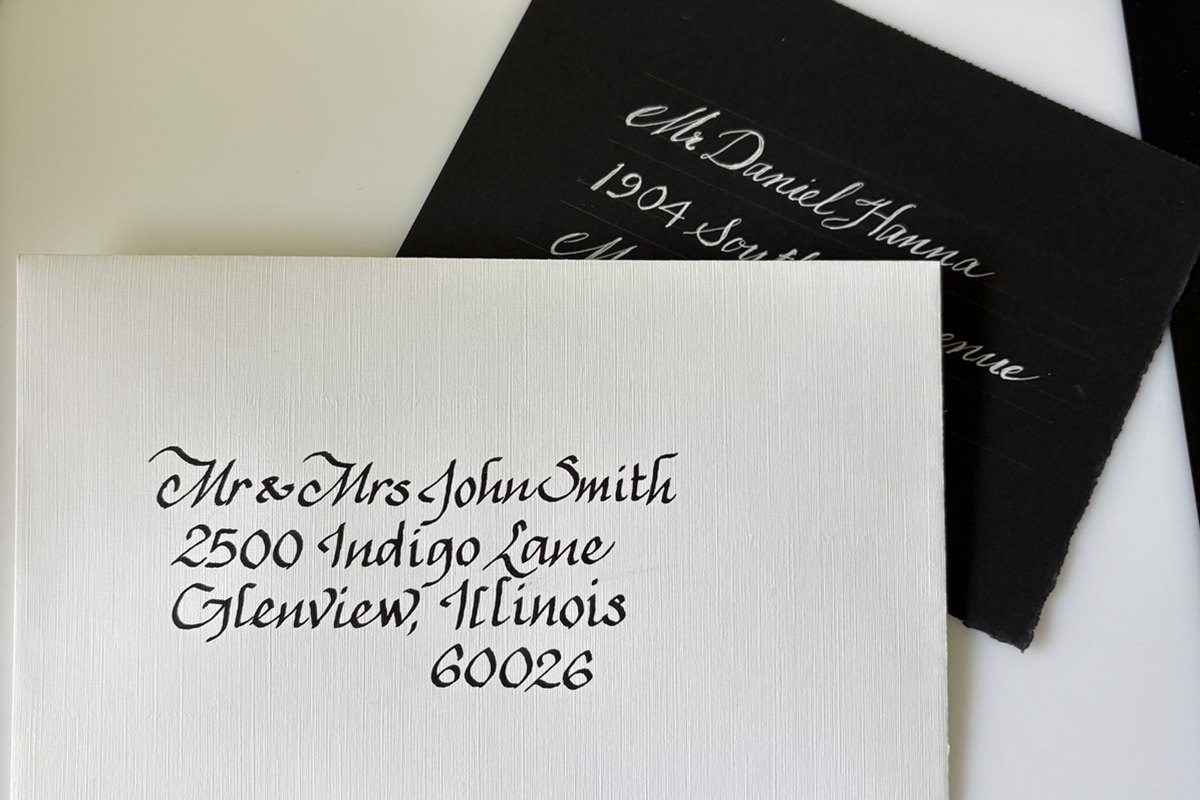
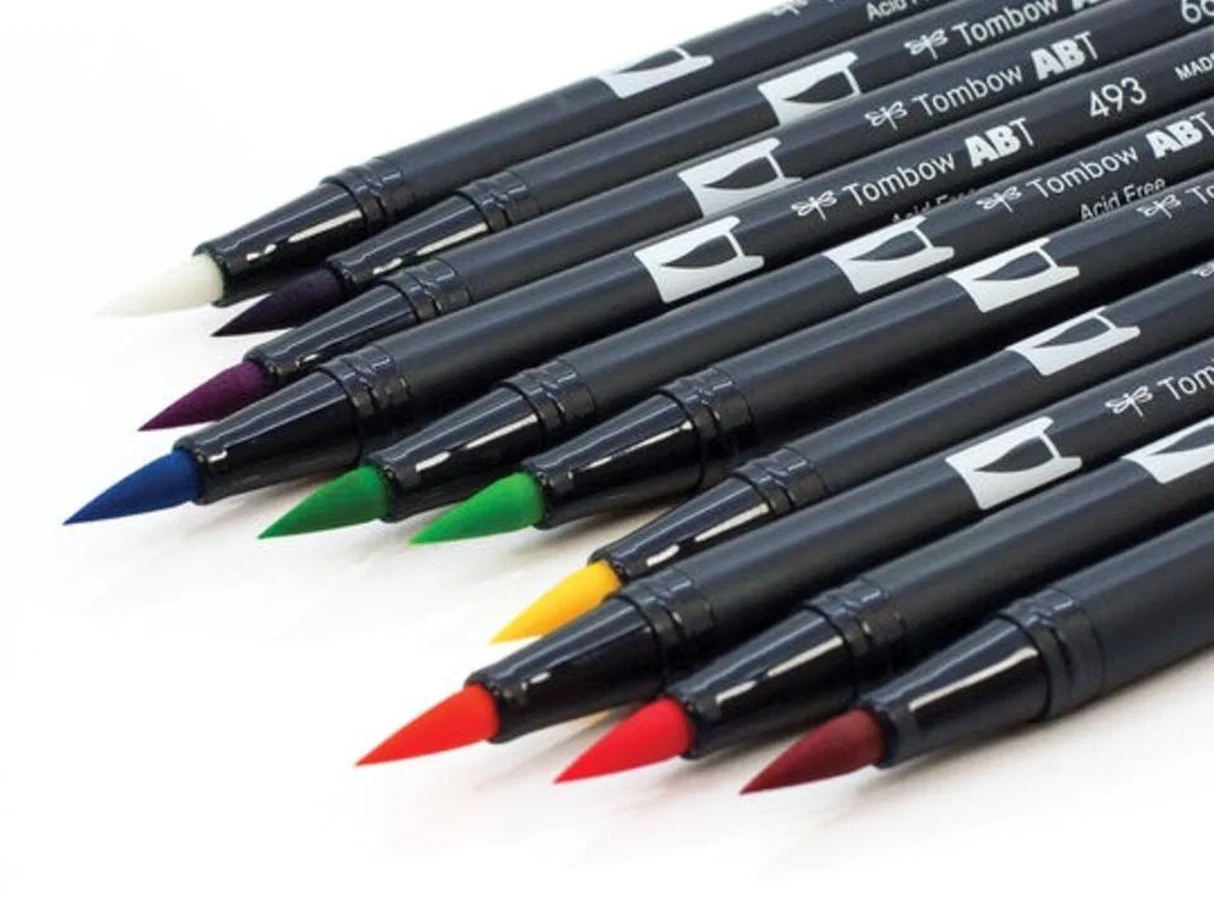
Grab your favorite marker and let’s dress up some glass, wood, and acrylic with beautiful lettering together! The trick is matching the right pen to the right surface, then giving the ink a little help with prep and sealing so it stays crisp through wedding-day handling, table wipes, and happy little fingerprints.
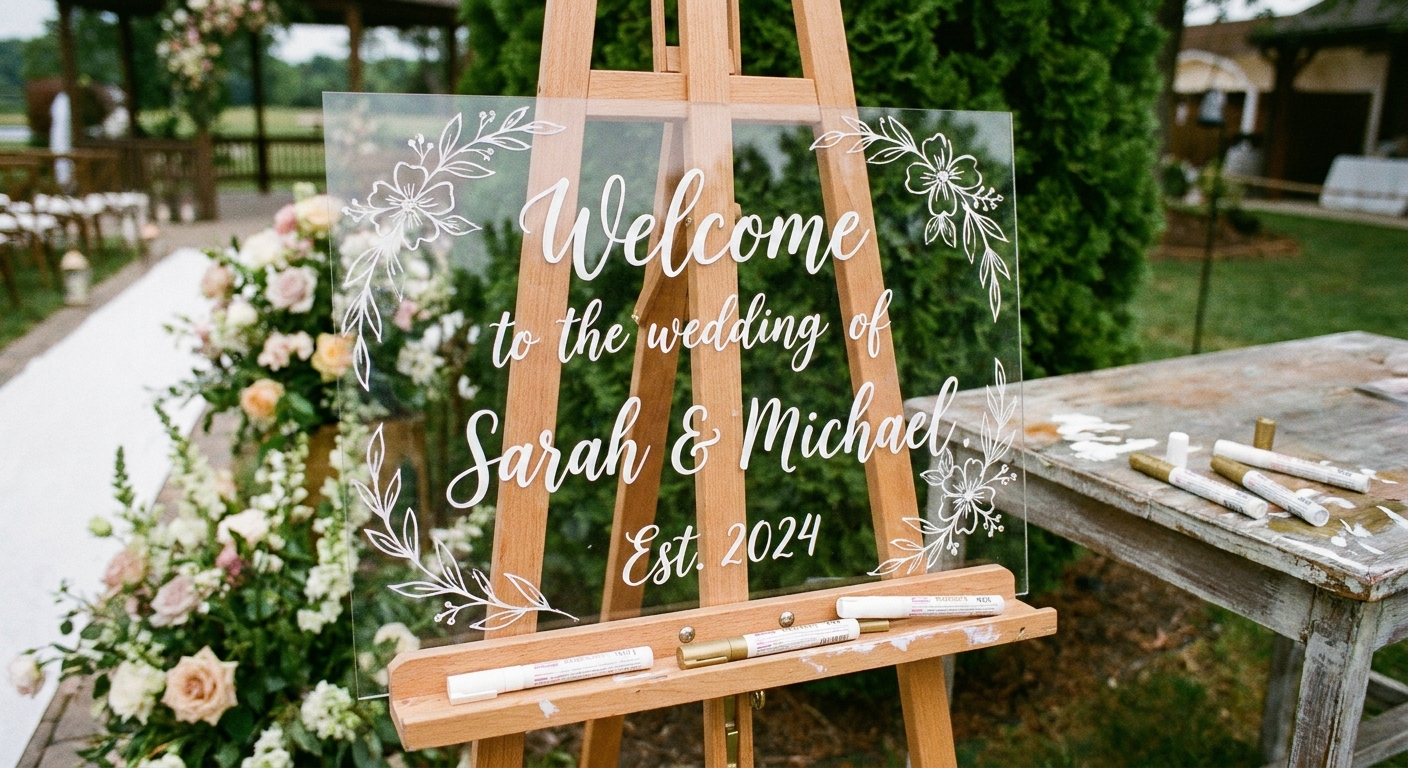
What makes a marker work on slick surfaces
Glass, mirrors, and acrylic are nonporous. That means many everyday markers will bead up, smear, or scratch off later. Wood is porous, but it comes with its own challenge: bleeding and fuzzy edges if the ink sinks into the grain.
- For glass and acrylic: look for oil-based paint pens, acrylic paint markers, or wet-erase and chalk markers (depending on whether you want durable or removable).
- For wood: opaque paint pens and acrylic paint markers shine, plus brush markers or dyes can work if you seal the wood first.
- For durability: paint needs proper cure time. Dry means the surface is not tacky. Cured means the paint has hardened enough to better resist rubbing and light handling.
Top picks by surface
Glass and mirrors
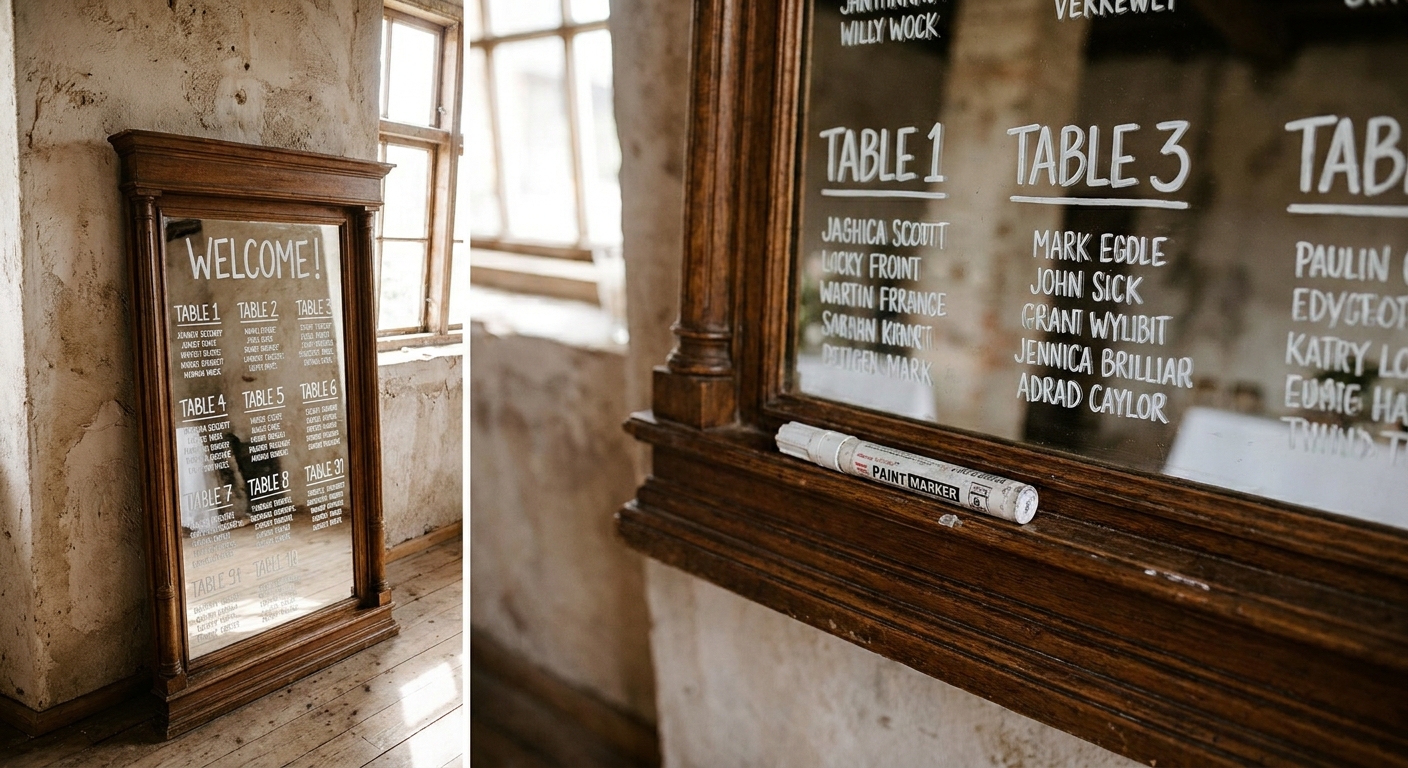
Most durable option: oil-based paint markers. Even then, remember that glass is easy to mechanically scrape clean later, so “permanent” depends on prep, cure time, and how the piece is handled.
- Sharpie Oil-Based Paint Marker: easy to find, writes on glass well, and holds up best after it has time to cure. Great for small to medium lettering and simple flourishes.
- DecoColor Oil-Based Paint Marker: another popular oil-based option with strong coverage for mirror signage and glass decor.
Best for opacity and color (but gentler handling): water-based acrylic paint markers.
- uni POSCA paint markers: wonderfully opaque for bold strokes on glass and mirror, especially in lighter colors. On slick surfaces, they can scratch or lift if rubbed hard. If the piece will be handled a lot, consider a tested, compatible topcoat or choose oil-based instead.
Best for removable lettering: wet-erase markers and chalk markers.
- Vis-à-vis wet-erase markers (commonly used on overhead transparencies): great when you want crisp lines that wipe off. On glass, they tend to behave predictably, but if the ink sits for a long time it can leave faint “ghosting” that takes more than plain water to remove.
- Chalk markers: bold and high-contrast on glass, especially for menus and café-style signs. They are typically removable, but staining and stubborn residue can happen on etched glass, coated surfaces, and some plastics. Test first, and plan on using a stronger cleaner if needed.
Acrylic
Best overall: acrylic paint markers and oil-based paint pens. Acrylic is smooth like glass, but scratches can show more easily because of the plastic surface.
- uni POSCA paint markers: very popular for acrylic signs because the paint sits opaque on the surface and the color range is wide. Tip sizes let you choose everything from hairlines to chunky strokes.
- Sharpie Oil-Based Paint Marker: excellent for clean, sharp lines and solid whites on acrylic. Give it time to cure before stacking.
- Molotow ONE4ALL acrylic markers: known for highly pigmented acrylic paint and replaceable tips. A favorite for vibrant, saturated color on acrylic projects.
Nibbly tip: On clear acrylic, many letterers paint the back side of the sign (reverse lettering). It protects the design from scratches and fingerprints on the front.
Wood
Best for opaque, readable lettering: paint pens and acrylic paint markers.
- uni POSCA paint markers: strong for wood because they are opaque enough to sit on top of the grain, especially with a broader tip for smoother coverage.
- Sharpie Oil-Based Paint Marker: great for high contrast lettering on stained or sealed wood. Oil-based paint can pop beautifully against darker finishes.
- DecoColor paint markers: a good choice when you want a classic paint-marker look on wood slices and rustic decor.
For a brush-lettered look on wood: If you want the bounce of a brush pen, you will usually get cleaner results by sealing the wood first, then using paint markers for the final letterforms. If you love brush pens, peek at paper that keeps brush pens from fraying for the idea behind it: smoother surfaces protect tips and keep edges sharper.

Quick choosing guide
- Want the most durable option on glass, acrylic, or metal? Choose oil-based paint markers, then prep well and allow full cure time.
- Want vibrant color and lots of tip sizes? Choose acrylic paint markers like POSCA-style markers, especially for acrylic and wood.
- Want removable for an event or seasonal decor? Choose wet-erase or chalk markers and test your surface first.
- Need thin hairlines for scripts? Look for fine or extra-fine tips, and expect to build thickness in layers rather than forcing a broad stroke in one pass.
- Need big, bold strokes from far away? Use medium to broad tips, then add thin details with a fine tip after the base layer dries.
Surface prep that makes lettering cleaner
This is the tiny step that saves big frustration later.
Glass and acrylic
- Degrease first: wipe with isopropyl alcohol on a lint-free cloth to remove skin oils and residue.
- Avoid streaky cleaners: some glass sprays leave behind additives that can repel paint.
- Keep hands off the writing area: fingerprints can cause skipping and beading.
Wood
- Sand lightly: smoother wood gives crisper edges.
- Seal if the grain is thirsty: a clear sealer or primer helps prevent fuzzy bleed and uneven coverage.
- Wipe dust away: sawdust turns clean strokes into speckled ones.
Technique tips for crisp lettering
Let paint markers wake up
Most paint pens need shaking, then gentle pumping on scrap until the paint flows. Start on scrap every time so your first stroke on the sign is not a surprise blob.
Build color in two light coats
Especially for whites and pastels. A thin first layer grips the surface better. A second layer evens everything out once the first is dry.
Work in a smudge-safe direction
On slick surfaces, wet paint can smear if your hand brushes it. Consider working top to bottom, or rotate the sign so your hand never crosses fresh lettering.
Practice on the same material
Paper practice is lovely, but plastic and glass feel different. If possible, test on a spare acrylic sheet, the back of a frame, or a scrap of the same wood finish.
Layout tricks for mirrors and acrylic
- Printed template behind acrylic: tape your design on paper to the back side and trace on the front, or letter on the back for reverse lettering.
- Guidelines without panic: low-tack tape makes quick baselines on mirror frames or on the back side of acrylic.
- Light helps: a bright window or lamp behind clear acrylic can make your template easier to follow.
How to keep wedding signage durable
If your sign needs to survive transport, setup, and lots of admiration, plan for protection.
- Build in cure time: paint often feels dry quickly, but it hardens over time. If you can, finish signage a day or two before it needs to travel.
- Handle by the edges: even cured paint can scratch under pressure.
- Use interleaving: place clean paper between stacked acrylic signs to prevent rubbing.
- Consider sealing: a compatible clear topcoat can protect paint on wood and some acrylic projects. Important: many solvent-based clear coats can fog or craze acrylic. Choose an acrylic-safe sealer and test on a scrap first.
If you are storing finished projects for an event, a tidy setup helps too. The storage habits in how to store calligraphy pens and markers translate nicely to paint markers, especially keeping tips clean and caps snug.
Color and opacity
White is the hero color for mirror seating charts and acrylic welcome signs, but not every “white” is equally opaque.
- For the boldest white: look for paint markers labeled opaque. Use two coats if needed.
- For metallics: shake well and write a little slower so the metallic pigment can lay down evenly.
- For dark backgrounds: paint markers usually outperform dye-based markers. If you are doing paper envelopes too, you might like best white pens and inks for dark envelopes for more white-ink options.

Fix mistakes and clean up
Glass and mirrors
- Wet-erase and chalk: start with water, then step up to glass cleaner or isopropyl alcohol if residue lingers.
- Oil-based paint: let it dry, then carefully lift with a razor scraper held at a low angle, followed by alcohol to remove any film. Go slowly and keep your fingers clear.
- Acrylic paint markers: small mistakes can often be lifted with a damp cloth while fresh. Once dry, gentle scraping can help, but avoid gouging the glass.
Acrylic
- Be gentle: acrylic scratches easily. Skip metal scrapers. Try a soft cloth with a little isopropyl alcohol first.
- Stubborn spots: a plastic scraper can help lift paint without gouging, but test in a corner to be safe.
Wood
- Unsealed wood: paint soaks in, so removal is tricky. A light sanding and a fresh coat is usually the cleanest fix.
- Sealed wood: you may be able to lift small mistakes with a damp cloth while the paint is still fresh, then touch up once dry.
Common problems and quick fixes
My marker beads up on glass or acrylic
- Clean again with isopropyl alcohol and a lint-free cloth.
- Try slower strokes with slightly more pressure so the tip makes full contact.
- Switch to an oil-based paint marker if you are using a water-based marker that is not designed for nonporous surfaces.
My lines look streaky
- Do one light coat, let it dry, then add a second coat.
- Use a broader tip for large strokes. Small tips can leave track lines when you try to fill big areas.
My wood lettering looks fuzzy
- Sand smoother and seal the wood before lettering.
- Use a more opaque paint marker instead of a dye-style marker.
My paint pen tip is getting rough
Paint can crust around tips. Recap tightly and store properly, and if you are troubleshooting a brush-style tip, how to fix frayed brush pens has gentle care ideas that can help you think through tip maintenance.
Safety notes
- Ventilation: oil-based markers and some sealers have stronger fumes. Use them in a well-ventilated space and recap between strokes.
- Hands and surfaces: protect your table, and wash paint off skin sooner rather than later.
A simple supply list
- Your chosen paint markers in 2 tip sizes (one medium for main strokes, one fine for details)
- Isopropyl alcohol and a lint-free cloth
- Low-tack tape for guidelines on the back side (for acrylic) or on the frame edge (for mirrors)
- Soft pencil and ruler for planning on paper first
- Clean paper for pumping and testing paint flow
Want to keep exploring tools that play nicely with lettering practice too? Hop over to Tools & Supplies for more pen and ink adventures.