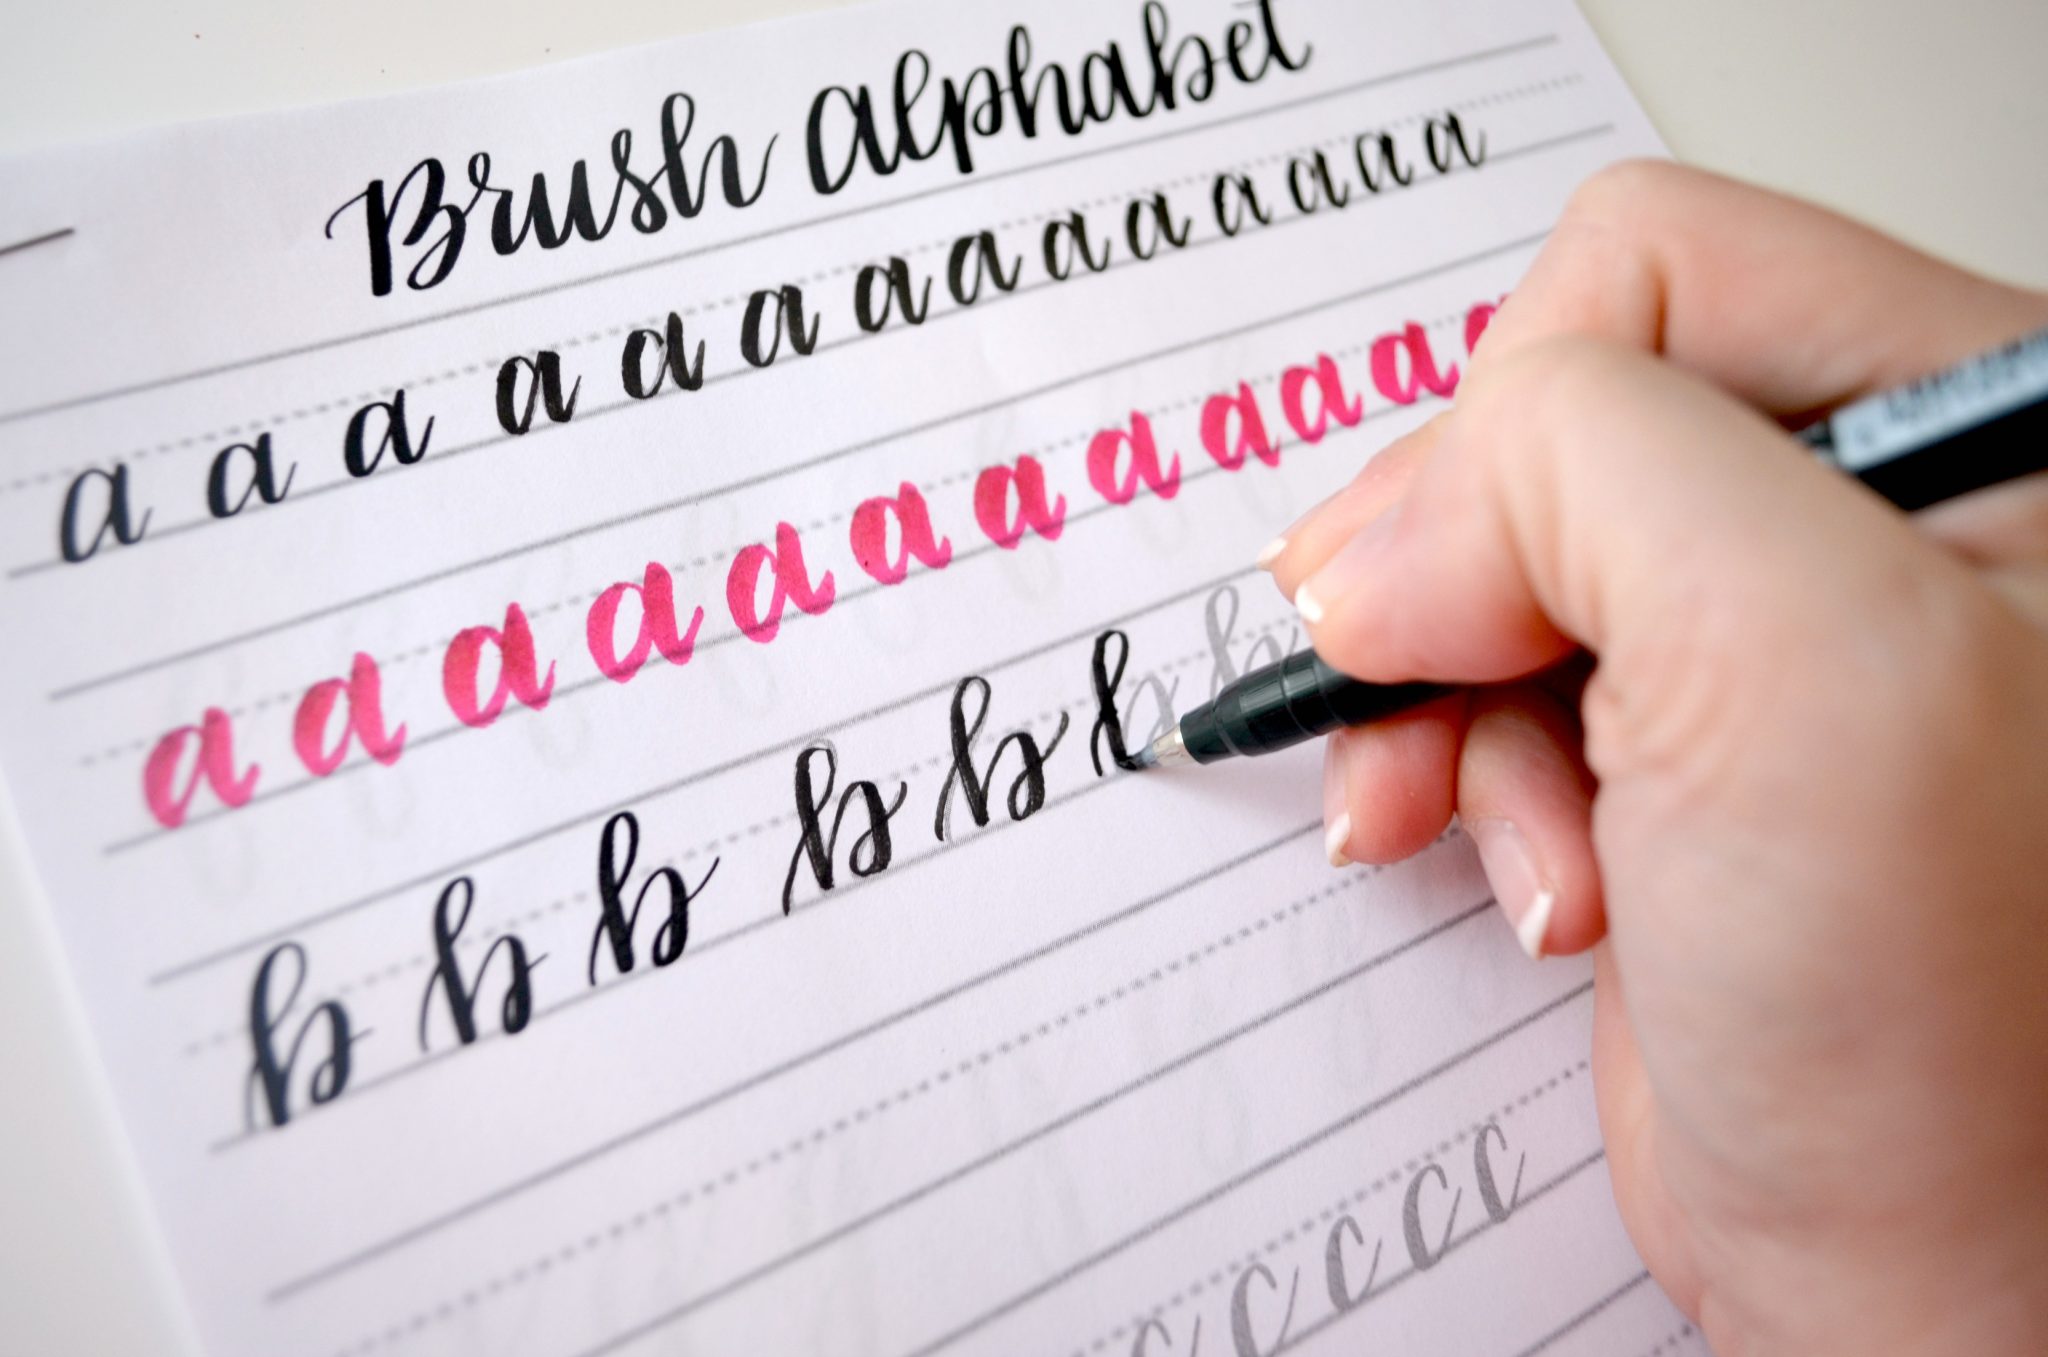
Grab your favorite brush pen and let’s draw some beautiful letters together. When calligraphy feels wobbly or inconsistent, it is often not a talent problem. For many people, it is a muscle memory (and tension) problem, and the happiest fix is a tiny daily routine. If something still feels off after a week or two, it is also worth checking for a pen and paper mismatch or going a touch slower.
This 15-minute warmup is built around two big skills: pressure control (thin upstrokes, thick downstrokes) and continuous movement (smooth loops that keep your hand relaxed). Do it daily, and your lines will start to look like they belong to the same alphabet family.
Quick note on tools: a small, firm felt tip will feel “snappier” and needs less pressure to make contrast, while a larger, softer brush tip will reward a gentler touch and slower turns. Either works, you just adjust your pressure expectations.
How to use this routine
- Time: 15 minutes total. Set a timer so you do not overthink.
- Tools: Any brush pen or marker, plus smooth paper. Avoid very fibrous, grabby paper that can chew up tips. Plain printer paper can work for drills, but if you notice feathering or fraying, switch to a smoother, more pen-friendly sheet. If your tips keep fraying, the paper may be too rough. See paper that keeps brush pens from fraying.
- Posture: Relax your shoulder, keep a light grip, and let your arm help guide the motion. A death-grip makes shaky lines.
- Comfort rule: Practice should feel steady, not painful. If you feel pain, numbness, or tingling, stop, shake out your hand, and adjust your grip, posture, or practice size before continuing.
- Main rule: Practice slowly enough to stay smooth. Speed comes later.
If you are brand new to strokes, it helps to review the core movement vocabulary first. This warmup pairs beautifully with 8 basic brush lettering strokes.
The 15-minute daily warmup
Each mini-drill has a purpose. You are not trying to fill a page. You are trying to make clean repetitions.
Minutes 0–2: Gentle lines
- Draw 1 row of light horizontal hairlines left to right.
- Draw 1 row of light vertical hairlines top to bottom.
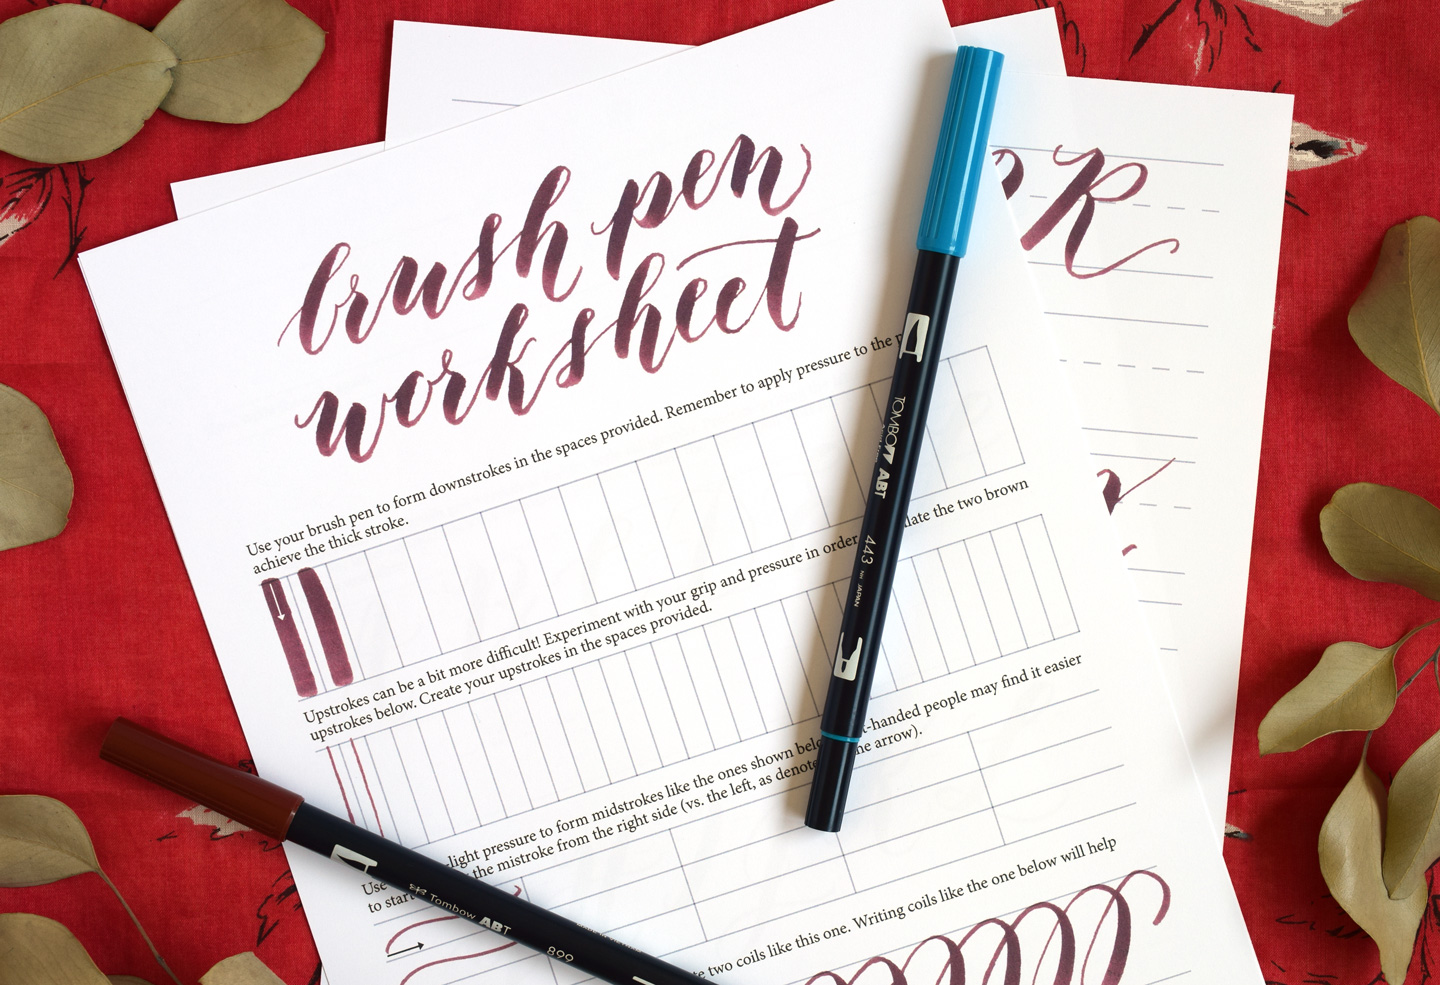
- Draw 1 row of firm downstrokes (press on the way down, lift at the end).
Focus: identical spacing and consistent pressure. Imagine every line is trying to match its neighbor.
Minutes 2–6: Pressure-control shapes
These shapes train you to switch pressure without pausing. Do each for about 45 seconds, then repeat your weakest one.
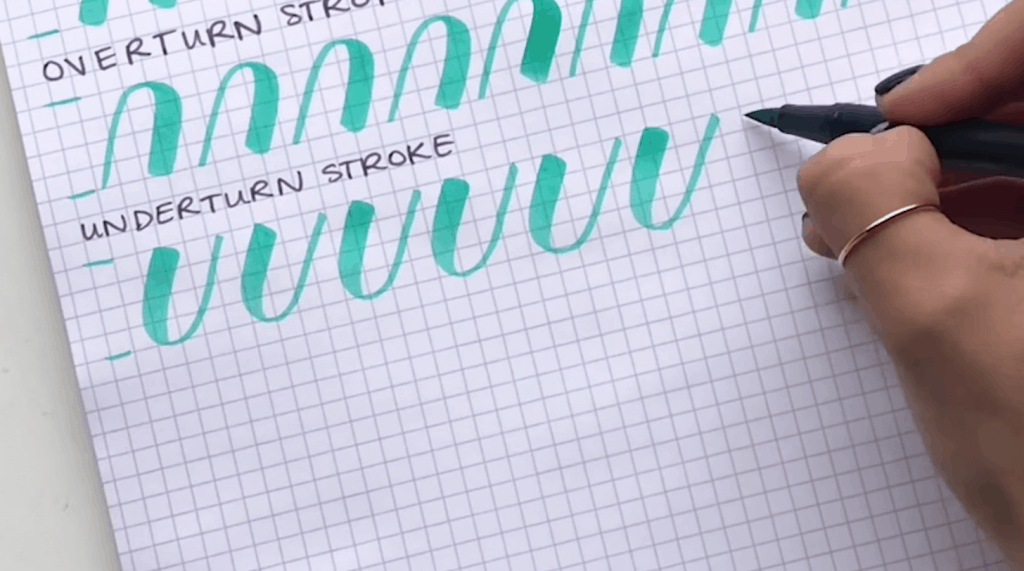
- Teardrops: Start with light pressure, press into a thick belly, then release to a thin exit.
- Upstroke to downstroke flips: Make a thin entry line, then immediately turn into a thick downstroke.
- Compound curves: A thin up, thick down, like a soft “n” shape repeated across the row.
Nib’s tiny reminder: I’m Nib (hi). Aim for pressure control mostly from your fingers and wrist while your forearm guides the movement. Smooth beats force every time.
Minutes 6–11: Continuous loops
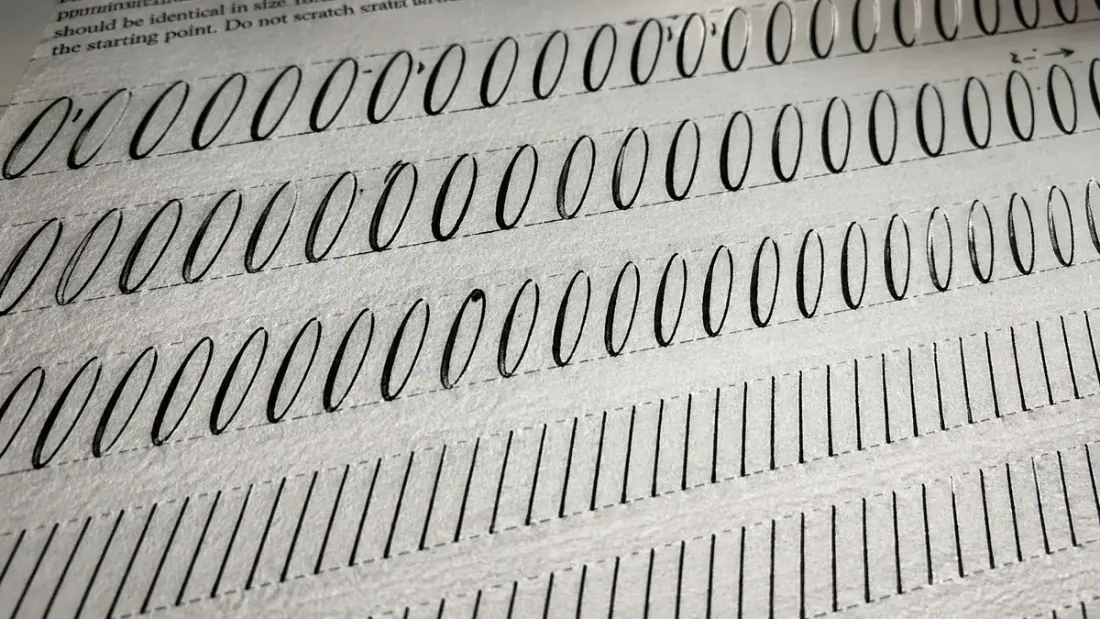
Loops help your hand stop bracing and start gliding. Pick a steady pace and keep the pen moving.
- Oval loops: Make narrow ovals like repeated “o” shapes. Keep them the same width.
- Figure eights: A smooth infinity motion, light on top, heavier pressure when moving down.
- Entry and exit loops: A thin entry loop into a thick downstroke, then a thin exit loop out.
Focus: no corners, no sharp points, no sudden speed bursts. Even is beautiful.
Minutes 11–13: Mini-words
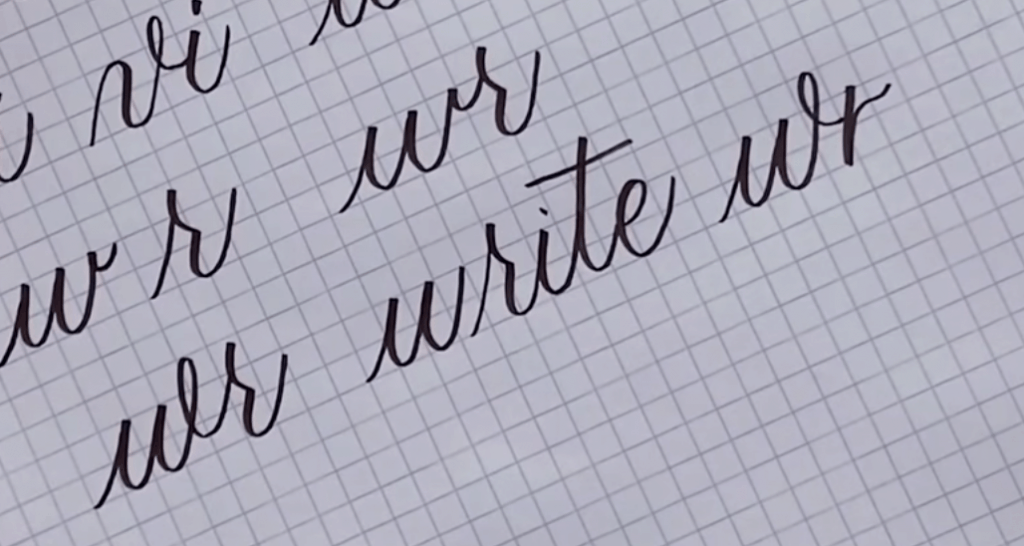
Now turn the drills into letter movement. Write each word slowly twice, aiming for matching shapes.
- minimum (compound curves for days)
- loop (ovals and exits)
- tiny (thin entries and clean turns)
If connecting letters is the part that keeps wobbling, practice connections on purpose. This guide helps: how to connect letters in modern calligraphy.
Minutes 13–15: One focused fix
Use the last two minutes to target the thing that annoyed you today.
- If downstrokes are blotchy, do slow downstrokes with a gentle lift at the end.
- If upstrokes are thick, do hairline ladders: 10 feather-light upstrokes in a row, then repeat 10 more focusing on keeping that same barely-there pressure from start to finish.
- If slant is inconsistent, draw light guide lines and match them for one row.
What good practice looks like
- Fewer, cleaner reps beat a crowded page. If a shape gets messy, pause, reset your grip, and try again slowly.
- Listen for scratchiness. Scratchy sound often means too much pressure on an upstroke or paper texture that is fighting your pen. It can also mean a drying marker, low ink flow, or a damaged tip.
- Match, then refine. First aim for letters that look consistent with each other. Then aim for prettier.
- Stop before your hand gets tired. Tired practice teaches your muscles the tired version of the stroke.
Tiny upgrades
Choose a friendly pen
A brush pen with predictable pressure makes warmups feel calmer. If you are shopping around, this roundup can help you pick a friendly starter: best brush pens for calligraphy beginners.
Protect your brush tips
If your pen tip is already fuzzy, practice can feel frustrating fast. Try these fixes and prevention tips: how to fix frayed brush pens and how to store calligraphy pens and markers.
Use baselines
Even a faint baseline can instantly improve your practice words. If you love playful bounce, learn the rules first, then break them on purpose: bouncy calligraphy baseline rules.
Common problems
My strokes look shaky
- Slow down until you can draw a smooth curve.
- Lighten your grip and let your forearm help guide the motion.
- Practice larger shapes for a few days. Tiny shapes show every tremble.
My thin upstrokes keep getting thick
- Reduce pressure to almost nothing on the way up.
- Angle the pen so you are not mashing the tip.
- Try “ghosting”: hover your pen over the path once, then draw it.
My loops get lopsided
- Pick one width and stick to it for the whole row.
- Draw a light pencil guideline box and keep loops inside it.
- Do fewer loops, but make each one intentional.
My ink blobs at turns
- Pause less at the curve. Blobs love pauses.
- Use slightly less pressure when changing direction.
- Check paper absorbency. Very absorbent paper can encourage feathering.
A simple weekly plan
This routine stays the same, but your two-minute focus fix can rotate by day:
- Mon: clean downstroke endings
- Tue: hairline ladders
- Wed: oval loop consistency
- Thu: compound curves
- Fri: letter connections
- Sat: light flourishing basics (keep it small and controlled)
- Sun: your favorite drill only, nice and easy
When you are ready to add gentle flourishes without losing control, start here: beginner calligraphy flourishing.
Keep score kindly
Consistency grows quietly. A sweet little method is to date the top of your page and circle one thing you like. Maybe it is one smooth loop, or one row of matching downstrokes. That is how muscle memory learns what to repeat.
If you want more ways to practice without pressure, peek around Tutorials & Practice Drills. There is always another swoop waiting.