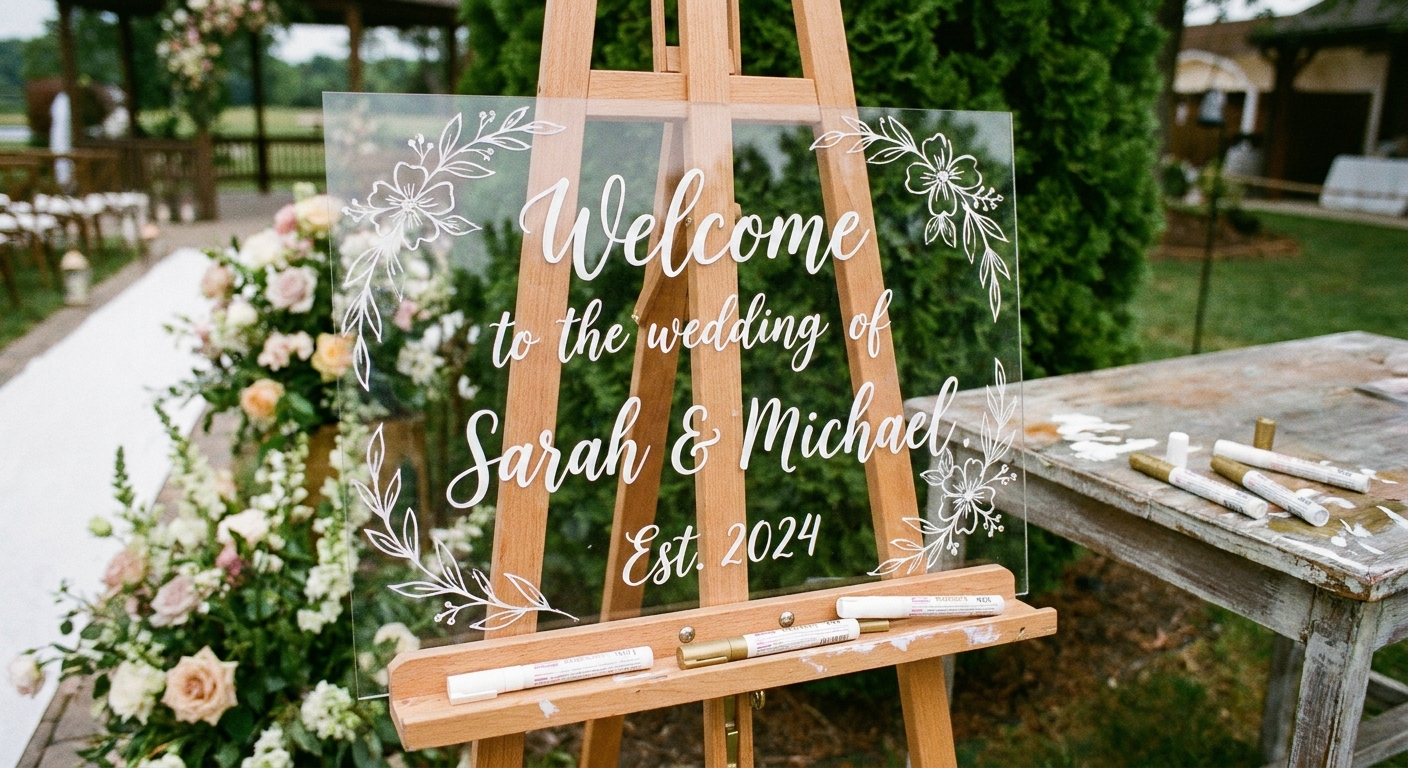
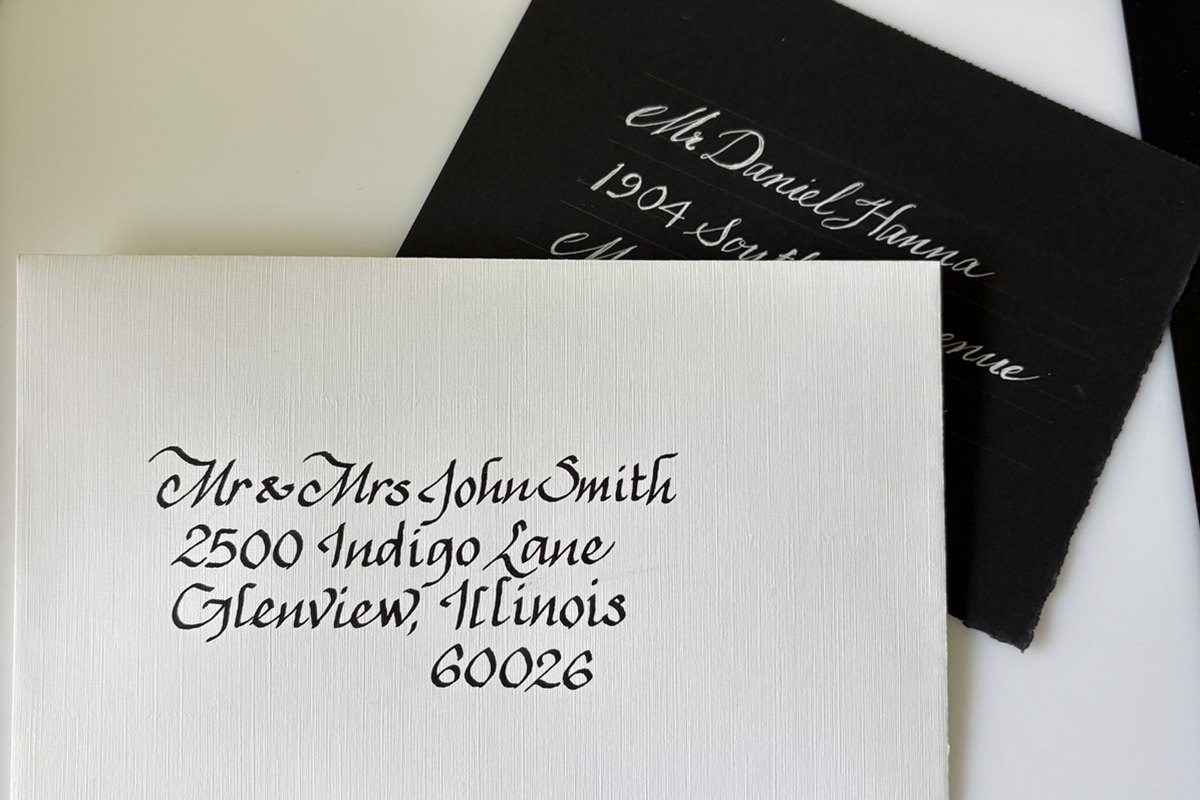
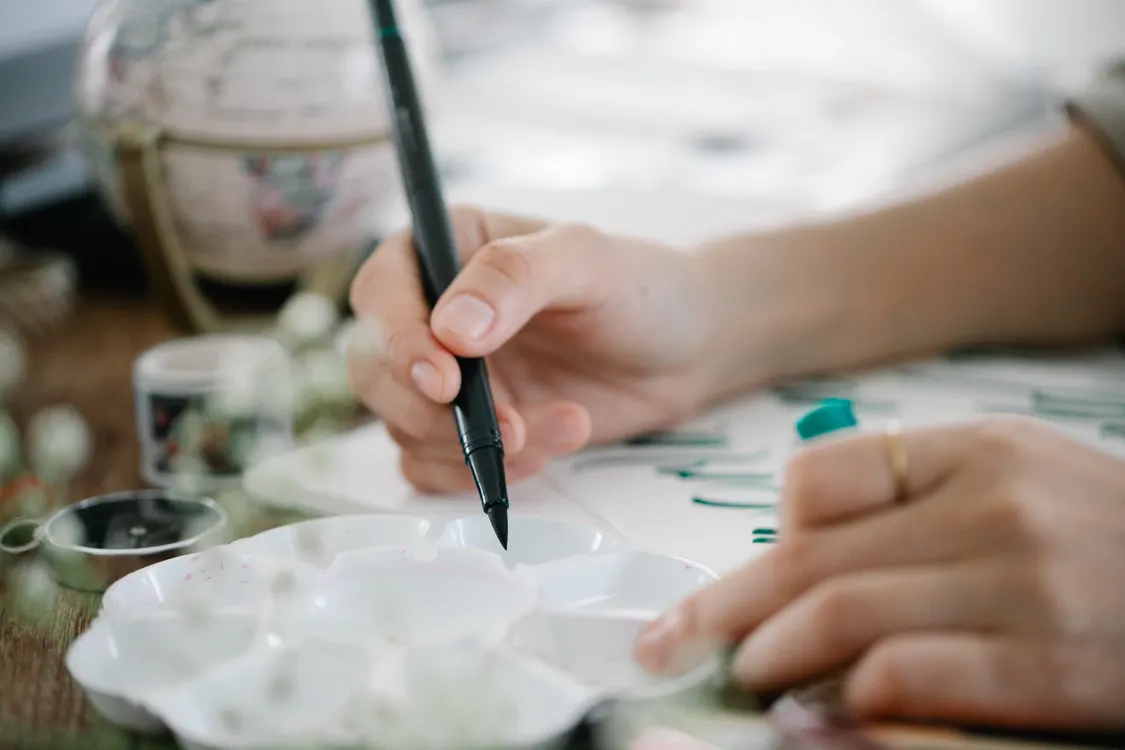
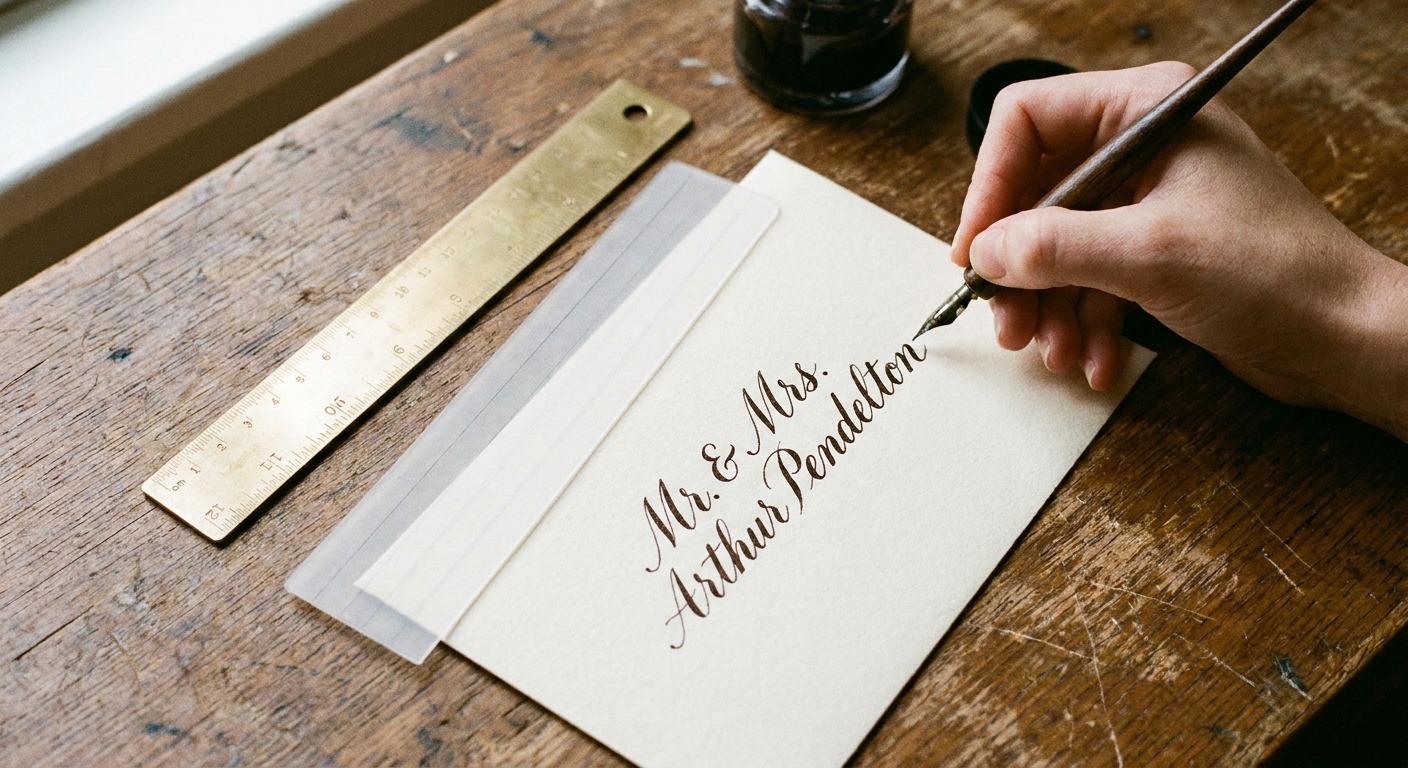
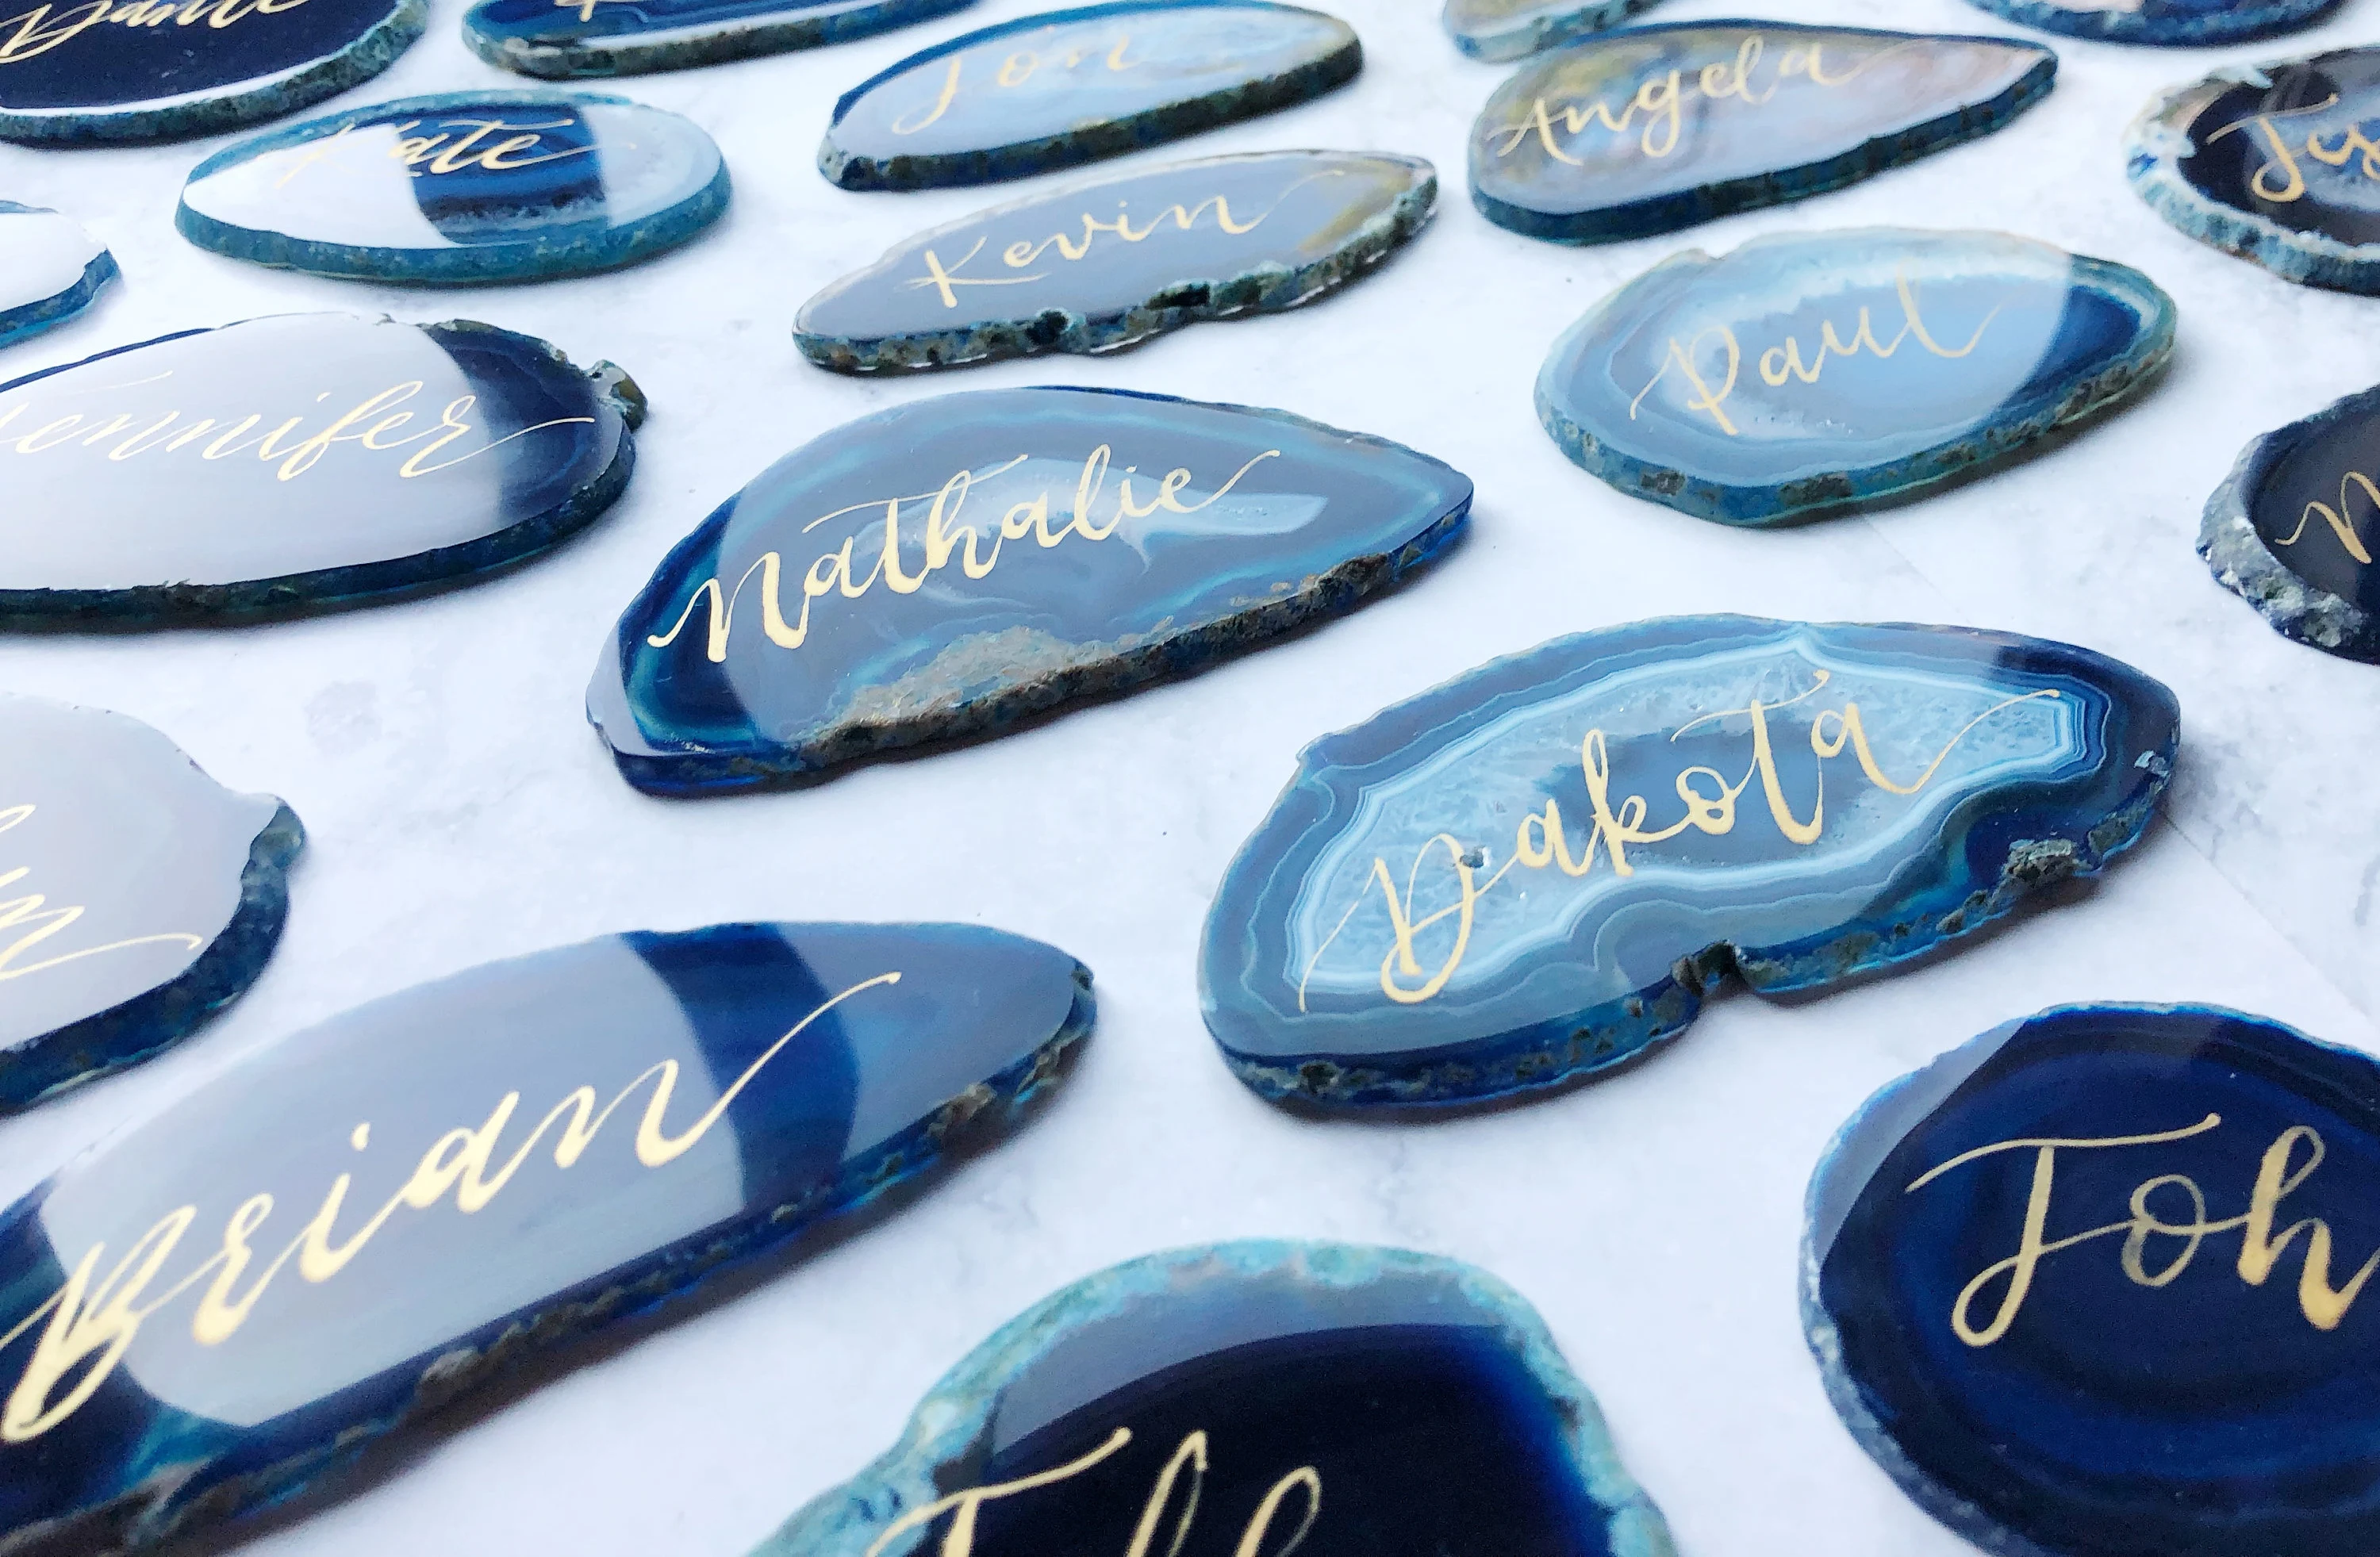
Grab your favorite paint pen and let’s dress up the table with tiny sparkly place cards. Agate slices feel fancy right away, and sea glass adds that soft, beachy glow. The trick is making ink behave on slick, irregular natural surfaces, then choosing a layout that looks intentional even when every piece is a different shape.
Supplies that make ink stick
Natural materials vary a lot, so a small, flexible toolkit works better than one single pen.
- Agate slices (flat enough to sit steady). If yours have a glossy, resin-like top coat, treat them like glass.
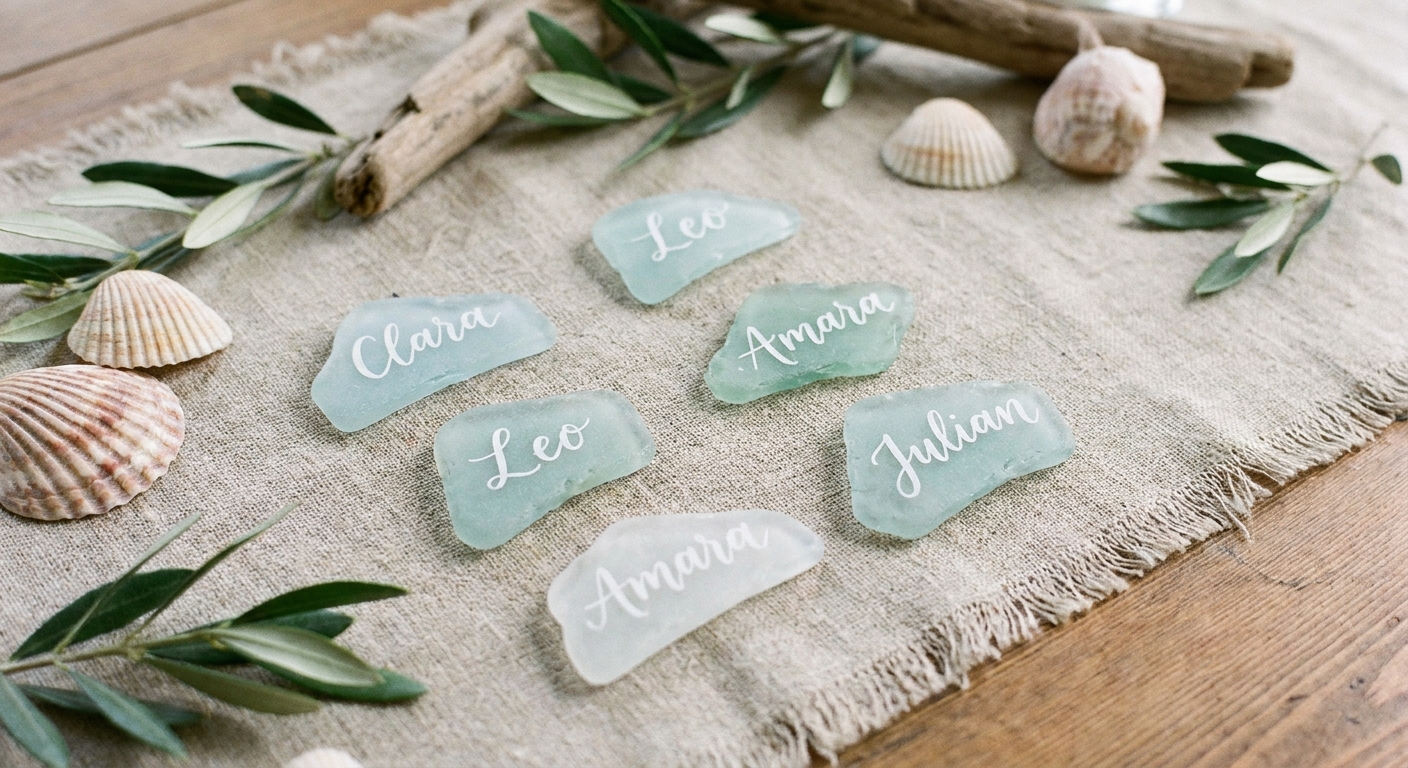
- Sea glass (larger pieces are easiest to letter). Choose pieces with one flatter “face” for writing.
- Rubbing alcohol (70 to 91%) and lint-free cloths or coffee filters for cleaning. Higher percentages often cut oils faster and evaporate quicker.
- Cotton swabs for spot cleaning and quick fixes.
- Paint pens or paint markers for the most reliable adhesion on slick surfaces. For options, see best markers and paint pens for lettering on glass, wood, and acrylic.
- White ink option if you’re lettering on dark agate: best white pens and inks for dark surfaces.
- Optional clear sealer (spray or brush-on) to help prevent smudges and scratches.
- Wax pencil or china marker for sketching guidelines on glossy stone (wipes off easily).
- Low-tack painter’s tape for holding odd shapes steady while lettering.
- Soft pencil and eraser for planning names on paper first.
Nib note: Brush pens that work beautifully on paper can skid on agate and glassy surfaces. Paint markers are the cozy shortcut here.
Choose the right surface side
Agate slices
Most agate slices have two “personalities”:
- Glossy side: Brighter and more dramatic, but ink takes longer to dry and smears more easily.
- Matte or raw-cut side: Sometimes more tooth for ink to grab, but can be porous and drink paint if it is unsealed.
If you can, test your marker on the back edge. If the line beads up into dots, you will want stronger cleaning, or you may need to switch to an oil-based paint marker. In some cases, a compatible clear coat can help, but always test that combo on one spare piece first.
Sea glass
True sea glass is usually frosted and slightly textured, which can help. Commercially tumbled “sea glass” can be smoother, so do a quick test line before you commit. The challenge is the curve: find the flattest face, then rotate the piece until it “sits” visually even if the edges are lopsided.
Prep for perfect adhesion (do not skip this part)
Ink adhesion problems almost always come from invisible oils, dust, or factory residue. A clean surface is a friendly surface.
Step 1: Wash and dry
- Wash agate and sea glass with mild dish soap and warm water.
- Rinse well and dry completely.
Step 2: Alcohol wipe
- Wipe the lettering area with rubbing alcohol using a lint-free cloth or coffee filter.
- Let it air-dry until fully evaporated (often about a minute).
Step 3: Decide if you need a primer or sealer
Use this quick decision guide:
- If your pen beads up or scratches off easily: a light clear coat can help, but not every sealer plays nicely with every paint. Test compatibility on one extra piece, let it cure fully, then letter on top if it looks smooth and grabs well.
- If your pen goes down smooth and stays put once dry: you can letter directly and seal after.
When using any sealer, follow the product instructions for drying and curing times. “Dry to the touch” is not the same as “fully cured,” and place cards get handled.
Layout tricks for irregular shapes
Odd shapes become elegant when you give the eye a consistent pattern to follow. Here are three layouts that work especially well on agate and sea glass.
1) The invisible baseline
Pick a gentle curve along the stone and treat it like your baseline. On rounder pieces, a slight smile-shaped baseline looks natural. For extra help, borrow the concept from bouncy calligraphy baseline rules and keep the name riding a consistent rhythm even if it dips a bit.
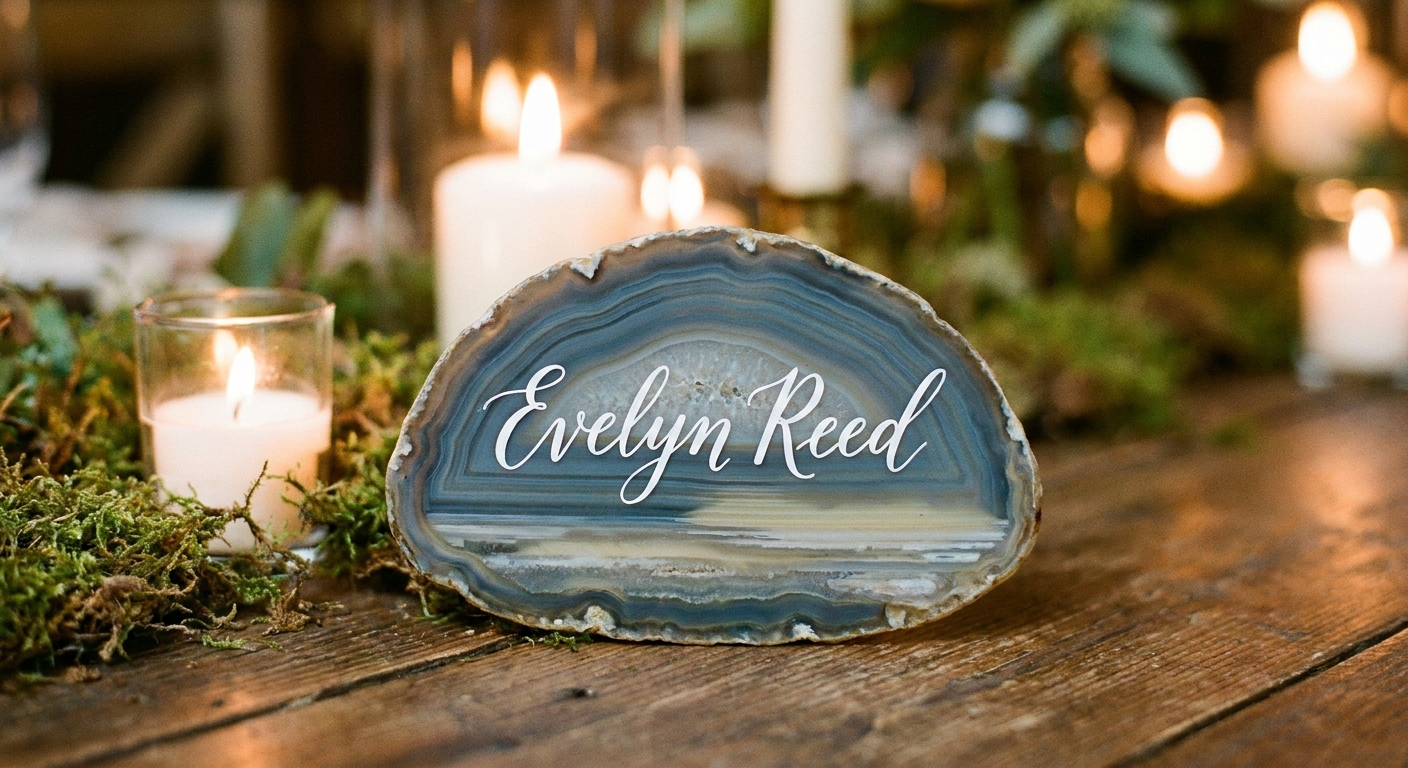
2) The centerline method (best for agate)
- Find the visual center of the slice, not the measured center.
- Letter the name so its “weight” is balanced. Short names can be slightly larger, long names slightly narrower.
- Keep flourishes small so they do not fall off the edge.
If centering names makes your whiskers twitch, the spacing logic in calligraphy centering tricks translates beautifully to place cards.
3) The diagonal sweep (best for sea glass)
On narrow or tall pieces, a diagonal baseline from lower-left to upper-right makes the shape feel intentional. This also helps avoid the most curved parts of the glass.
How to letter on agate slices
- Stabilize the slice. Set it on a non-slip mat or a folded towel. If it wobbles, use tiny loops of painter’s tape underneath.
- Map your name lightly. Use a wax pencil to place two tiny marks: left boundary and right boundary. On glossy agate, wax pencil wipes away cleanly later.
- Write in one confident pass. Paint markers look best when you avoid sketchy repeated strokes. If you need to thicken a downstroke, wait until the first layer is dry, then add a second layer.
- Let it dry longer than you think. Glossy surfaces keep paint wet on top. Keep finished pieces in a safe spot where they will not be bumped.
- Clean up edges (while paint is still fresh). Dip a cotton swab in alcohol and gently sharpen the end of a stroke or remove a dot before the paint cures. If the agate has a coating, test first so you do not haze the finish.
Want a more script-like look without relying on brush pressure? The technique in faux calligraphy with any pen is a great fit: write a monoline name first, then add thickness to downstrokes once it is dry.
How to letter on sea glass
- Pick the writing face. Rotate the glass under a light until you see the flattest area.
- Start with a slightly larger x-height. In plain English: make your lowercase bodies a bit taller than usual. Frosted texture can break up thin lines, so this helps legibility.
- Use short, deliberate strokes. Sea glass is curved, so a long stroke can skip. Build letters with controlled segments, especially on thin upstrokes.
- Improve legibility with contrast. Opaque white pops on most sea glass. On pale pieces, a soft gray or metallic can read better than bright white.
- Dry and protect. Keep pieces separated while drying so they do not kiss and smudge.
Ink and paint options, explained simply
Here is the “why” behind the common choices:
- Oil-based paint markers: Excellent adhesion and durability on slick surfaces. Dry time can be longer.
- Acrylic paint markers: Opaque and pretty, often faster drying, but can scratch if unsealed and handled a lot.
- Dip pen ink: Gorgeous on paper, but often less forgiving on glossy stone and glass unless the surface is prepped and the ink is formulated for nonporous materials.
If you see beading, skipping, or poor coverage, it is usually one of these: surface residue, an under-shaken paint pen, or trying to write too fast on a curved area.
Make it feel wedding-level elegant
Keep styling consistent
- Choose one script style for all names: classic, bouncy, or simple modern.
- Keep flourish rules consistent: for example, only flourish capital letters, or only flourish names under five letters.
- Match ink to your table accents: brass, blush, ivory, or crisp white.
Add tiny details that do not clutter
- A small dot or sparkle accent near the first letter.
- A simple underline swash that follows the stone’s curve.
- A minimal shadow in a pale neutral for depth. For techniques, see drop shadows and 3D effects for hand lettering.
Plan for readability at dinner lighting
Low light softens thin lines. Favor slightly thicker strokes, high-contrast ink, and enough spacing between letters. If you love airy scripts, consider a monoline style for clarity. Monoline lettering 101 is a sweet match for small surfaces.
Sealing and handling without heartbreak
Place cards get touched, moved, and admired. Sealing is the gentle armor.
- Wait for full dry time before sealing. If paint feels cool or tacky, it is not ready.
- Use light coats rather than one heavy coat. Heavy coats can cause ink to wrinkle or smear.
- Test one piece first because sealers can slightly deepen colors or change sheen, and some formulas can react with certain paints.
- Give it real cure time before stacking or bagging. If these are party favors that guests will take home, plan ahead and let them cure for 24 to 72 hours (depending on your paint and sealer) so the finish is less likely to scratch.
- Use ventilation and protect your workspace when sealing. A quick spray in fresh air and a protected table surface saves a lot of regret.
- Transport smartly: lay pieces in a shallow box with paper between layers so letters do not rub.
Troubleshooting tiny disasters
- Ink beads into little dots: Clean again with alcohol. If it still beads, try an oil-based paint marker. If you decide to use a clear coat, test it with your marker on a spare piece first, then proceed once it cures smooth.
- Letters look streaky: Shake and prime the paint pen more, then apply a second coat after the first is fully dry.
- Smudges happen: Quickly lift wet paint with a dry cotton swab, then clean residue with an alcohol-damp swab before it cures.
- Mistake already dried: On glassy surfaces, you can sometimes nudge off a tiny error with a wooden toothpick or careful, gentle scraping. On more porous or raw stone, it may be cleaner to paint over the spot once dry (thin coats) and rewrite. Test your method on the back first so you do not scratch a coating.
- Skipping on sea glass texture: Use slightly thicker strokes and slower movement. Consider switching to a more opaque paint marker.
- Name does not fit: Compress spacing, use a simpler capital, or switch to all-caps small lettering for very long names.
Quick workflow for making a whole set
If you are making lots of place cards, a little assembly-line rhythm keeps it joyful:
- Sort stones by size into small, medium, large piles.
- Assign the longest names to the largest pieces first.
- Clean everything, then lay pieces out to dry.
- Letter in batches of 5 to 10, then pause for drying.
- Seal in batches once lettering is fully dry and tested for smudge resistance.
Gentle practice before you commit
Natural surfaces can feel slippery at first, so it helps to warm up your hand. A 10 to 15 minute warm-up of basic strokes makes your lines steadier and your spacing calmer. If you want a quick routine, visit 15-minute daily calligraphy drills and borrow a few that match your lettering style.
FAQ
Will paint pens work on polished agate?
Often yes, but polished surfaces show every bit of oil and residue. Clean thoroughly with alcohol, test one slice, and seal if your lines scratch off after drying. If you see beading, try an oil-based marker or test a compatible clear coat on a spare piece.
Can these be reused?
Sealed paint can last a long time, but “reusable” depends on how you plan to remove names later. Many paints and sealers are meant to be permanent. If reusability matters, test removal methods on the back of a spare piece first.
What if I want a gold look?
Metallic paint markers can look gorgeous on agate. For readability, pick a metallic that is opaque, and pair it with darker stones or deeper-colored agate bands.
Natural materials bring their own swirls, bubbles, and sparkle. When the surface is clean, the ink is opaque, and the baseline is thoughtfully chosen, every little stone becomes a tiny seat at the table that says, “You belong here.”