Grab your favorite brush pen and let's draw some beautiful letters together! Holiday ornaments are tiny, shiny little canvases and with a few smart tricks for curved surfaces, you can letter names, dates, and sweet words that feel truly custom.
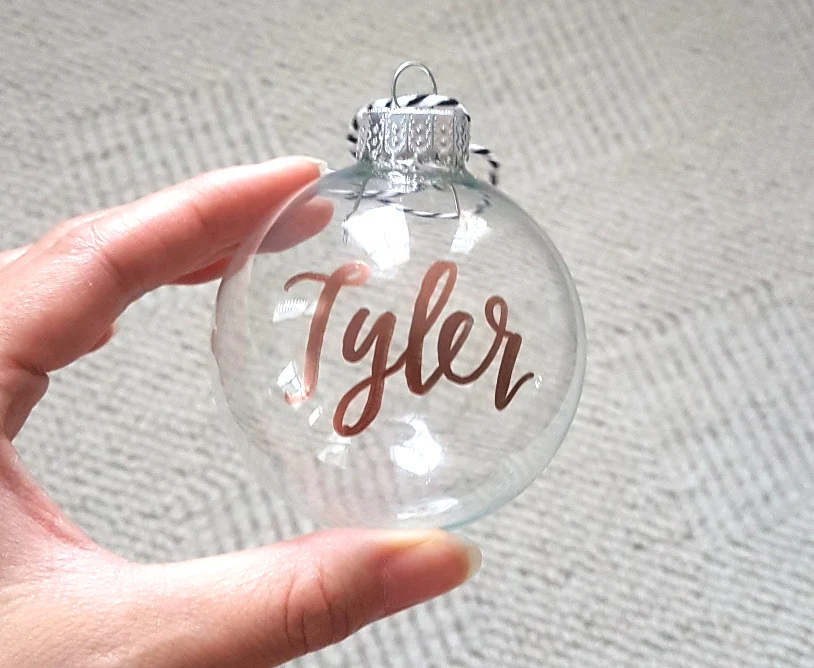
Supplies that make curved lettering easier
You can make ornament lettering work with simple tools, but a few choices reduce smudges and help your lines stay crisp on slick or textured surfaces.
- Ornaments: round glass, glazed ceramic, unfinished or sealed wood baubles
- Pens for non-porous surfaces: paint pens, acrylic markers, or oil-based paint markers
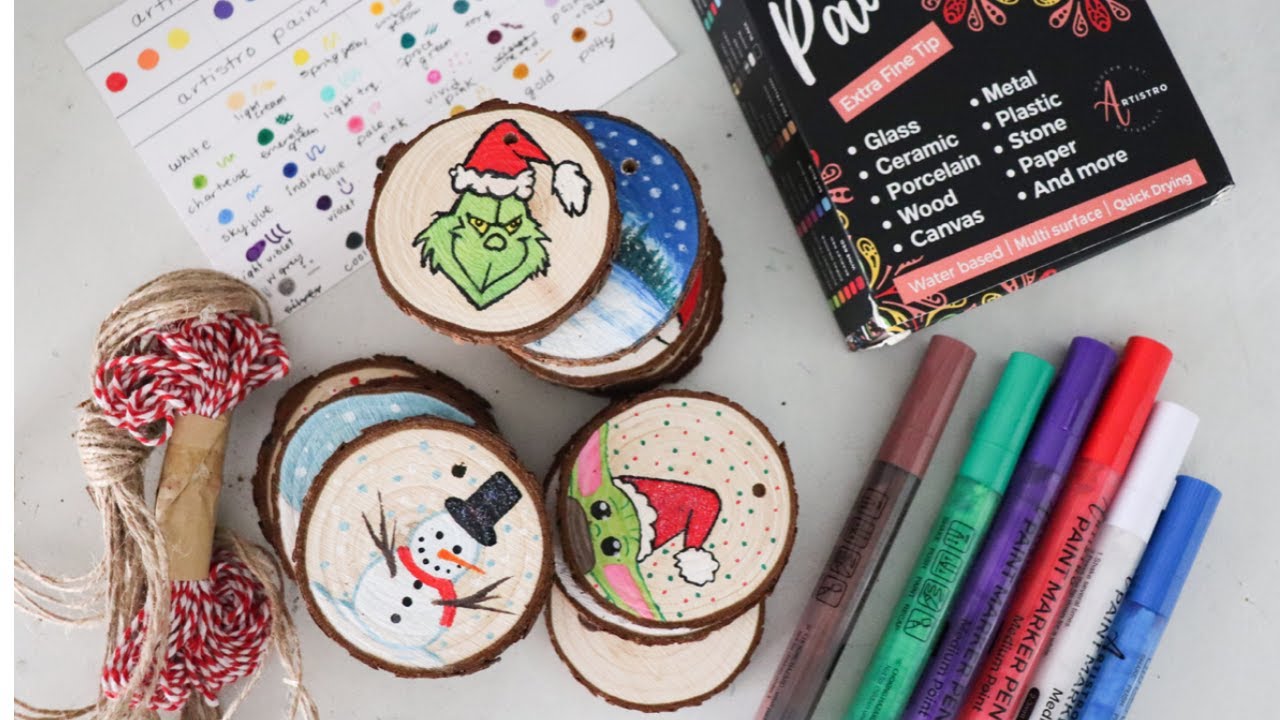
- Pens for wood: paint pens for bold coverage, or permanent markers for rustic, lighter lines
- White options for dark ornaments: use an opaque white pen or ink meant for dark surfaces
- Cleaning: rubbing alcohol (isopropyl alcohol) and a lint-free cloth or coffee filter
- Stabilizing helpers: a small bowl, mug, or ornament stand, plus painter’s tape
- Optional: chalk pencil or wax pencil for guidelines, cotton swabs for quick cleanups
- Sealer: clear spray sealer or brush-on acrylic sealer (choose based on ornament material)
If you want a deeper dive on which markers behave best on glass, wood, and other tricky surfaces, head to best markers and paint pens for lettering on glass, wood, and acrylic. For bright lettering on dark ornaments, these white pens and inks are a helpful starting point too.
Before you letter: prep the ornament for clean lines
For glass and glazed ceramic
- Clean first: oils from fingers can cause skipping and bead-up. Wipe the lettering area with rubbing alcohol and let it fully dry.
- Handle by the top: hold the metal cap or the hanger area to keep the writing zone clean.
- Test on the underside: do a few strokes to check flow and opacity before committing to the front.
For wood ornaments
- Smooth if needed: if the wood is rough, very light sanding helps your pen glide (wipe dust away afterward).
- Know your grain: writing with the grain often feels smoother than writing across it.
- Consider a base coat: unfinished wood can absorb ink. A thin coat of clear sealer or acrylic paint can create a more even writing surface. Let it dry fully, and if the grain raises, do a quick ultra-light sand before lettering.
How to stabilize your hand on a curved surface
Ornaments love to roll. The goal is to stabilize the ornament and your hand at the same time.
- Make a nest: set the ornament in a small bowl, ramekin, or mug lined with a soft cloth. This keeps it from wiggling while you write.
- Anchor your wrist: rest the heel of your hand on the table, not on the ornament. Move the ornament with your non-writing hand instead of reaching around it.
- Turn the ornament, not your pen angle: keep your pen at a comfortable angle and rotate the ornament to follow the letter shapes.
- Work in short sections: write two or three letters, rotate, then continue. This prevents awkward curves and wobbles.
- Breathe and slow down: slower strokes usually look smoother on slippery surfaces.
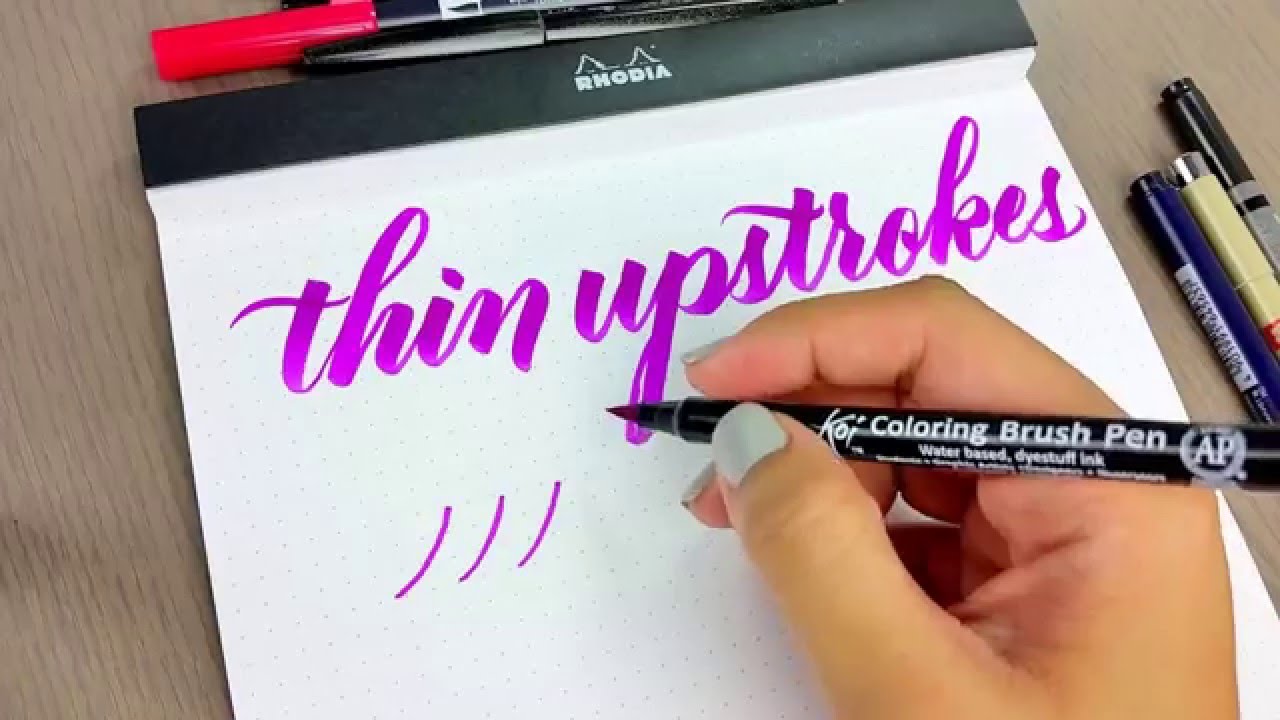
If your upstrokes feel shaky when you slow down, these tips can help you steady them: how to fix shaky upstrokes.
Planning your layout on a round ornament
Round ornaments trick the eye. A little planning keeps names centered and spacing balanced.
Quick centering method
- Pick the “front” of the ornament and place it in the bowl so it always returns to the same spot.
- Lightly mark a vertical center line with a chalk pencil or wax pencil.
- For names, mark the middle letter position first, then build outward.
Guideline ideas that do not fight the curve
- One baseline only: a single gentle baseline helps more than a full set of straight guidelines on a sphere.
- Arched text: a slight smile curve often looks more natural than perfectly straight lines on a round ornament.
- Bouncy style: if you like playful modern calligraphy, a bounce can hide tiny curve distortions. See bouncy calligraphy baseline rules.
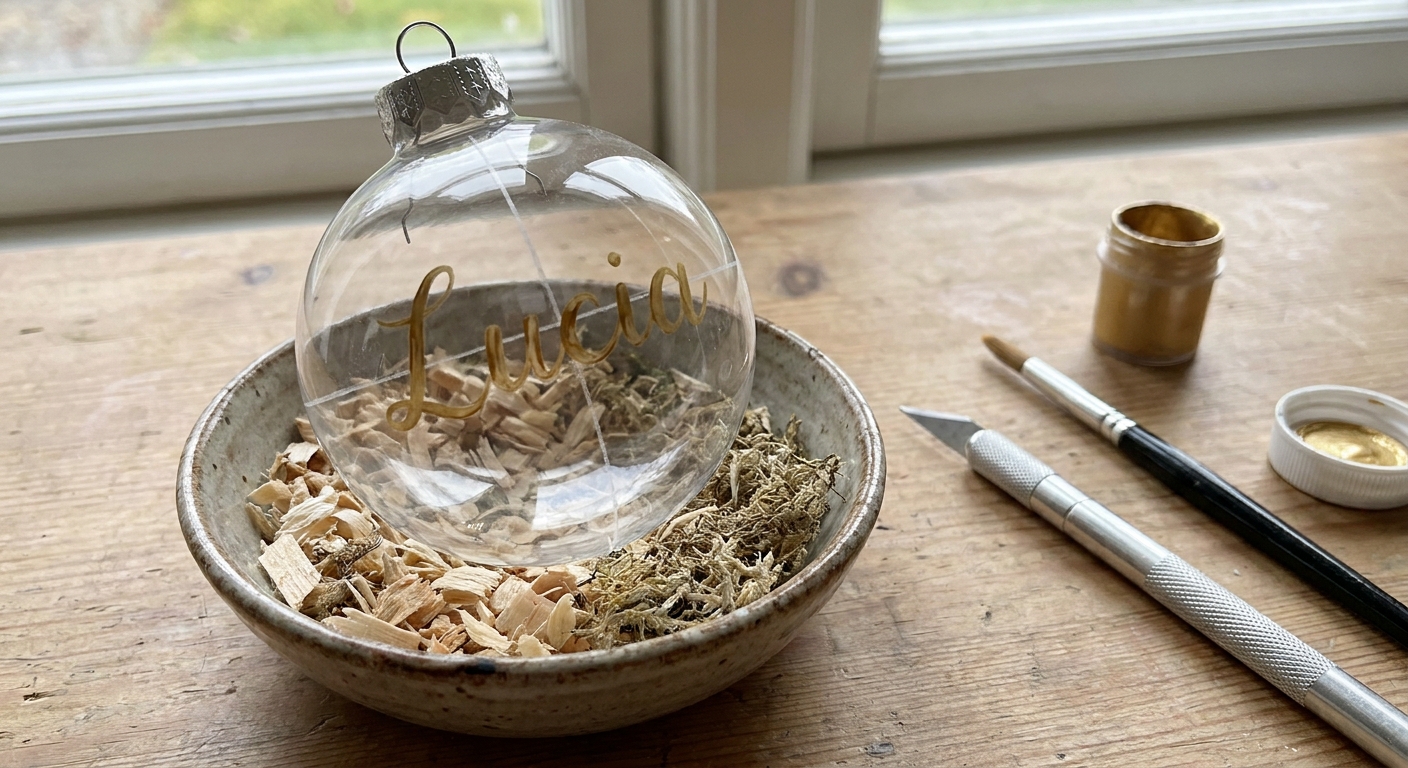
Step-by-step: letter a glass ornament
- Clean: wipe with rubbing alcohol and let dry.
- Set up your nest: place the ornament in a bowl or mug so it cannot roll.
- Practice the word: write the name on scrap paper a few times to decide your letter shapes and spacing. If you want a refresher on stroke basics, visit 8 basic brush lettering strokes.
- Add a center mark: use a tiny dot where the middle of the word will sit (chalk or wax pencil works well).
- Letter in small sections: write a couple letters, rotate the ornament, continue.
- Let it dry: give paint markers extra time. Touch-dry is not always fully cured, and cure times vary by brand.
- Clean up edges: on glass, a cotton swab lightly dampened with rubbing alcohol can often remove fresh paint while it is still wet. If your marker is oil-based or has started setting, alcohol may not lift it cleanly, so test gently in an inconspicuous area first.
- Seal (optional): once fully dry, apply a clear sealer if the ornament will be handled a lot.
Step-by-step: letter a ceramic ornament
Glazed ceramic behaves a lot like glass, just heavier. The biggest difference is that ceramic pieces sometimes have subtle texture that can catch your pen tip.
- Degrease: wipe the glaze with rubbing alcohol and dry.
- Test for texture: do a few strokes on the back to see if your pen skips. If it does, choose a marker with a firmer tip like an acrylic paint marker.
- Keep the ornament still: nest it so it does not wobble while you write.
- Letter slowly: use steady pressure for downstrokes and lighter touch for upstrokes.
- Cure time: allow extra drying time before adding ribbon or placing it in a storage box. Cure times vary by brand and paint type.
Want more ceramic-specific crafting ideas? Take a look at DIY hand-lettered ceramic mugs that stay put for sealing and longevity concepts that also apply to glazed ornaments.
Step-by-step: letter a wooden ornament
Wood is cozy and forgiving, but it can feather ink and show every little wobble. The good news is that rustic charm is built right in.
- Smooth the spot: if the surface feels rough, lightly sand and wipe away dust.
- Pick your tool: paint markers give the boldest line; permanent markers give a lighter, more “sketchy” look.
- Do a quick opacity test: write a few strokes on the back to see how the wood absorbs.
- Use slightly larger letters: tiny lettering can sink into the grain and lose clarity.
- Letter with fewer passes: repeated strokes can soak in and look fuzzy. Aim for confident, single strokes where you can.
- Seal: when dry, add a clear sealer to help prevent smudges and protect the surface.
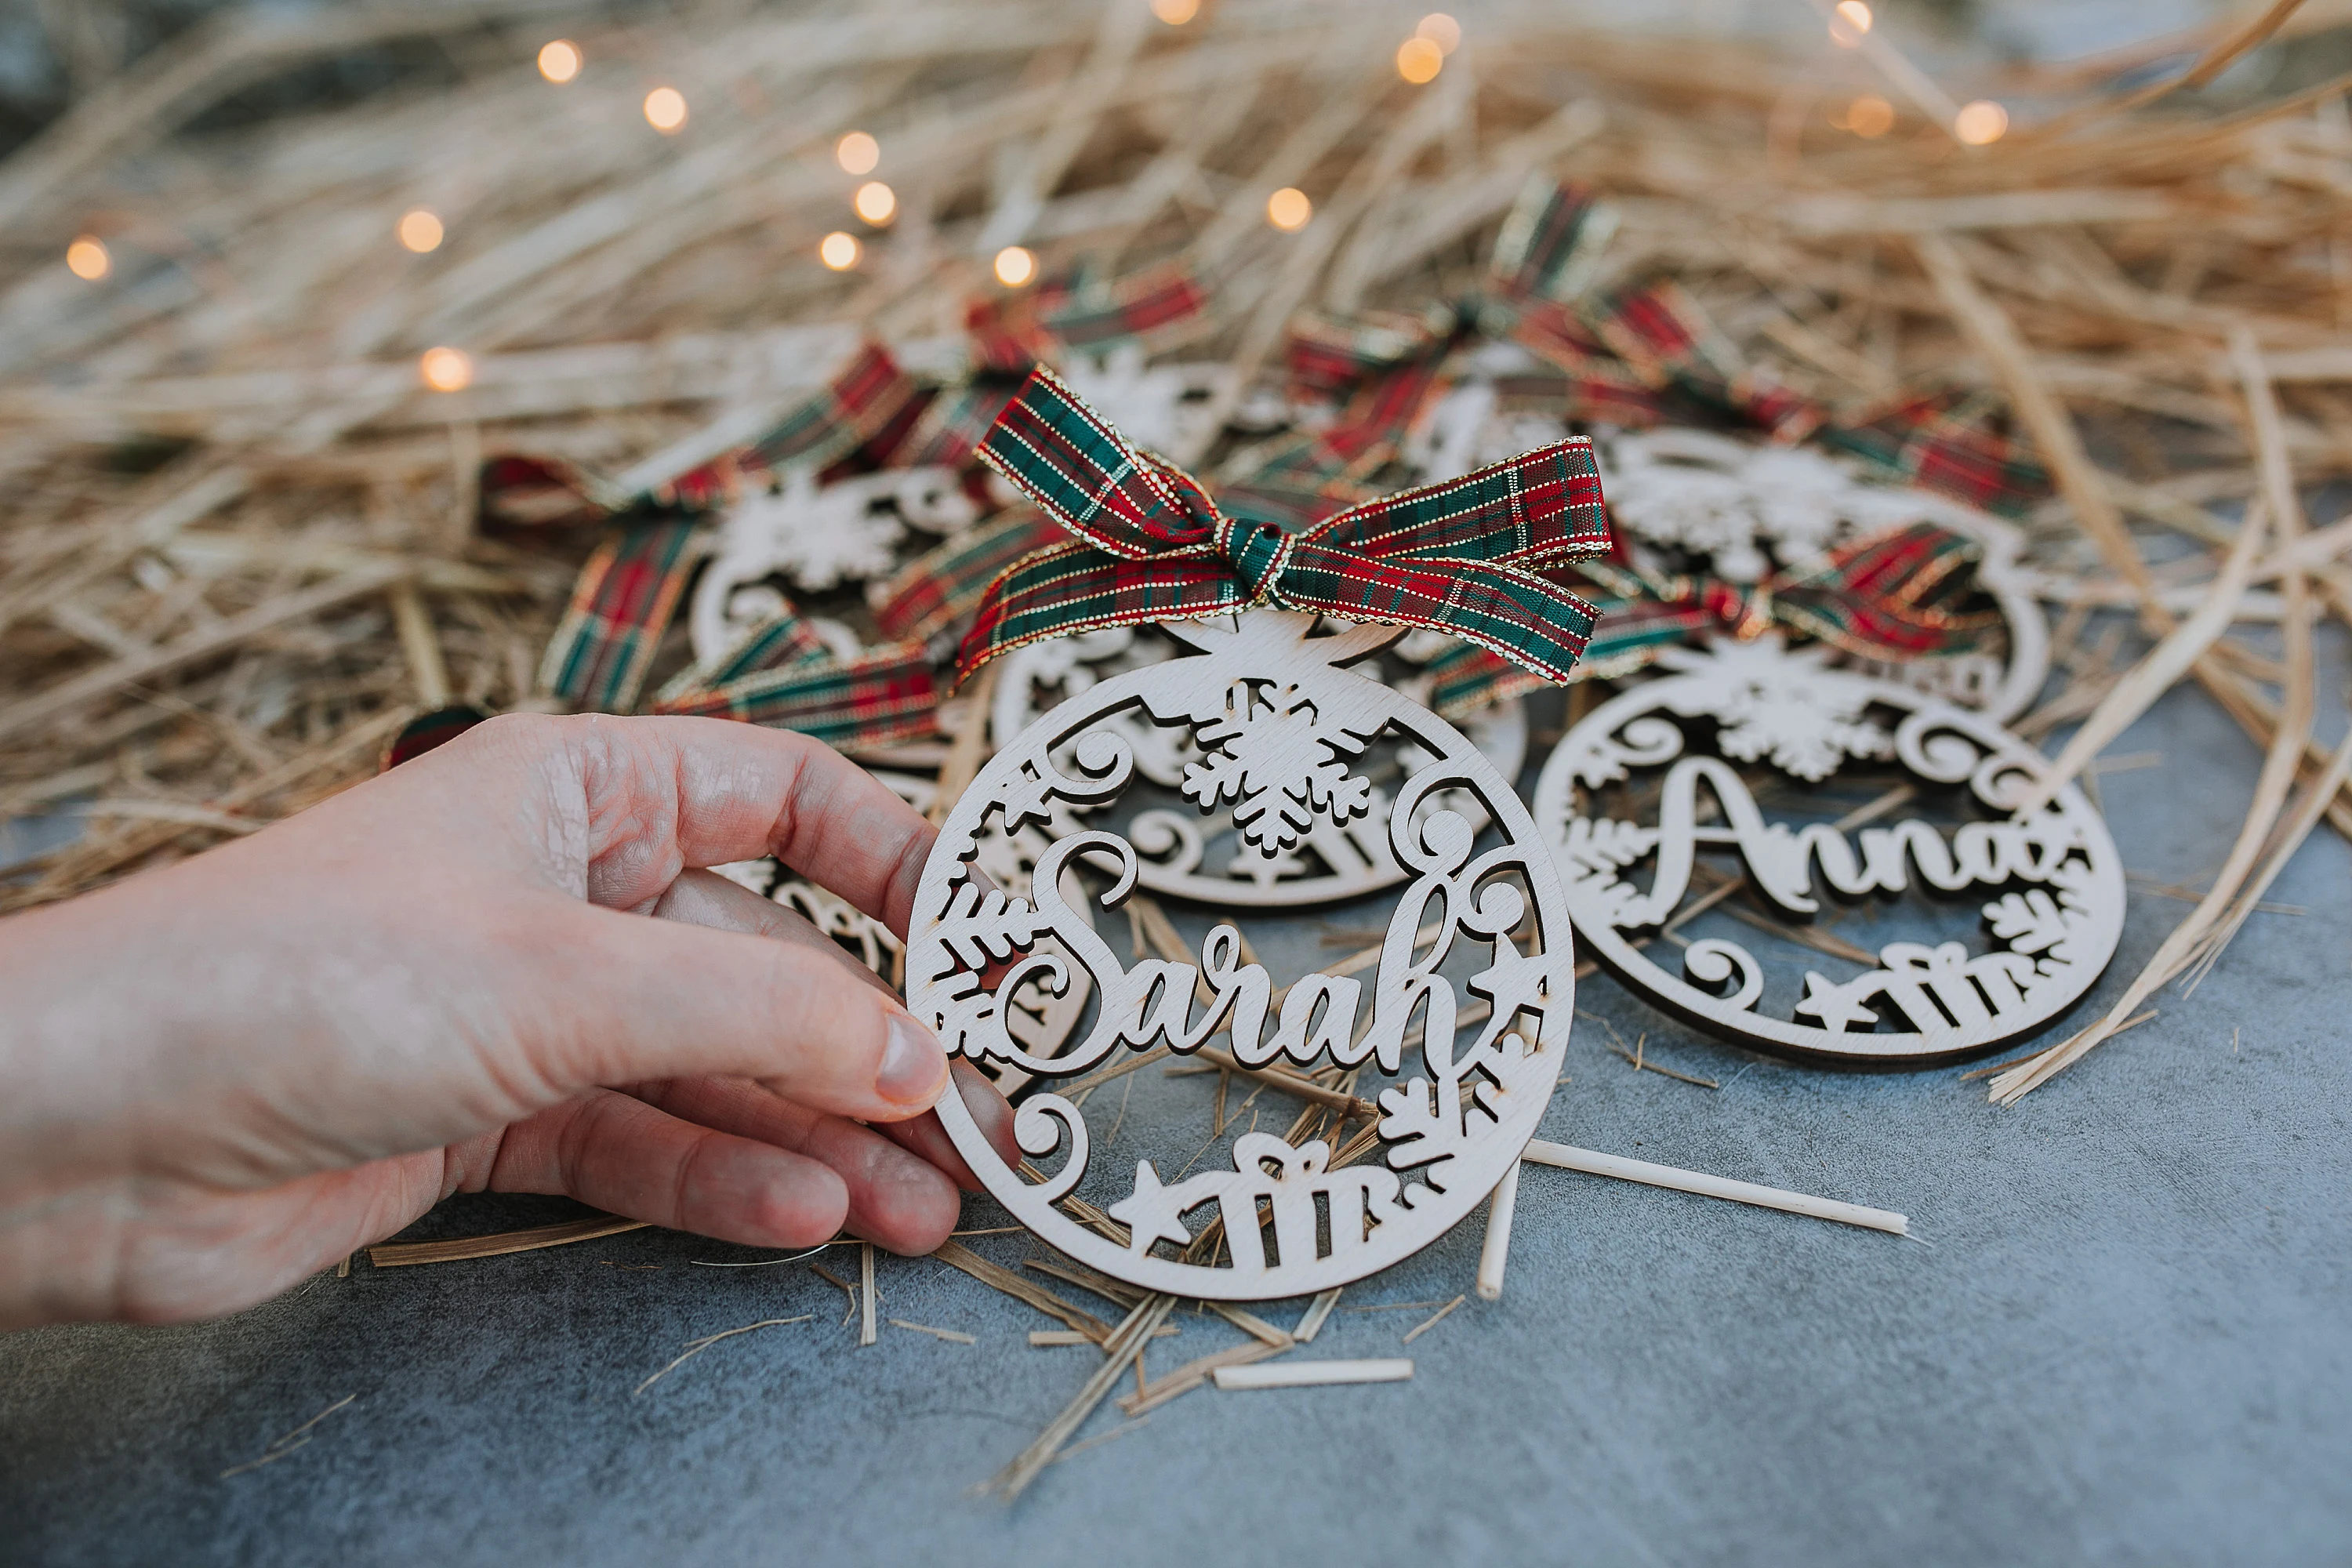
Curved-surface lettering tricks that always help
1) Rotate to keep your downstrokes comfortable
On a sphere, the best pen angle changes every inch. Instead of twisting your wrist, rotate the ornament so your downstrokes still move in a familiar direction.
2) Choose simpler letter connections
Long, skinny connectors can wobble on glass. If your word looks spidery, try slightly shorter connections. This tutorial can help you pick clean joins: how to connect letters in modern calligraphy.
3) Use monoline for tiny ornaments
On mini ornaments, thick and thin contrast can get cramped. Monoline styles stay readable at small sizes. See monoline lettering 101.
4) Add a shadow only after the main word is fully dry
A simple drop shadow can make lettering pop on a shiny ornament, but only if the base layer is dry enough not to smear. For shadow ideas, visit drop shadows and 3D effects for hand lettering.
Sealing and drying: keep your ornament smudge-free
Sealing depends on your materials, and it is always worth testing on the back or a spare ornament first. Some sealers can slightly dull ultra-glossy or metallic finishes, so a small test patch saves heartbreak.
- Glass: many paint markers hold up well without sealing for display-only ornaments, but sealing helps if ornaments will be handled often.
- Ceramic: if the piece will be touched a lot, a clear sealer adds durability.
- Wood: sealing is strongly recommended to protect both the lettering and the wood.
Overspray tip: if you use spray sealer, cover the cap and hanger with painter’s tape (or remove the cap if possible) so the hardware does not get tacky or cloudy.
Drying tip: if you need to rest an ornament while it dries, set it in its bowl nest with the lettering facing up and avoid rotating it until it is fully set. For storage and tip protection between crafting sessions, how to store calligraphy pens and markers is a helpful read.
Easy design ideas for custom calligraphy ornaments
- Name plus year: “Avery 2026” on one line, or year on the back
- Short phrase: “Joy”, “Peace”, “Merry”, “Noel”
- New baby: name, birthday, and a tiny heart
- First home: “Our first home” plus address number
- Pet ornament: pet name with a little paw print
- Coordinated set: one word per ornament to spell a family name across the tree
If you want to sprinkle in small flourishes, keep them compact so they do not warp around the curve. This guide can help you choose beginner-friendly swirls: beginner calligraphy flourishing.
Troubleshooting
My paint pen is skipping on glass
- Clean the surface again with rubbing alcohol and let it dry fully.
- Shake and prime the marker as directed by the manufacturer.
- Slow down and use steadier pressure on downstrokes.
The ornament keeps rolling away
- Use a deeper bowl or mug, or add a folded cloth to tighten the fit.
- Work with the ornament’s cap facing upward so it settles into the nest.
I smudged the word
- On glass, you can often remove fresh paint carefully with a cotton swab and a tiny bit of rubbing alcohol, then re-clean and rewrite. If it does not lift easily, stop and switch to a gentle scrape with a fingernail after it fully dries, or repaint the ornament later.
- Let layers dry longer than you think you need before adding details or sealing. Cure times vary by brand.
My word looks crooked
- Add a gentle baseline and write slightly larger.
- Try a bouncy baseline to make the tilt feel intentional: bouncy calligraphy baseline rules.
A quick practice plan before ornament day
Ornaments feel special, so it helps to warm up your strokes first. A simple routine builds steadier lines fast.
- Spend 5 minutes on basic strokes: 8 basic brush lettering strokes
- Spend 5 minutes writing the same name repeatedly in different sizes
- Spend 5 minutes practicing on something curved like a clean jar or bottle
If you want a structured warmup you can repeat anytime, visit 15-minute daily calligraphy drills.
Safety and care notes
- Ventilation: if you use spray sealer, work in a well-ventilated area and follow the product instructions.
- Dry time: fully cured paint is more durable than touch-dry paint. When in doubt, give it extra time (and remember cure times vary by brand).
- Storage: store finished ornaments so the lettering does not rub against other ornaments.
Now tuck those ornaments into a cozy drying spot and let your lettering shine. Every beautiful word starts with a simple swoop and a smile.