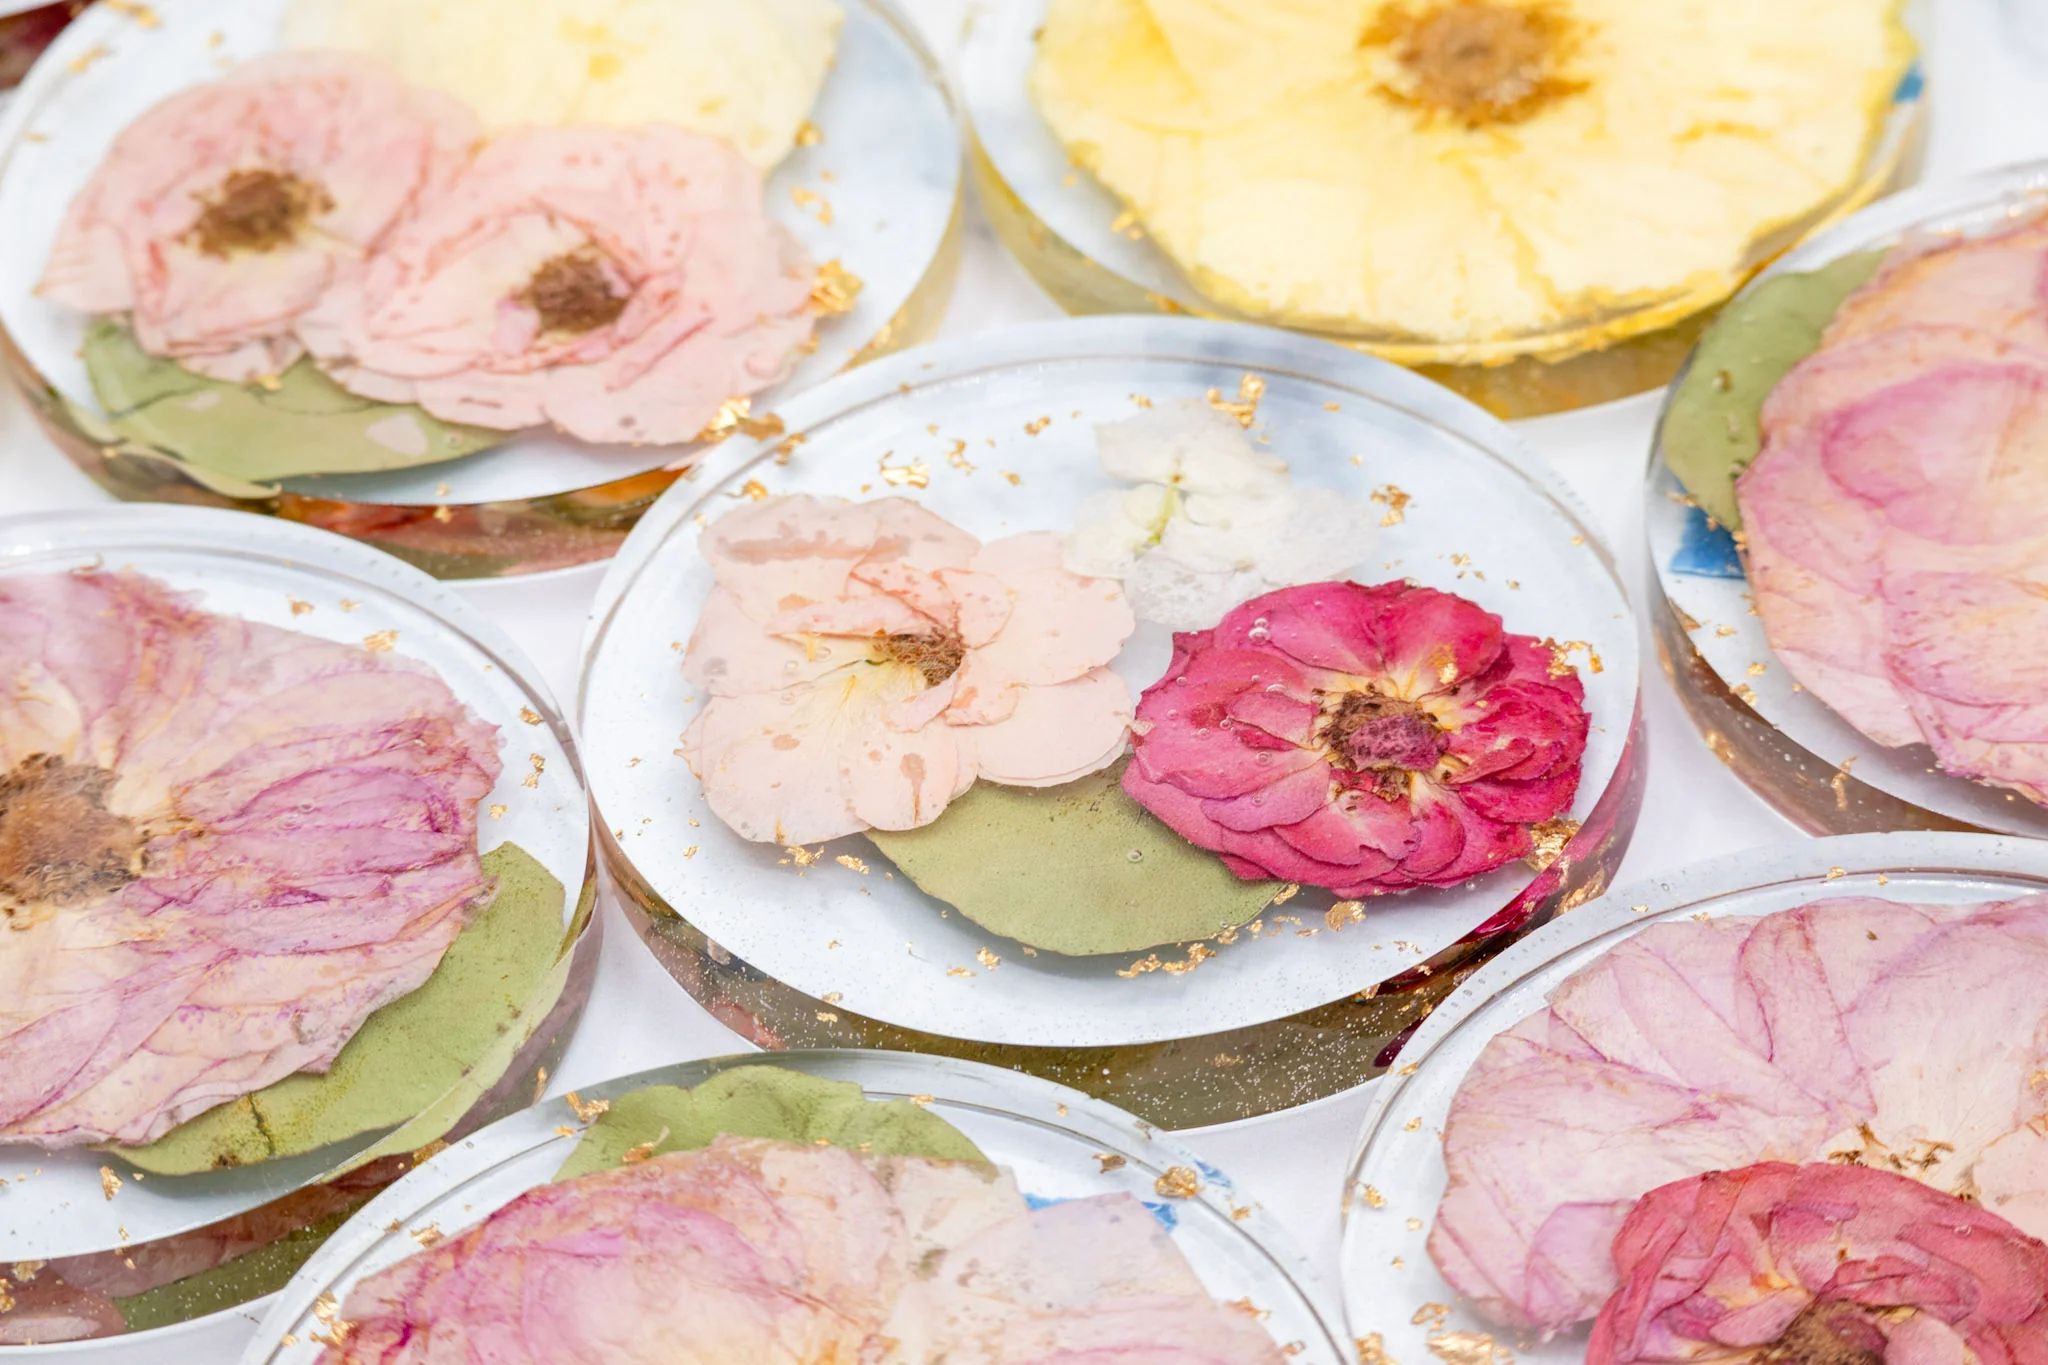
Grab your favorite brush pen and let’s make something that feels like a tiny garden you can set your mug on. Pressed flower and calligraphy resin coasters are part modern lettering, part nature treasure, and part magical “wait, you made that?” moment. The secret is simple: keep everything dry, seal anything that could bleed, and pour in calm little layers. Thin layers help reduce bubbles and keep your flowers and words from floating away.
Before you start: safety
Epoxy resin is a chemical system, so treat it like one. Work in a well-ventilated area, protect your table, and follow the safety directions for your specific resin brand. Many brands also recommend an organic vapor respirator (especially indoors), so check your label and use the PPE it calls for.
- Wear nitrile gloves and avoid skin contact.
- Ventilation matters, and some resins require a respirator rated for organic vapors. Follow your brand’s PPE guidance.
- Keep resin away from food prep surfaces and curious pets.
- Use heat tools carefully if you use a heat gun or torch for bubbles. Keep heat moving and gentle. The goal is to pop surface bubbles, not to overheat the resin or warp thin molds.
Quick coaster reality check: Not all epoxies love high heat. If you plan to use these with hot drinks, choose a resin rated for higher heat resistance, and treat them as coasters for warm to moderately hot mugs, not piping hot cookware.
Supplies checklist
Resin and molds
- Clear epoxy resin and hardener (a set formulated for casting or coaster thickness)
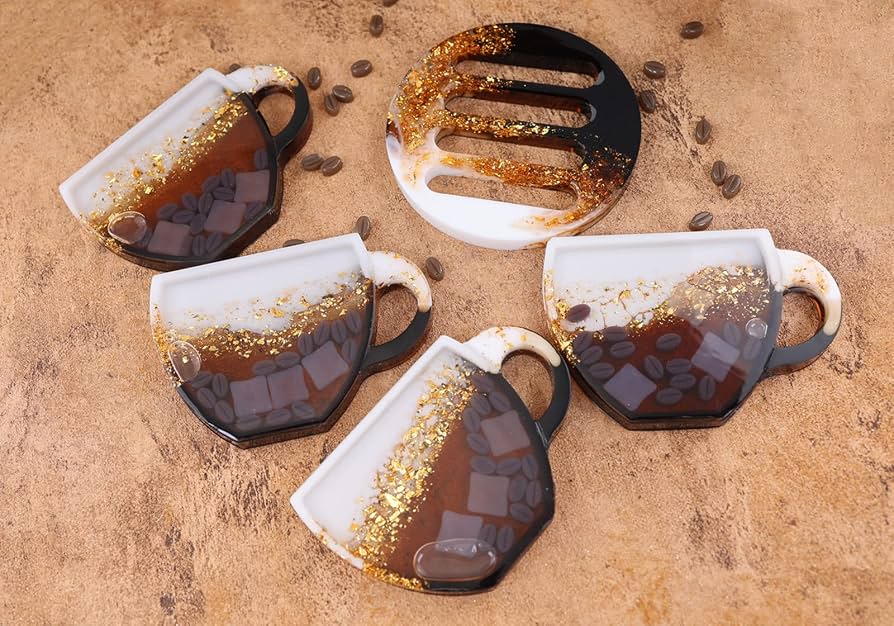
- Silicone coaster molds (round, square, hex, or geode-style)
- Mixing cups with measurement marks
- Stir sticks (flat craft sticks help scrape sides)
- Nitrile gloves and a protected work surface (silicone mat or freezer paper)
- Level surface (coasters show tilt quickly)
Botanicals and lettering pieces
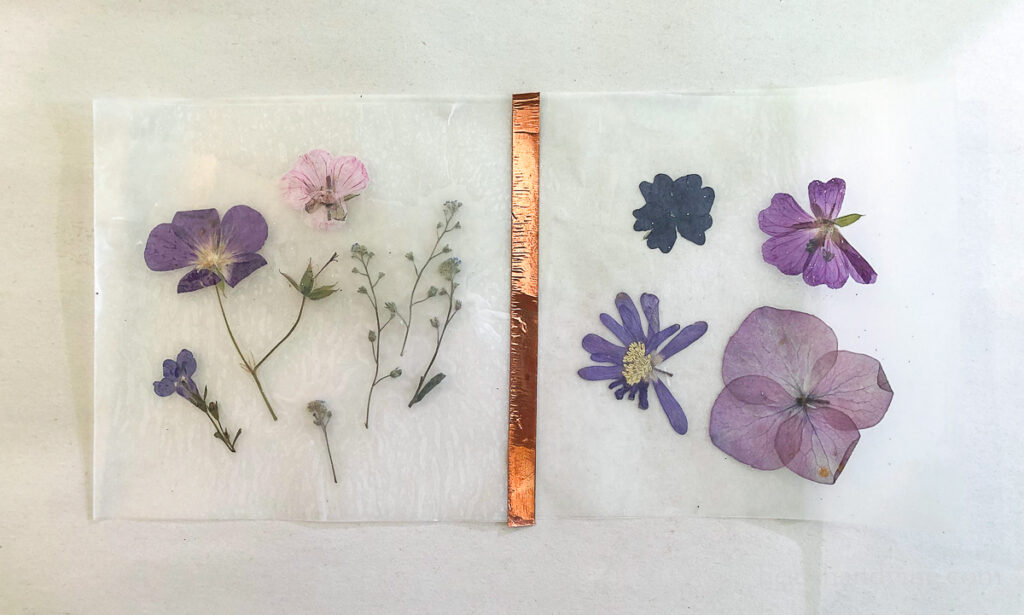
- Pressed flowers and leaves that are fully dry
- Lettering surface: clear transparency film (inkjet or laser compatible with your printing method) or paper
- Pigment or ink: brush pen, waterproof fineliner, paint pen, or printed calligraphy
- Sealer for paper or ink (see sealing section below)
Bubble and finish helpers (optional but useful)
- Heat gun on low, or a small butane torch used very lightly
- Toothpicks for nudging flowers and popping edge bubbles
- Isopropyl alcohol (in a spray bottle) for surface bubbles if your resin brand allows it
- Microfiber cloth for final wipe
If you want to refresh lettering basics before designing your words, hop through 8 basic brush lettering strokes and then warm up with 15-minute daily calligraphy drills.
Lettering that works in resin
Resin is crystal clear, which means it will show every fuzzy edge, smear, and stray fiber. These options stay the crispest.
Option A: Hand-letter on transparency (best)
- Pros: no paper fibers, minimal bleeding, easy to cut, floats neatly between layers
- Cons: some inks bead up or smudge if not fully dry
Tips: Test your pen on a small corner first. Many permanent markers and some paint pens do well. Let ink dry thoroughly, then seal if needed.
Option B: Print onto transparency
- Pros: crisp, repeatable sets for gifts or weddings
- Cons: must match your transparency type to your printer (inkjet vs. laser)
For digital lettering, you can create your words in an app and print them, or convert your handwritten work first using digitizing hand lettering from paper to vector.
Option C: Letter on paper (seal it well)
- Pros: any pen works, easy to add color washes or texture
- Cons: paper can darken, trap bubbles, or release tiny fibers if unsealed
If you choose paper, sealing is not optional. A fully sealed piece behaves like a little plastic tile inside your coaster.
Prep pressed flowers
Any moisture inside resin can cause cloudiness, foaming, cure issues, or unexpected discoloration. The goal is botanicals that feel papery and crisp, not cool or flexible.
- Press until fully dry: flowers should not feel damp or spongy.
- Trim thick parts: bulky stems create raised spots and extra bubbles.
- Plan color: some flowers naturally shift in resin over time. Pale petals can become more translucent. That can be beautiful, just plan for it.
Optional but helpful: If you tend to get bubbles trapped under petals, you can give delicate flowers a quick seal coat before embedding. A very thin layer of resin brushed on and allowed to gel, or a clear-drying sealer fully cured, can help reduce trapped air and slow down color shifts. Make sure anything you seal with is completely dry before it touches resin.
Seal your lettering
Resin can pull dye from certain inks and soak into paper. Sealing makes your lettering look like it’s floating, not feathering.
If you used transparency
- Let ink dry longer than you think it needs.
- If your ink smears when rubbed lightly, seal it with a clear acrylic spray sealer (light coats).
- Cut the transparency smaller than the coaster mold so edges do not poke out.
If you used paper
- Seal both sides and all edges. Edges are sneaky little straw openings.
- Use multiple light coats of acrylic spray sealer, allowing full dry time between coats.
- For extra protection, many crafters like to add a thin layer of clear glue or decoupage medium and let it cure completely, then spray seal on top. The key is: everything must be fully dry before it goes near resin.
Paper choice matters too. Smoother, less fibrous sheets tend to behave better. For marker-friendly picks, see paper that keeps brush pens from fraying.
Plan your layout
Before mixing resin, do a quick dry layout inside the empty mold.
- Readability: keep lettering away from the very edge where a beveled rim can distort it.
- Contrast: light ink disappears behind pale petals. Dark lettering or a white paint pen layer can help.
- Composition: treat flowers like flourishes. Tuck tiny leaves near entry and exit strokes.
If you want your script to feel extra balanced, practicing connections helps. This guide makes it easier: how to connect letters in modern calligraphy.
Step by step coasters
Temperature note: Resin is thicker in cool rooms and runnier in warm rooms, which affects bubbles and how fast it gels. Many brands pour best in a comfortably warm space. Follow your label, and try to avoid high humidity if your resin is sensitive to it.
- Prep your workspace. Level your table, cover the surface, and set molds on a sturdy board you can move without wobbling.
- Clean the molds. Dust becomes permanent in resin. Wipe with a lint-free cloth if needed.
- Mix resin exactly as directed. Measure carefully by volume or weight depending on your brand. Stir slowly, scraping sides and bottom, for the full recommended time.
- Pour a thin base layer. Just enough to cover the bottom of the mold. This helps prevent flowers and lettering from sitting right on the surface where bubbles love to gather.
- Pop bubbles. Pass a heat gun quickly over the surface, or lightly mist with isopropyl alcohol if your resin allows it.
- Let the base thicken a bit. Wait until it is tacky like honey so it can grab what you place. This can take roughly 10 to 30 minutes depending on the resin and room temperature. A good test is that a toothpick dragged through the surface leaves a line that slowly softens back in, not an immediate flood-flat puddle.
- Place pressed flowers and leaves. Use a toothpick to nudge petals flat. Press gently so you do not trap air underneath.
- Add the lettering piece. Place the sealed paper or transparency face up for best readability. Press it into the tacky layer so it does not drift.
- Pour the top layer. Pour slowly onto a stir stick or down the side of the mold to reduce bubble trails. Fill to the mold’s line.
- Final bubble check. Watch the surface for 10 to 20 minutes. Tiny bubbles often keep rising after you think you are done. Pop them, then cover your molds to keep dust off while curing.
- Cure fully. Demold only after the resin reaches a firm cure. Many coasters can be demolded in about 12 to 24 hours, but full cure is often 48 to 72 hours. Your brand’s timeline is the one that counts.
Stop flowers from floating
Pressed flowers are feather-light. If they keep drifting, these tricks help.
- Use the tacky-layer method: place botanicals after the first layer thickens slightly.
- Work in two pours: embed flowers in a mid-layer, let it gel, then pour the final cap layer.
- Press and hold briefly: use a toothpick to ease resin over petals so air is not trapped.
Make lettering look embedded
The cleanest look comes from a sandwich: resin, lettering, resin. Here are a few design choices that help the illusion.
- Float the word above the flowers by letting the floral layer gel, then adding lettering, then topping off.
- Hide transparency edges by trimming closely and rounding corners. Sharp corners can catch light.
- Avoid thick paper. Thick edges show as a visible step inside the resin.
Finish and shine
Many silicone coaster molds release with a glossy finish, but edges sometimes need a little love.
- Demold gently: peel the silicone away from the resin rather than pulling the coaster out by force.
- Sand only if needed: if you have sharp edges or drips, wet sand lightly with fine grit sandpaper, keeping the surface damp to reduce dust.
- Restore shine: a thin top coat of resin can bring back gloss if sanding dulled the edge. Keep the coat thin so it self-levels.
Optional but cozy: add adhesive cork to the bottom after full cure, trimmed to fit.
Troubleshooting
My paper looks darker or translucent
- That usually means the paper absorbed resin. Seal more thoroughly next time, especially the edges.
- Choose brighter inks and thicker strokes to maintain contrast.
My ink bled or feathered
- The ink was not compatible or not fully sealed. Switch to a more permanent ink, allow longer dry time, and add clear spray sealer.
- If using a printed transparency, confirm it matches your printer type.
I have lots of tiny bubbles around flowers
- Pour a thin base first, then place flowers into tacky resin.
- Use a toothpick to coax resin under petals.
- Warm resin slightly by letting bottles sit in warm water before mixing, but keep water away from the resin itself and dry the bottles well.
The surface cured wavy or uneven
- Your surface was not level, or the coaster was moved too soon.
- Next time, cure on a level board and cover from dust without bumping it.
My coaster feels tacky after curing
- This can happen from incorrect measuring or mixing, low temperatures, or a surface issue some epoxies get in humid conditions.
- First, confirm you gave it the full cure time for your brand in the right temperature range.
- If the surface is slightly tacky but the piece is cured, some makers gently wash with mild soap and water, dry thoroughly, then add a thin resin top coat. Always follow your resin brand’s guidance for fixes.
Variations to try
- Monoline minimal: a single word in clean monoline style. If you want that smooth look, visit Monoline lettering 101.
- White ink drama: try a white paint pen style word paired with deep leaves. If you love white ink tricks, see best white pens and inks for ideas that often translate well to craft surfaces.
- Bouncy baseline: a playful name or short quote that hops gently across the coaster. Practice the rhythm with bouncy calligraphy baseline rules.
- Gold accents: add a tiny metallic detail near the first letter or around the rim using a paint pen made for nonporous surfaces.
FAQ
Do I need to seal pressed flowers?
If your flowers are fully pressed and dry, they can go directly into resin. That said, some petals like to trap air and release tiny bubbles, so a quick seal coat can help if you want the clearest look and fewer surprise bubbles.
Can I use printer paper?
You can, but it must be sealed thoroughly on both sides and around all edges. If you want the crispest look with the least prep, transparency film is usually simpler.
How thick should resin be?
Follow your mold depth and resin brand guidance. A two-pour approach (thin base plus top layer) helps keep elements centered and reduces floating.
What words work best?
Short and bold is happiest: names, initials, a date, or one word like “cheers,” “bloom,” or “hello.” If you want longer quotes, use smaller lettering and keep generous spacing so it stays readable through the resin.
More crafty lettering
If you enjoyed this mix of hand lettering and keepsake crafting, scamper over to DIY Projects & Crafts for more ideas, or try a surface project like hand-lettered ceramic mugs next.