Grab your favorite brush pen and let's draw some beautiful letters together! Canvas sneakers are a dreamy little blank page, but they do need the right prep so your painted words do not crack, peel, or wash away.
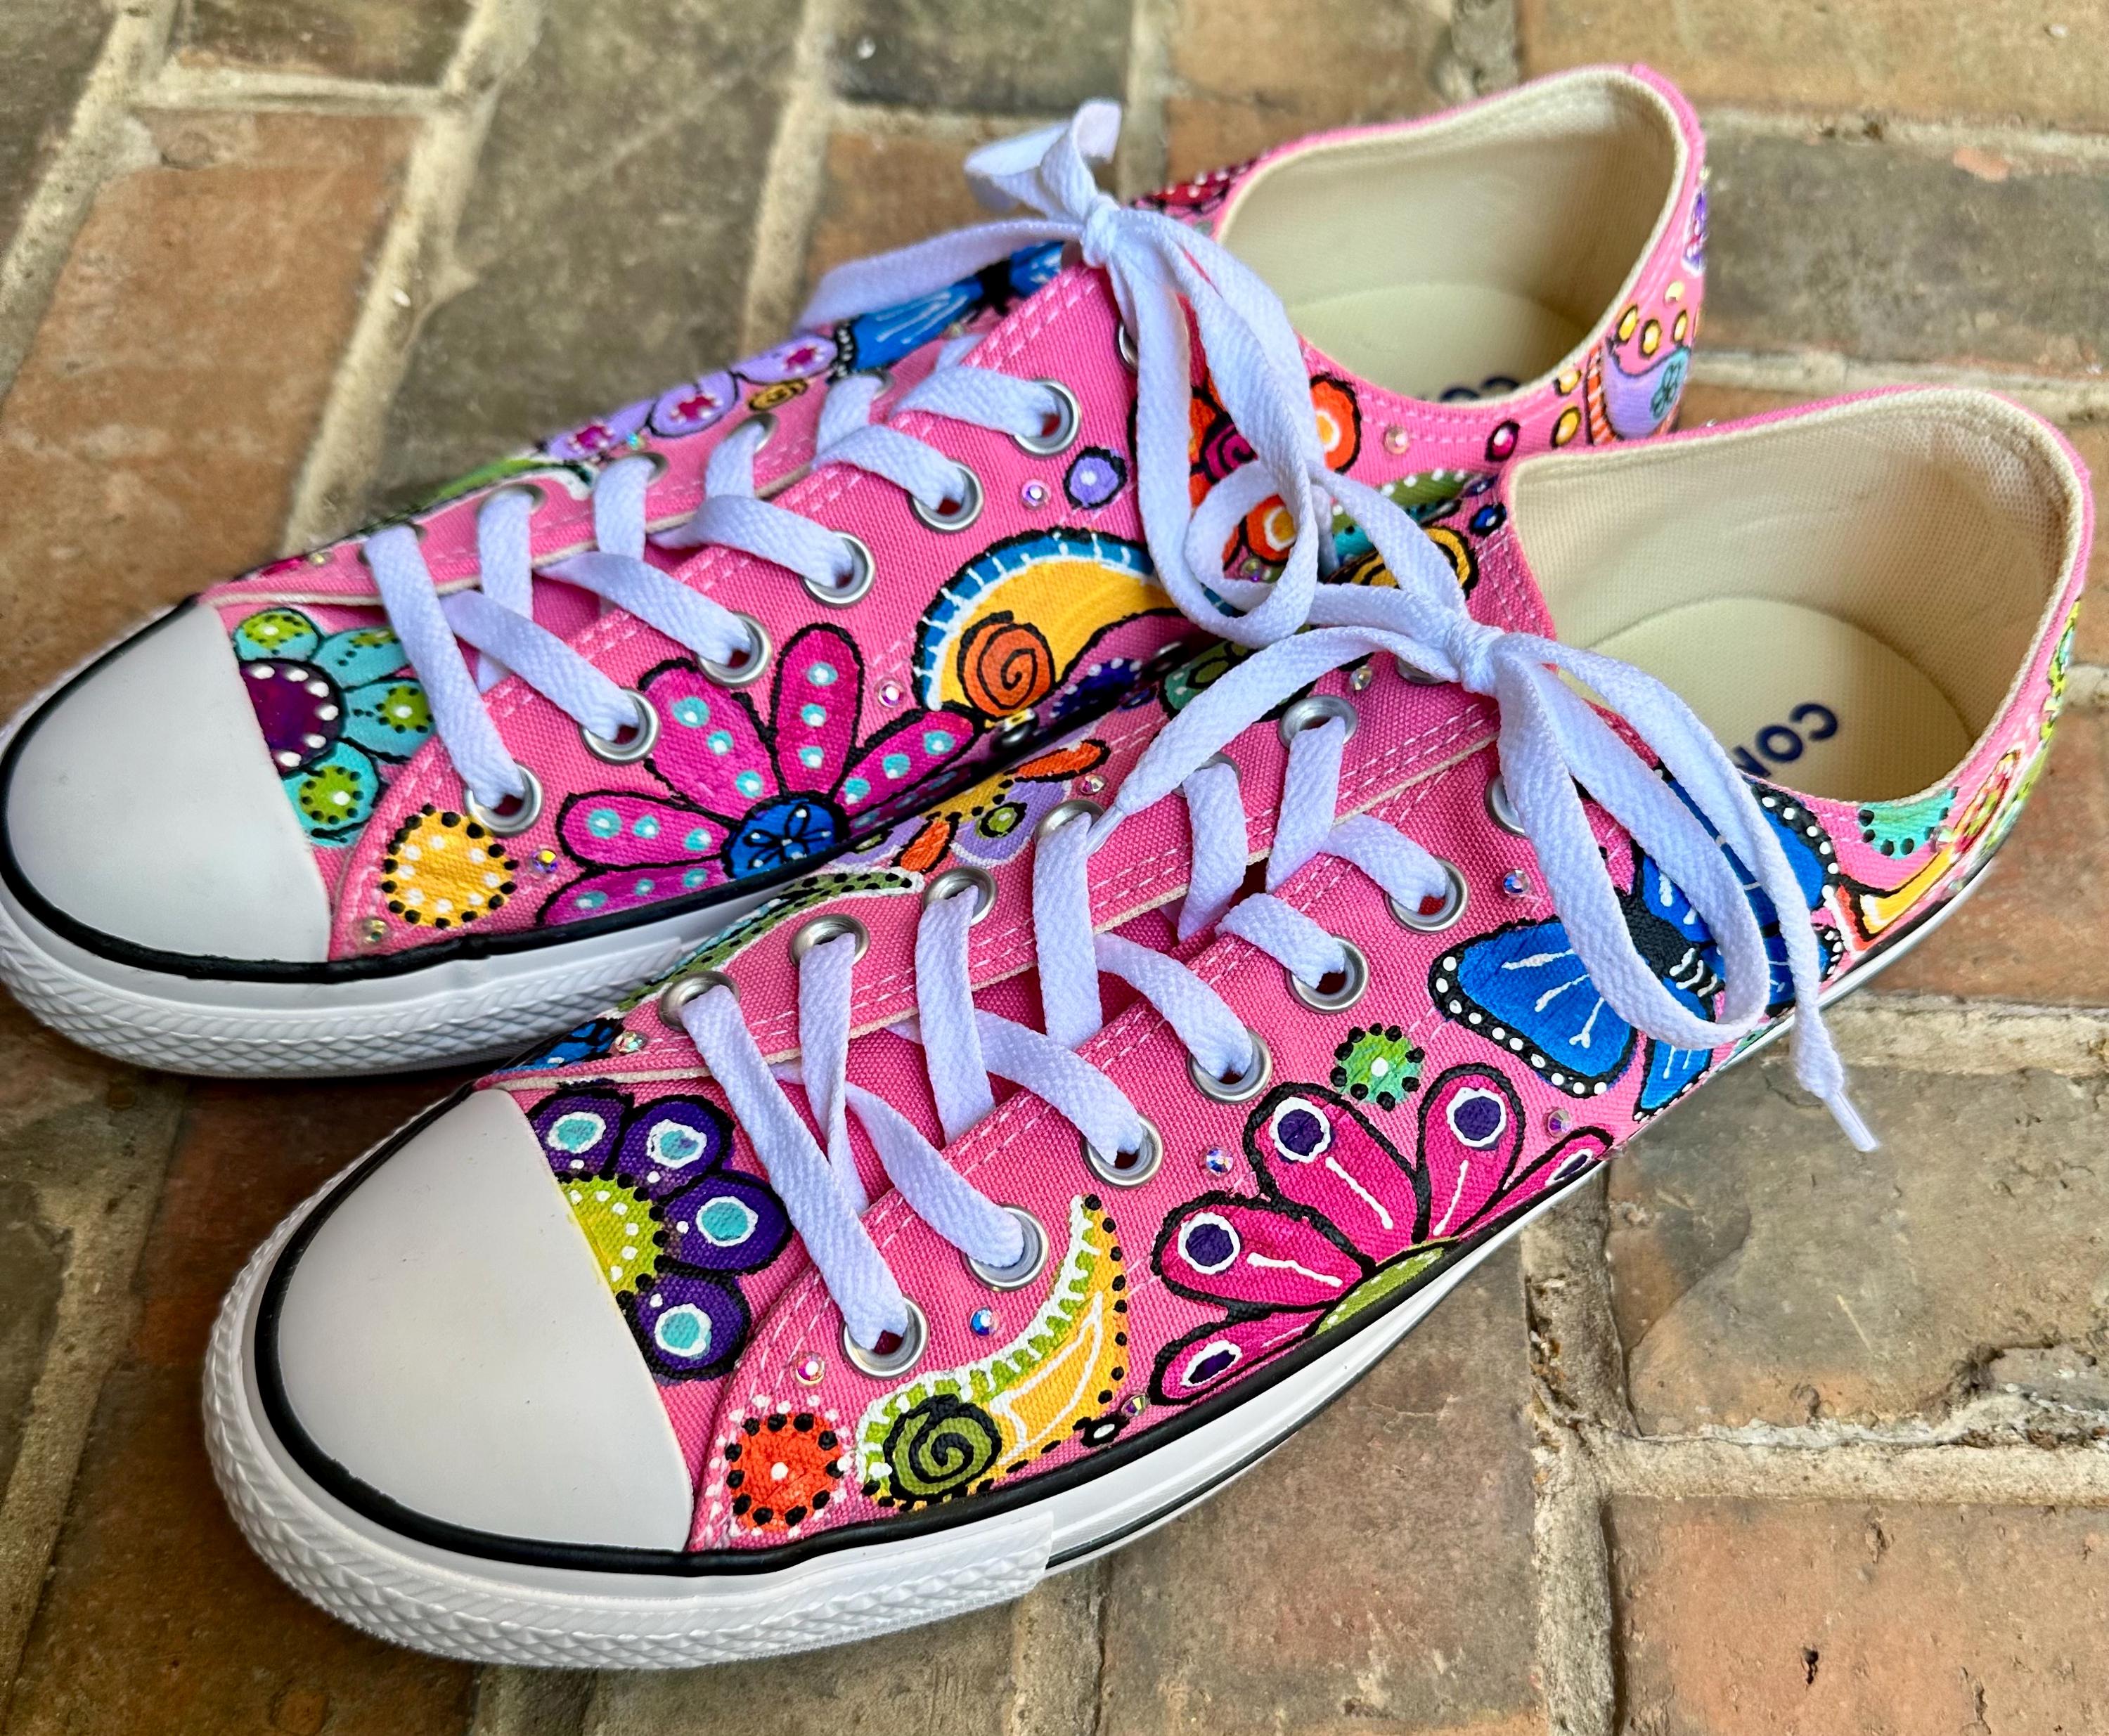
What makes sneaker lettering last
Canvas shoes bend, scuff, and get splashed. To help lettering survive that busy life, the goal is to build a flexible paint film that bonds to the fibers.
- Clean fibers so paint can grab the canvas.
- Fabric medium (or fabric paint) so acrylic stays flexible instead of brittle.
- Light coats so the paint can flex with the shoe.
- Cure time so the paint hardens properly before heavy wear.
- Optional sealer for extra protection from dirt and minor splashes (helpful, but not truly waterproof).
Supplies to gather
Use what you already have, then add one or two key helpers for durability.
- Canvas sneakers (clean and fully dry)
- Rubbing alcohol (70% or higher) and cotton pads or a lint-free cloth
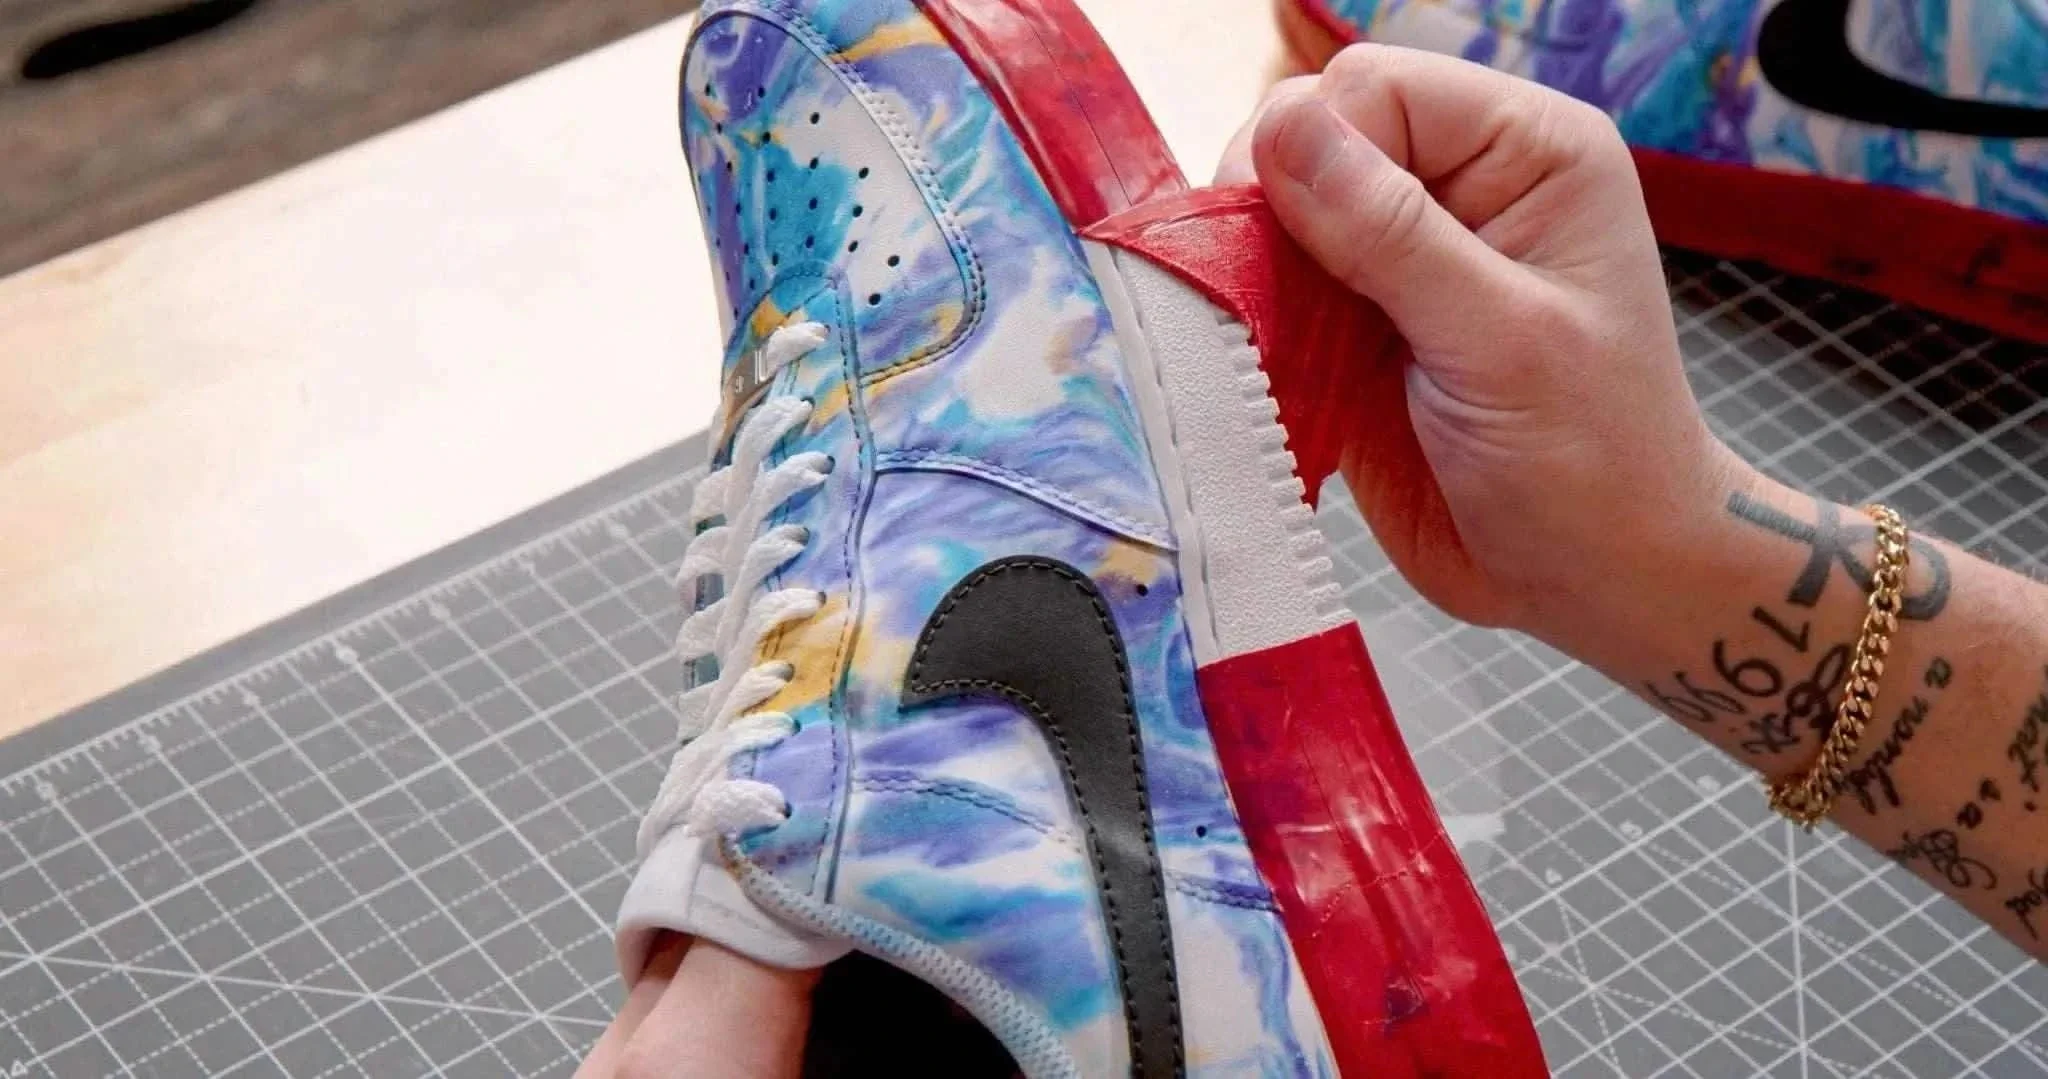
- Painter's tape or masking tape
- Pencil (HB) and a soft white eraser
- Paint: acrylic paint plus fabric medium, or dedicated fabric paint
- Small brushes: a round size 0 to 2 for strokes, and a flat brush for fills
- Palette or a ceramic plate, plus water cup and paper towels
- Cardboard or a shoe tree to slide inside the shoe
- Optional: white paint pen for highlights (especially on dark canvas). If you love white ink on dark surfaces, the tips in Best White Pens and Inks for Dark Envelopes translate nicely to sneakers.
- Optional sealer: a flexible, water-based clear coat labeled for fabric or shoes
Nib note: Your best durability trick is boring but true: build coverage slowly. Thick paint ridges are the first things to crack on a bendy shoe.
Prep the sneakers (do not skip this)
1) Remove laces and protect what you will not paint
Take laces out and set them aside. If the shoe has rubber foxing, soles, or a logo patch near where you will paint, mask edges with painter's tape for crisp borders.
2) Remove residue and skin oils
Even new shoes can have residue, dust, or oils that block paint. Lightly wipe the canvas area with rubbing alcohol. Use gentle pressure and let it dry completely.
3) Brush off lint and dust
Once the alcohol has dried, run a clean, dry cloth over the area to pick up any loose fibers. Canvas can shed a little, and those tiny fuzzies love to land right in your downstrokes.
4) Stuff the shoe
Slide cardboard, a shoe tree, or a tightly folded towel inside. This keeps the canvas taut so your lettering strokes stay smooth and your paint does not bleed through to the inside.
Plan your lettering
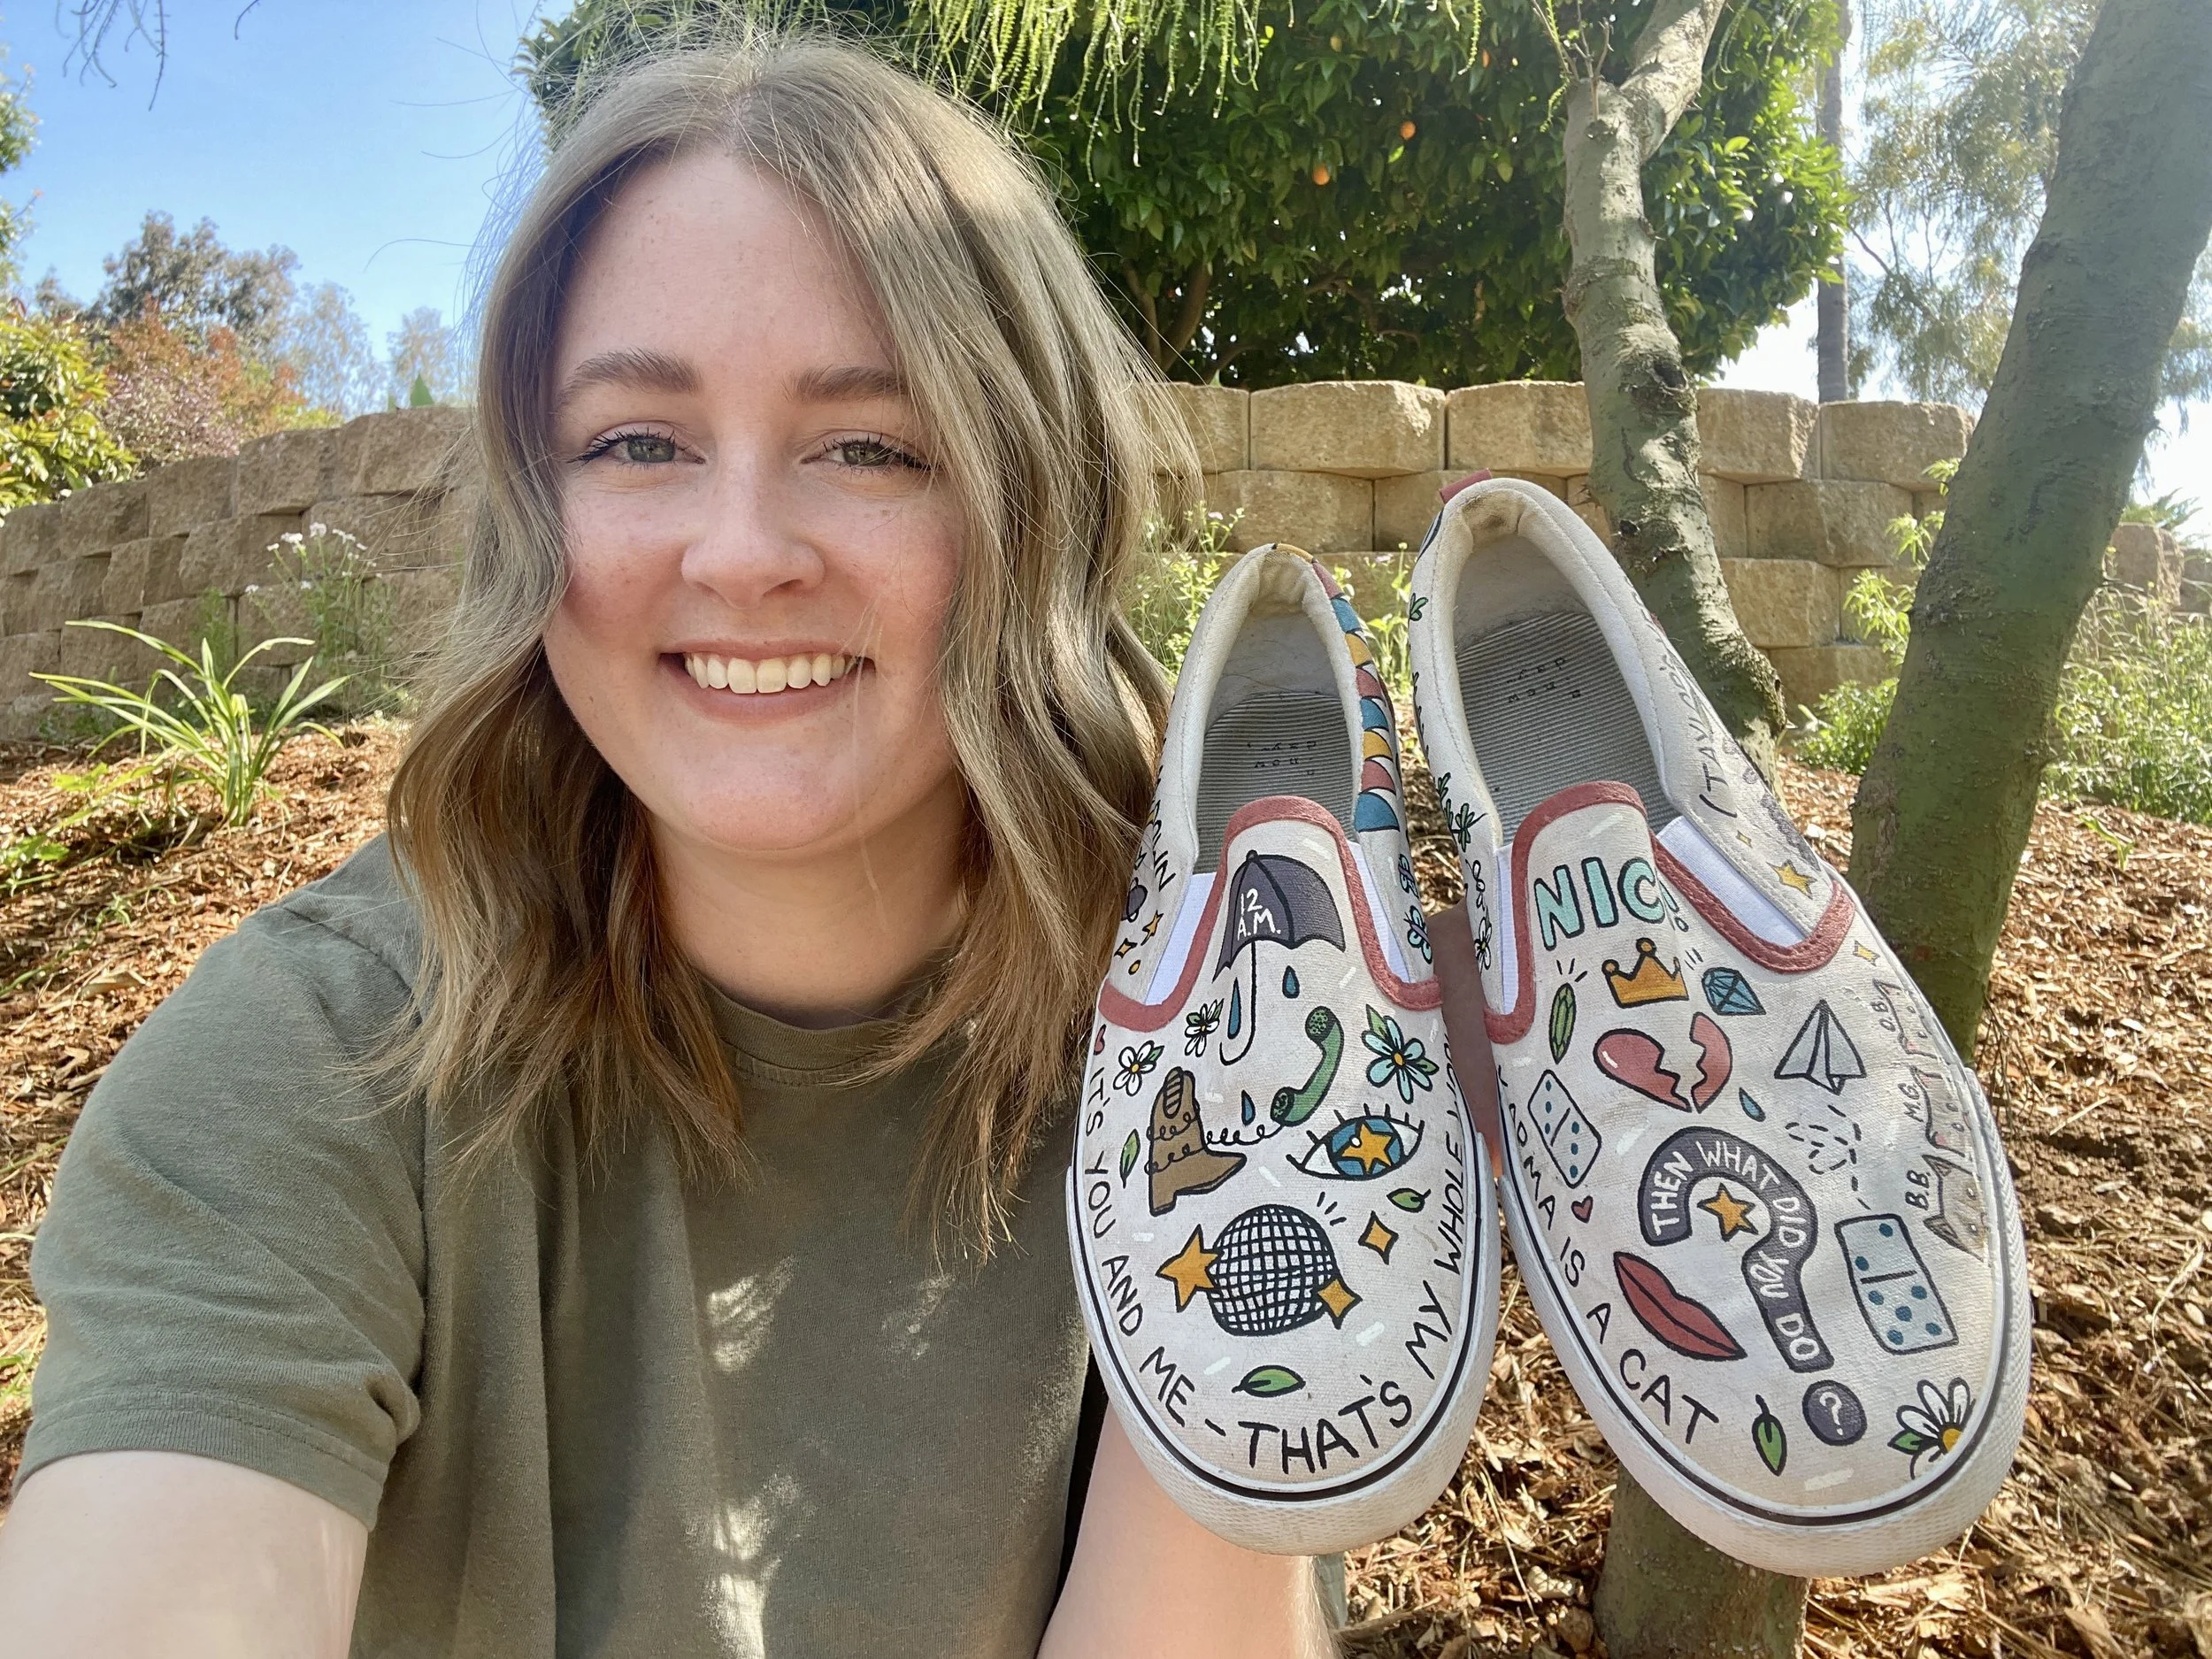
Canvas shoes are curved, and typography that looks perfect on flat paper can feel squished once it wraps around a toe cap or seam. Planning keeps your words readable from a normal standing view.
Pick a spot that bends less
- Best zones: the outer side panel between the eyelets and heel.
- Trickier zones: the toe box (lots of flex), the heel curve, and any thick seams.
Choose a style that holds up
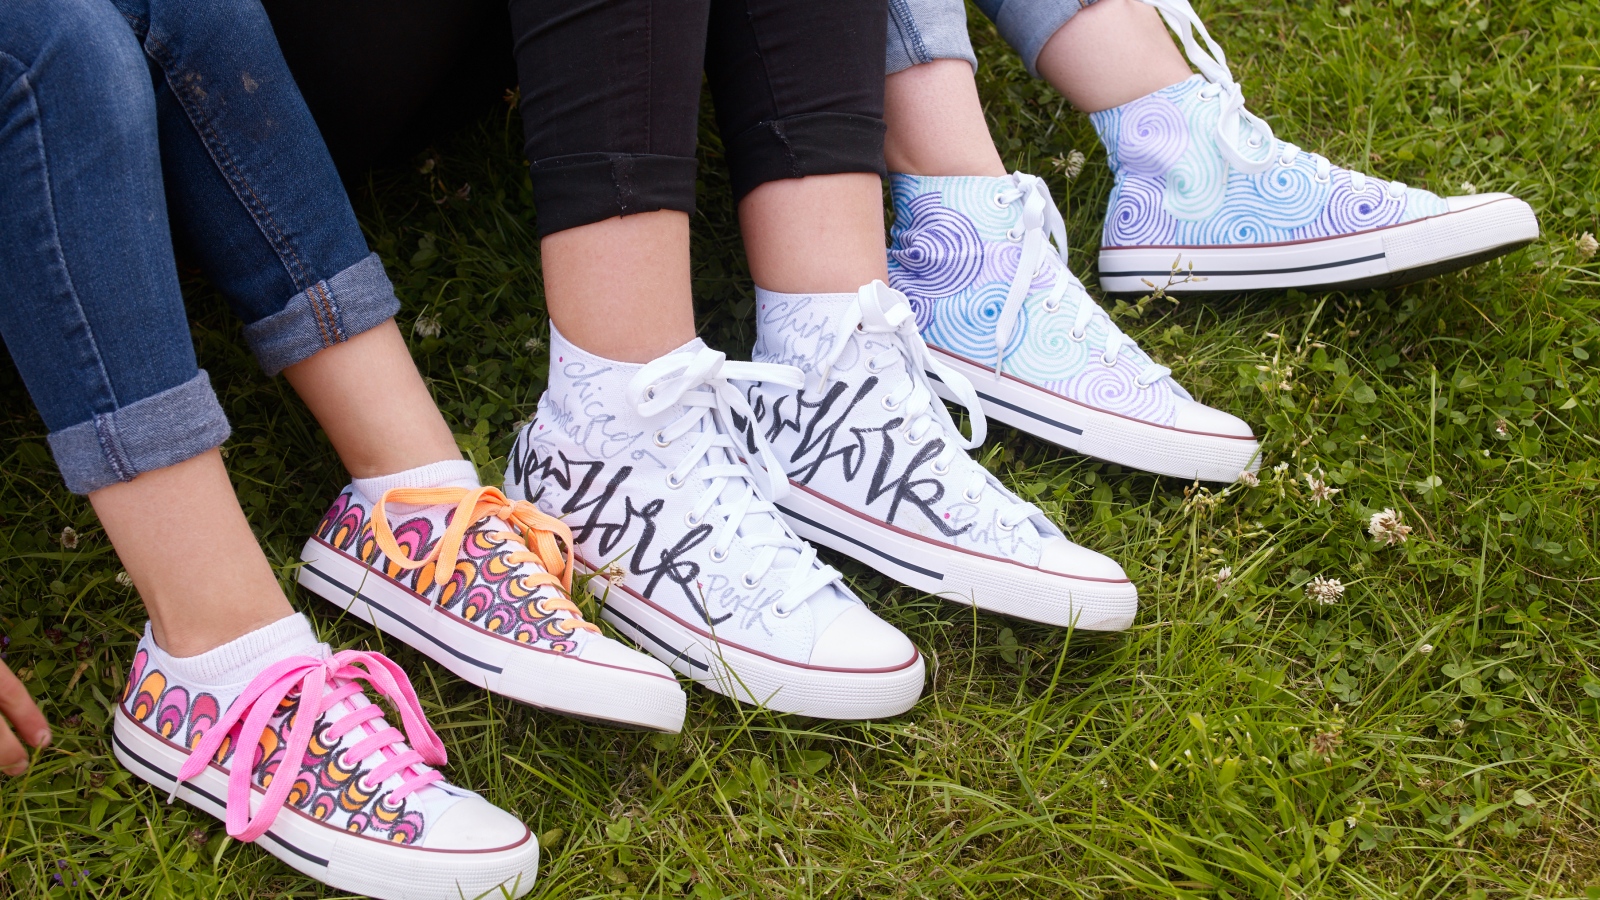
For beginners, monoline or simple block letters are sturdy and easy to touch up. If you want a brush-lettering look, keep downstrokes a bit thicker, but not so thick they form a stiff ridge.
If you want to warm up first, practice a few alphabets using the drills in 8 Basic Brush Lettering Strokes, then do a quick repetition session from 15 Minute Daily Calligraphy Drills.
Make it readable on a curve
- Keep x-height generous (small letters need room).
- Widen spacing slightly because the curve visually tightens letters.
- Avoid ultra-thin hairlines that disappear when the shoe scuffs.
Sketch your typography
Option A: Pencil sketch on canvas
- Lightly mark a baseline with pencil. A gentle arc can look more natural than a perfectly straight line on a curved shoe.
- Block in letter shapes with simple outlines. Think of this as a map for your brush.
- Step back and check spacing. The shoe looks different from 2 feet away than it does in your lap.
Option B: Transfer with tracing paper
- Write your word on paper at the size you want.
- Trace it onto tracing paper.
- Rub pencil graphite on the back of the tracing paper, then tape it onto the shoe and retrace to transfer.
Keep pencil light. Heavy graphite can smudge into paint and dull bright colors.
Mix paint for flexibility
If you are using regular acrylic paint, fabric medium helps it move with the canvas instead of cracking. Always follow your medium's label directions for ratios. If you just need a starting place, a common range is a little medium mixed into the paint until it flows smoothly and dries flexible.
- Start small. Too much medium can reduce opacity, especially with light colors.
- Mix thoroughly until smooth.
- Test on scrap canvas or an old tote bag if you have one. You want it opaque, but not gloopy.
If you are using dedicated fabric paint, you can usually paint straight from the bottle.
Dark canvas color tip
If your shoes are black or navy and you want pastel or white lettering, paint a thin white base layer first, let it dry, then paint your color on top. It keeps your brights from turning chalky or dull.
Paint the letters
1) Outline first
Use a small round brush and paint your outlines slowly. Outlines act like little fences that keep fills tidy.
2) Fill with light coats
Switch to a slightly larger brush for fills. Paint in one direction, let it dry, then add another coat if needed. Most designs look best with 2 to 3 light coats.
3) Keep the shoe surface taut
That cardboard inside is doing important work. If the canvas wrinkles while you paint, you can end up with little paint cracks when it smooths back out.
4) Add shadows or tiny flourishes
Want dimension? A simple drop shadow looks adorable on sneakers. Keep it subtle and slightly offset so it still reads from far away. For a gentle intro to dimension, visit Drop Shadows and 3D Effects for Hand Lettering.
Drying and curing
Paint can feel dry fast, but it needs time to cure for real toughness.
- Between coats: let the surface dry until it is not tacky.
- Before handling a lot: wait about 6 to 8 hours if you can.
- Before wearing outdoors: give it 24 to 72 hours, especially for thicker areas and humid weather.
If your fabric medium or paint brand gives a cure time, follow that label. The label is the boss for that specific formula.
About heat-setting
Some fabric paints and mediums suggest heat-setting for wash resistance. On shoes, heat can be tricky around glue, rubber, and curved shapes, so only do it if your product instructions specifically allow it and you can do it safely.
Seal the design
Sealing is optional, but helpful if the shoes will see wet sidewalks and frequent wear. A sealer can add water resistance and make grime easier to wipe off, but it will not make canvas shoes indestructible.
Pick the right sealer
- Look for: a flexible, water-based clear coat labeled for fabric, shoes, or outdoor crafts.
- Avoid: very rigid finishes that can crack when the canvas bends.
Apply in light layers
- Make sure the paint is fully dry.
- Brush or spray light coats, letting each coat dry before the next.
- Keep the shoe shape supported while it dries.
Nib note: Test the sealer on a hidden spot first. Some finishes deepen colors or change shine, and it is nicer to discover that on the inside edge than on your favorite word.
Care tips
- Spot clean with a damp cloth instead of tossing painted shoes in the washing machine.
- Avoid long soaks. Water can sneak into edges and soften coatings.
- Let muddy shoes dry, then brush off dirt gently. Scrubbing wet grit can act like sandpaper.
- Store dry and out of direct sunlight to reduce fading.
Quick troubleshooting
My paint bled under tape
- Press tape down firmly along the edge before painting.
- Use less watery paint and lighter coats.
- Remove tape while paint is slightly damp, pulling back on itself slowly.
My lines look shaky on canvas texture
- Switch to a slightly smaller brush with a good point.
- Use your pencil sketch as a road map and paint slower.
- If you want steadier strokes in general, the guidance in How to Fix Shaky Upstrokes is super helpful for controlled hand movement.
The paint cracked after drying
- Likely causes: paint layer was too thick, or no fabric medium was used.
- Fix: sanding is not ideal on canvas, so instead paint a fresh light coat over the crack with fabric medium mixed in, then let it cure longer.
The design feels sticky
- It needs more cure time, or humidity is slowing drying.
- Move shoes to a warm, dry room with airflow and wait longer before sealing or wearing.
Lettering ideas
- One bold word on each outer side: “brave”, “bloom”, “create”.
- Split phrase across two shoes: “stay” and “curious”.
- Small monograms near the heel for a subtle look.
- Micro flourishes or tiny stars tucked into counters and empty spaces.
Keep it simple, keep it readable, and let your letters do the smiling.
Safety and material notes
- Work in a well-ventilated area, especially if using a spray sealer.
- Keep paint and sealers off rubber edges and soles for best adhesion and clean lines. Masking helps.
- If your shoes are not canvas (leather, suede, knit), the prep and products change. For fabric basics beyond shoes, see How to Hand Letter on Fabric.