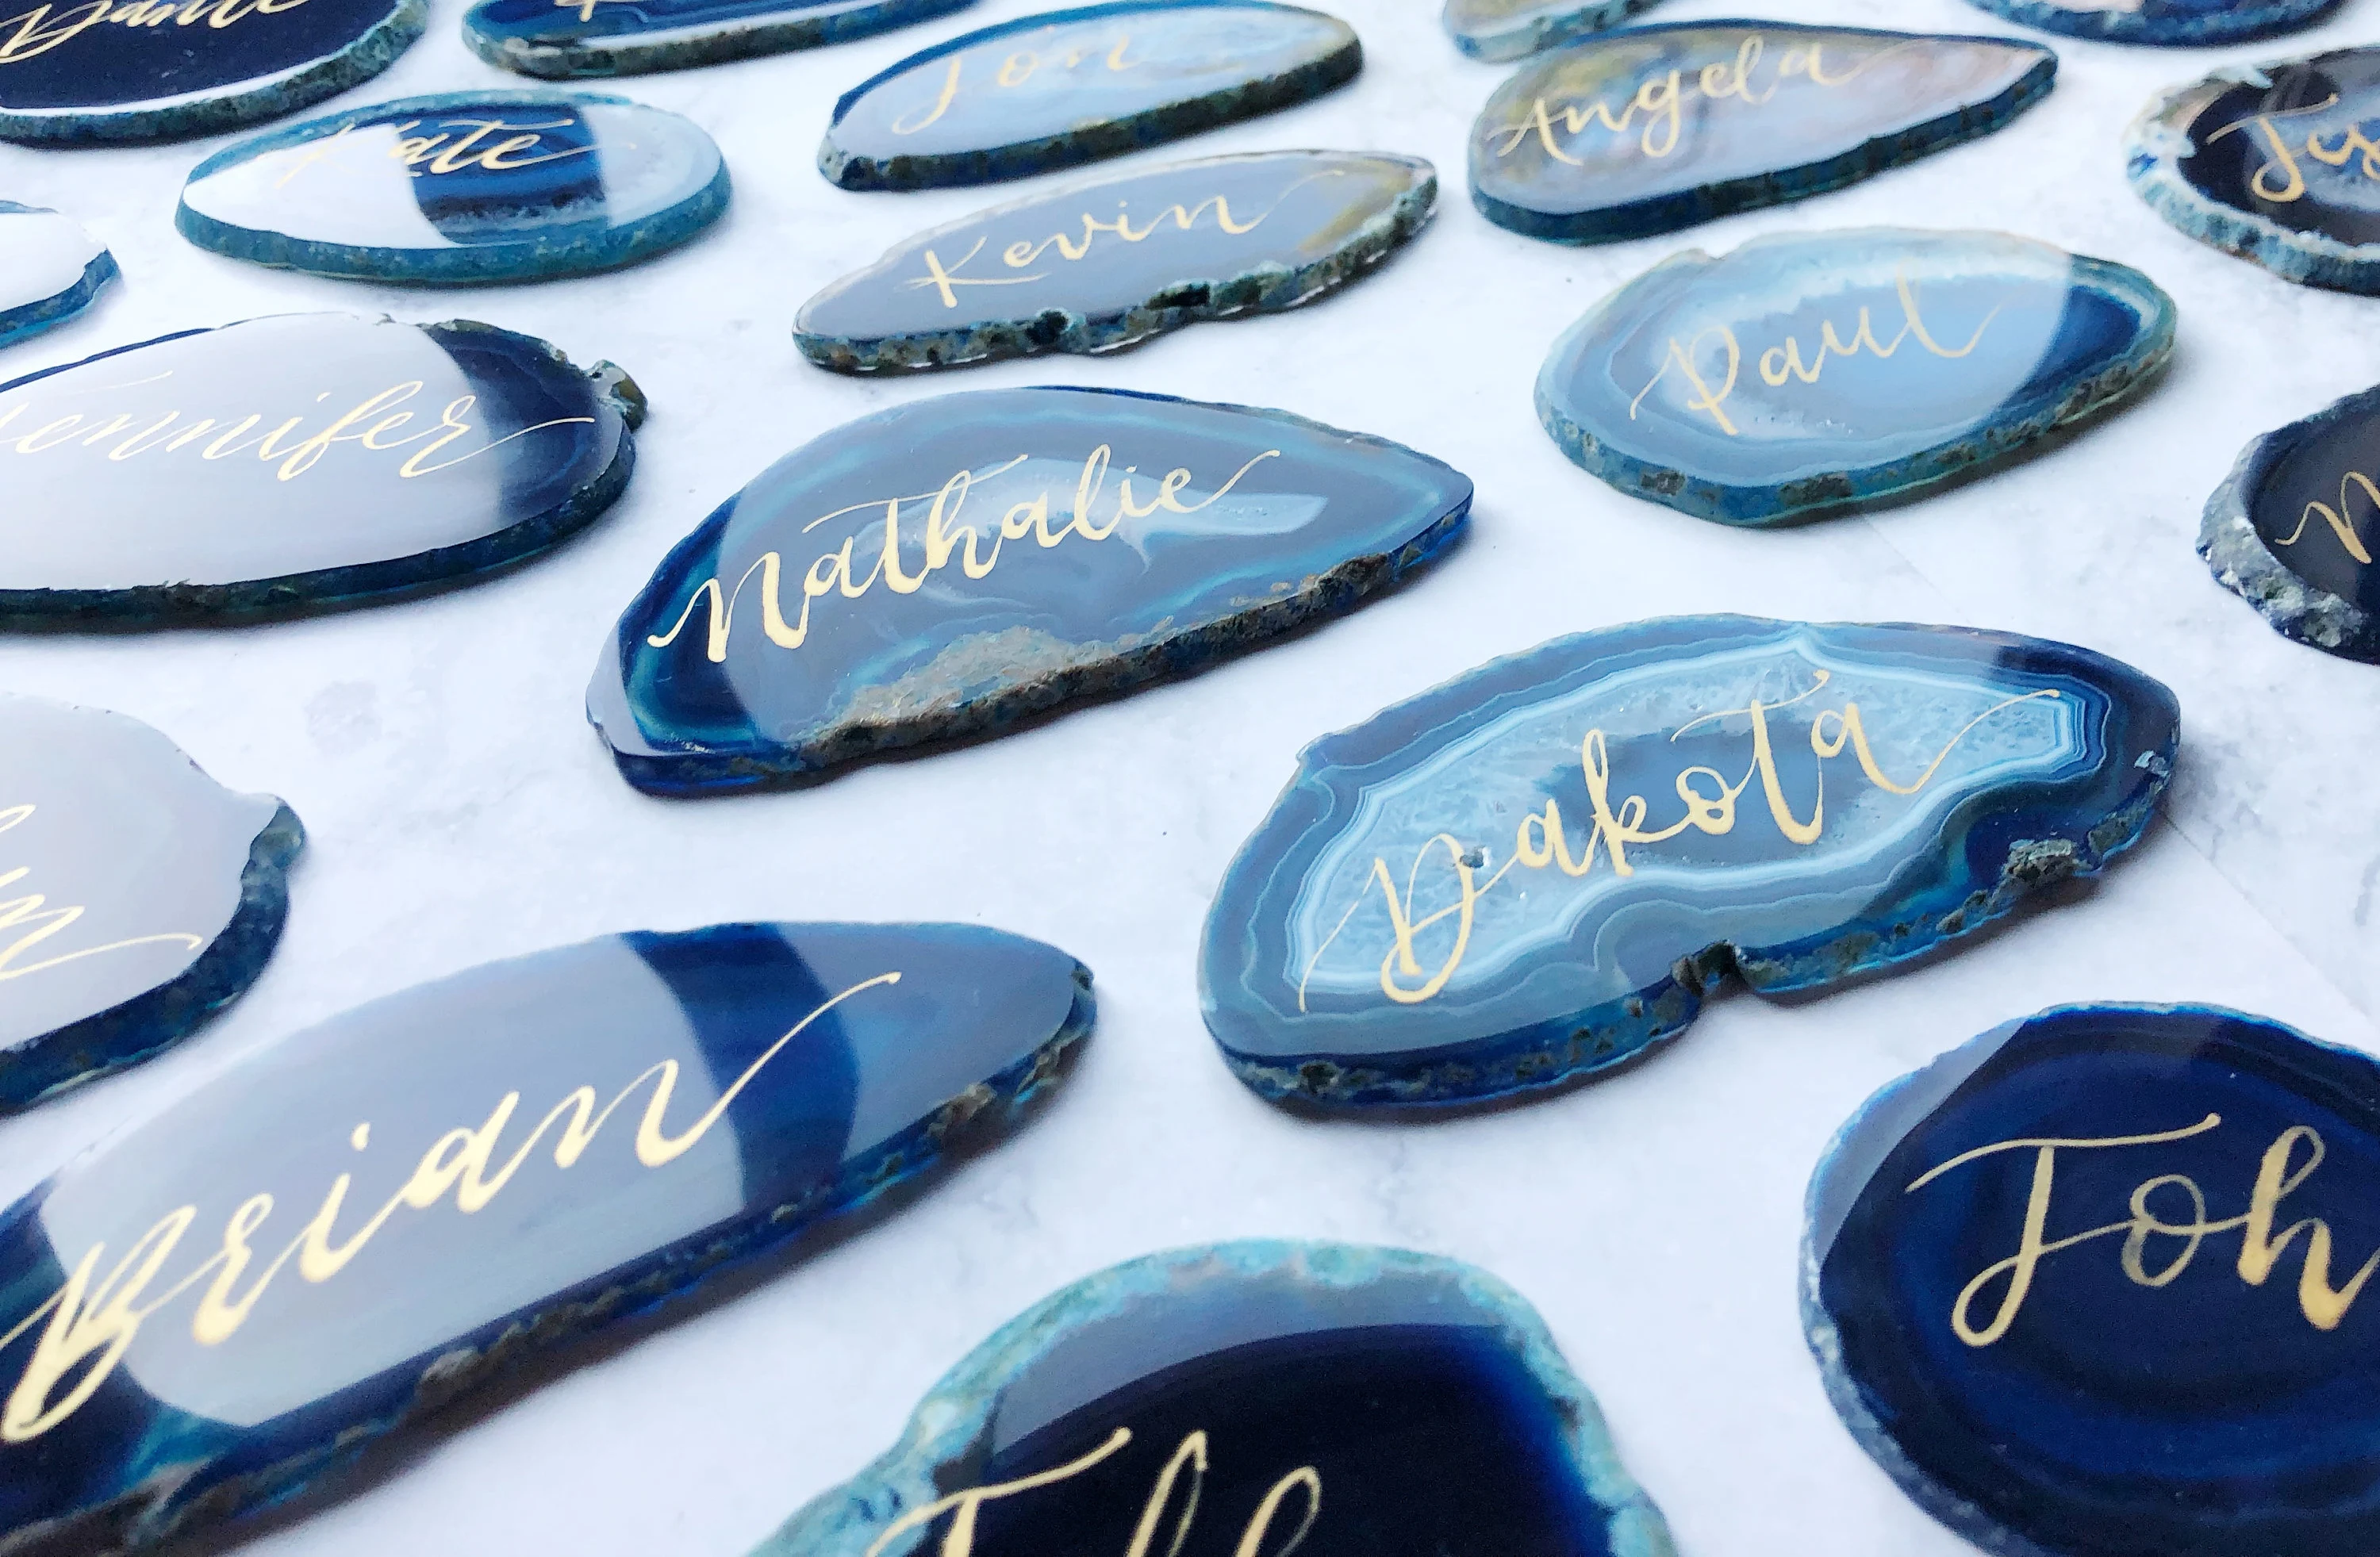
Grab your favorite lettering pen and let’s make leather look fancy. Leather is springy, slightly oily, and made to bend, which means your usual paper routine needs a few smart swaps. This guide walks through what to use, how to prep genuine versus faux leather, and how to seal your design so it stays put on luggage tags, keychains, and journal covers.
What makes leather tricky
Leather is a flexible surface with natural oils and finishes. Those finishes are wonderful for durability, but they can keep paint from gripping. The other challenge is movement: tags, key fobs, and journal spines bend a lot, so brittle paint layers can crack if they are too thick or not sealed.
- Genuine leather can have waxes, oils, or protective topcoats that resist ink and paint.
- Faux leather is usually a plastic-coated fabric. Some paints stick well, others peel off like a sticker.
- High-touch items like keychains need extra curing time and a flexible sealer.
Supplies that work
Leather projects go best when each layer has a job: prep, color, and protection.
Color options
- Flexible acrylic leather paint (often sold as “leather paint”). This is a top choice because it is made to bend.
- Acrylic paint plus a fabric or textile medium. The medium helps acrylic stay more flexible.
- Oil-based paint markers for small details. They can be durable, but they still need proper prep and sealing on flexible areas.
- Acrylic paint markers for bold, opaque strokes. Use light coats so they flex.
Prep and cleanup helpers
- Leather deglazer to cut through stubborn factory finishes.
- Isopropyl alcohol (70% to 91%) to help remove surface oils and light grime and improve grip. On heavily finished leather, you may still need a deglazer.
- Lint-free cloths or cotton rounds.
- Low-tack tape (washi tape or painter’s tape) for crisp edges. Test first since some tapes can lift finish or leave residue.
- Fine sandpaper (600 to 1000 grit) for very gentle scuffing when needed.
Sealants (the “stay put” layer)
- Flexible acrylic finisher made for leather (matte or gloss). This is the most reliable option for bendy items.
- Water-based polyurethane can work on some faux leather, but results vary. Some formulas can stay tacky on vinyl or crack with flex, so test on a hidden spot and bend-check before committing.
- Spray sealer is convenient, but choose one labeled flexible, non-yellowing, and compatible with leather or vinyl when possible, and apply very light coats. General-purpose acrylic sprays can haze or crack on nonporous plastics, so testing matters.
If you also love lettering on tricky surfaces like glass or wood, the paint pen guidance in Best Markers and Paint Pens for Lettering on Glass, Wood, and Acrylic can help you compare nib styles and opacity.
Before you start: check the finish
A quick finish check helps you choose prep steps.
- Very shiny, slick surface is usually heavily finished. You will likely need deglazing and possibly a gentle scuff.
- Matte, slightly textured surface often accepts paint more easily, but still benefits from cleaning.
- Vegetable-tanned or unfinished leather is more absorbent. Paint can soak in and darken the leather slightly around strokes, so test first and keep coats light.
- Suede or nubuck is fuzzy and absorbent. Lettering is possible, but edges feather and sealing can change the texture. For luggage tags and keychains, smooth leather is much easier.
Prep steps that prevent peeling
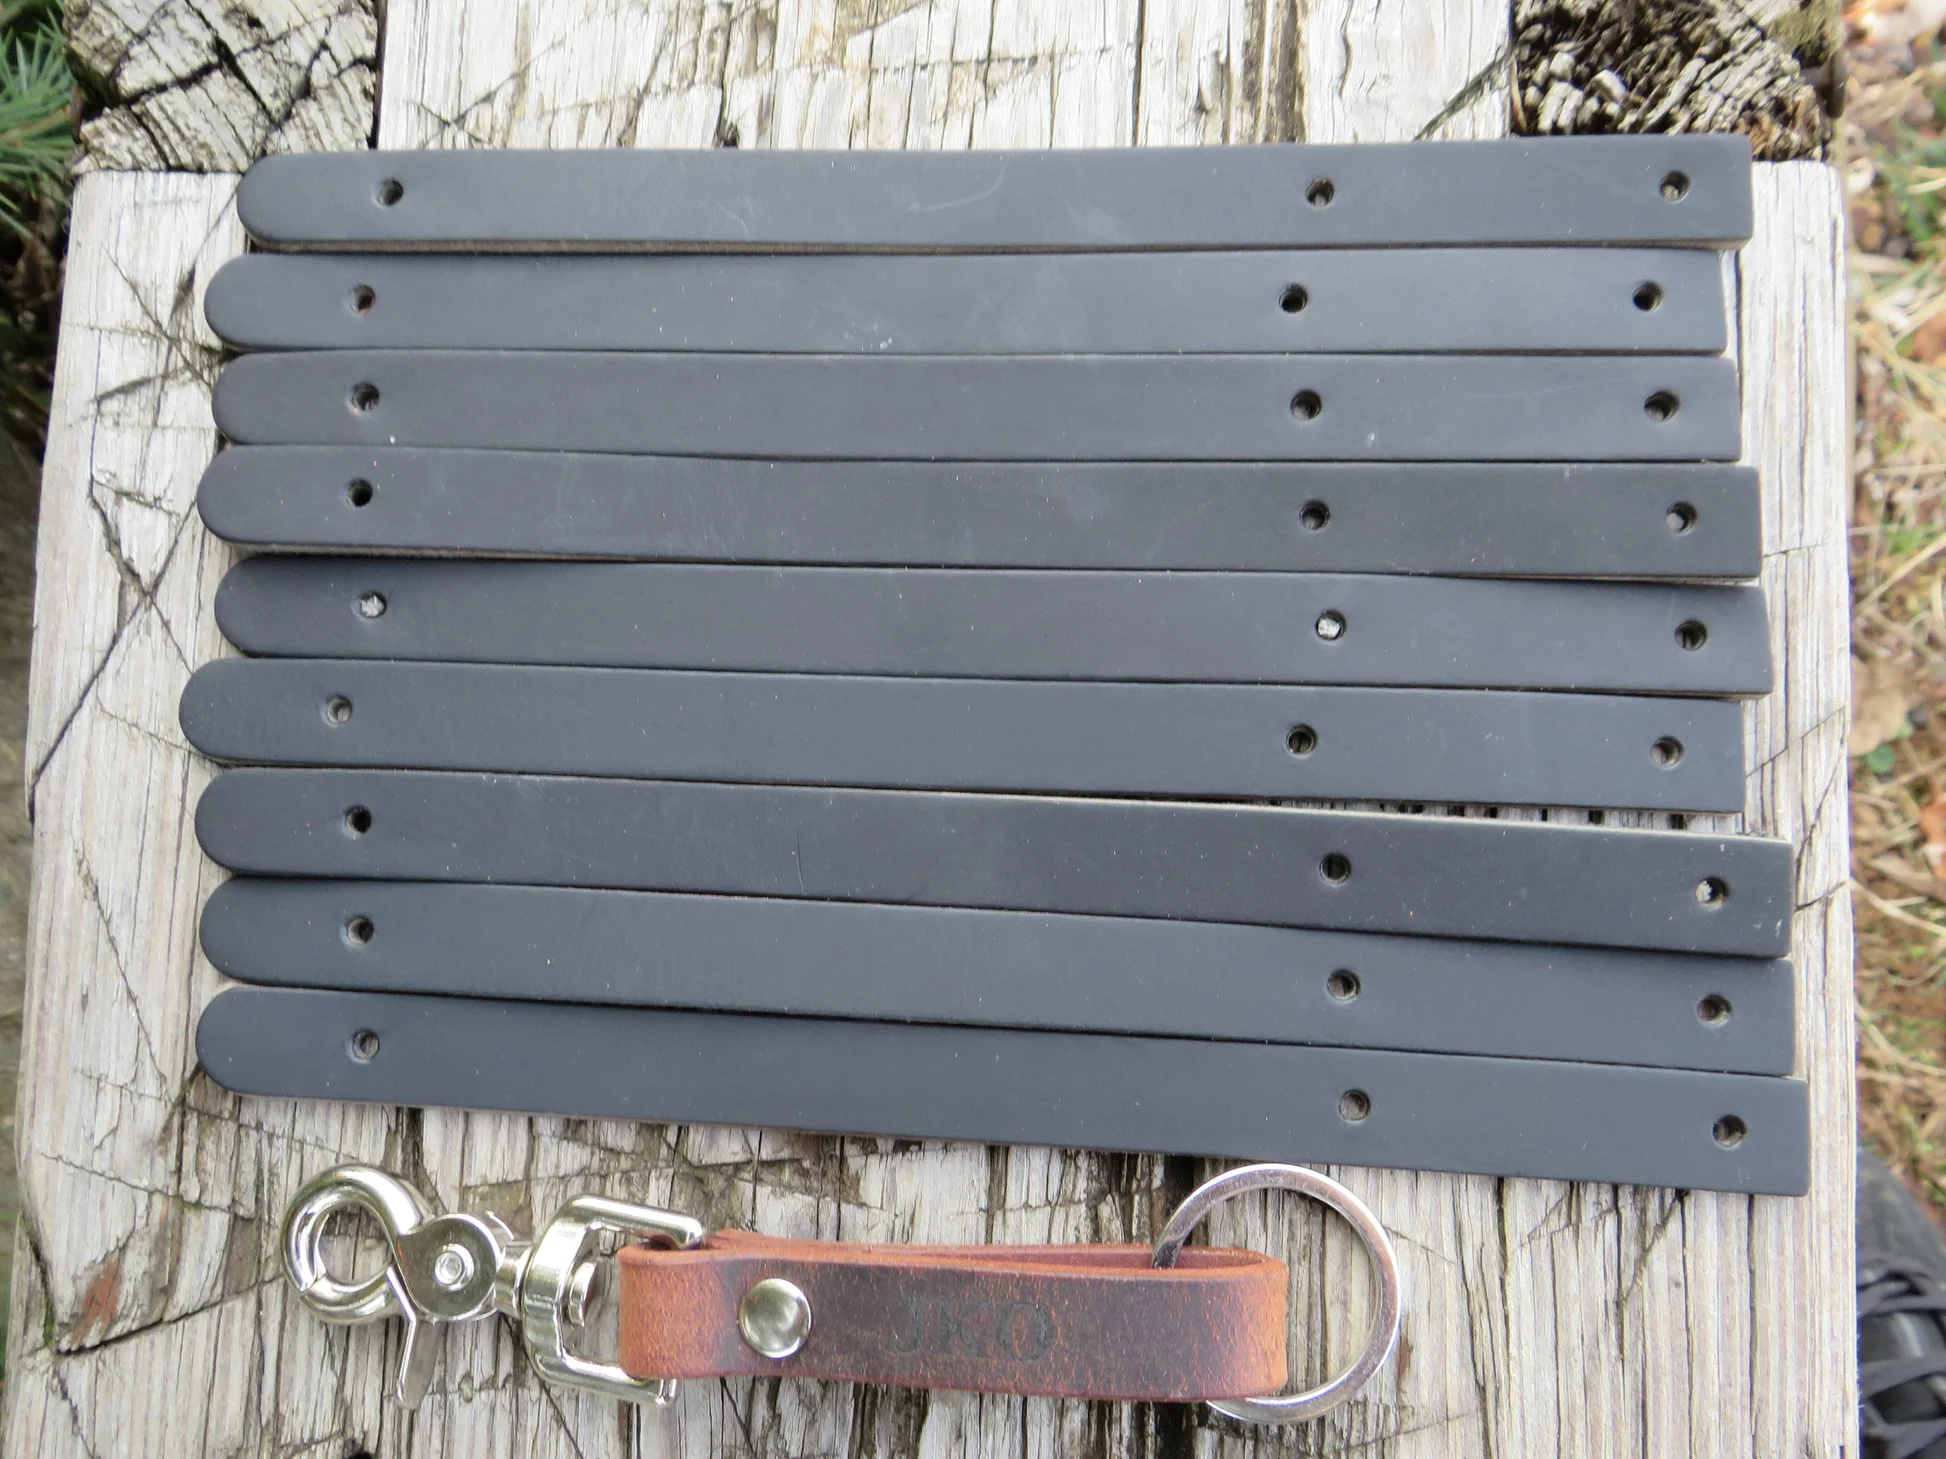
Prep is the difference between “wow” and “why is this flaking.” Choose the gentlest method that gives you good grip.
Safety first
Work in a well-ventilated space when using alcohol, deglazer, or spray sealers. Keep products away from flames, and consider gloves if you have sensitive skin.
Step 1: Clean
- Wipe the area with a dry cloth first to remove dust.
- Lightly wipe with isopropyl alcohol on a lint-free cloth, then let it dry completely.
Step 2: Deglaze (when needed)
If the surface still feels slick or your test strokes bead up, use a leather deglazer. Apply a small amount to a cloth and wipe the area. Let it dry fully before lettering. Avoid soaking the leather.
Step 3: Gentle scuff (only if necessary)
If paint still scratches off easily after cleaning and deglazing, gently scuff just the lettering area with very fine sandpaper. Use a feather-light touch, then wipe away dust and do one more quick alcohol wipe.
Test first
Leather varies a lot, even within the same color family. Always test on a hidden spot like the underside of a tag flap.
- Draw a few strokes: one light, one slightly thicker.
- Let it dry, then lightly rub with a finger.
- Bend the leather gently to see if the paint wrinkles, cracks, or lifts.
If it rubs off easily, go back to prep. If it cracks when bent, switch to a more flexible paint or use lighter coats.
How to letter leather
1) Plan the layout
Leather is less forgiving than paper, so a quick plan helps. Use low-tack tape to create a baseline or a centered writing box. If you want help with spacing and centering, the tricks in Calligraphy Envelope Addressing Centering Tricks translate beautifully to luggage tags and journal covers.
2) Pick a style that wears well
- Monoline is clean and durable because it avoids thick ridges of paint. If you want a refresher on tidy strokes, visit Monoline Lettering 101.
- Small brush lettering can work, but keep pressure changes gentle to avoid paint buildup in downstrokes.
- Block letters are excellent for high contrast and easy touch-ups. See Serif and Sans Serif Block Letters for Calligraphy for style ideas.
3) Apply color in light coats
- Use light pressure and let the paint flow rather than pushing hard into the leather.
- Build opacity with thin layers, letting each layer dry before the next.
- If you are using a paint marker, give it a second to level out before you go back in for a touch-up.
4) Let it cure
Dry-to-the-touch is not the same as cured. For items that will rub against pockets and keys, let the lettering cure overnight to 24 hours before sealing when you can. Oil-based paint markers often need even longer to fully cure, so follow the label and do a quick smudge test before you topcoat.
Project recipes
Luggage tags
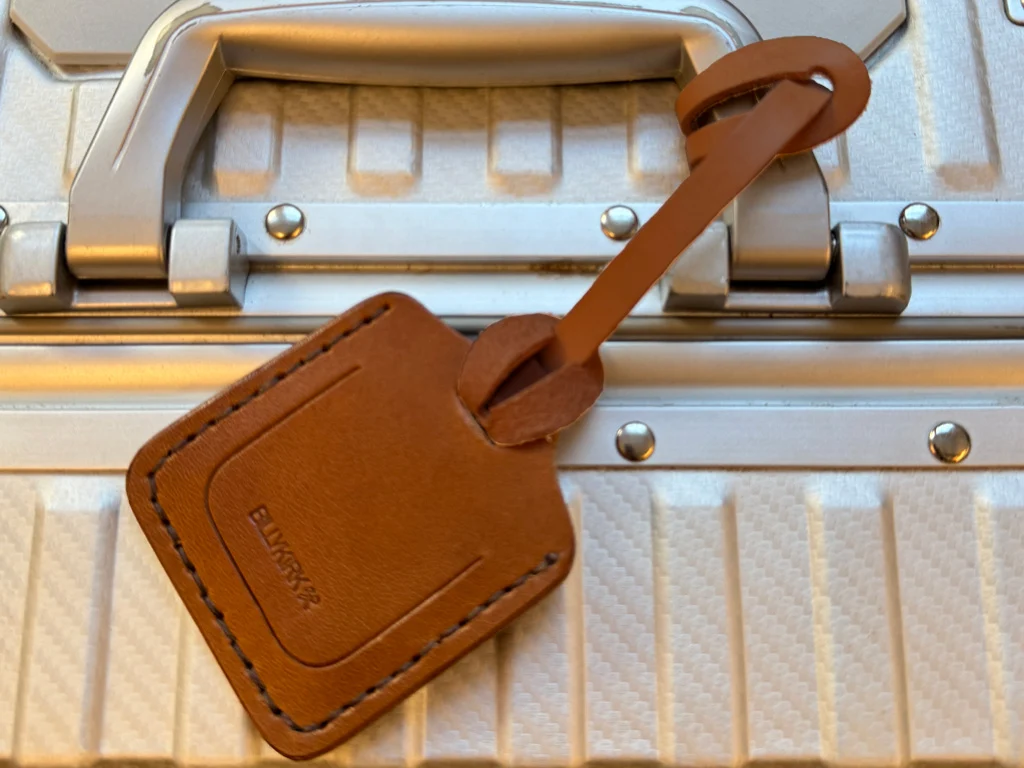
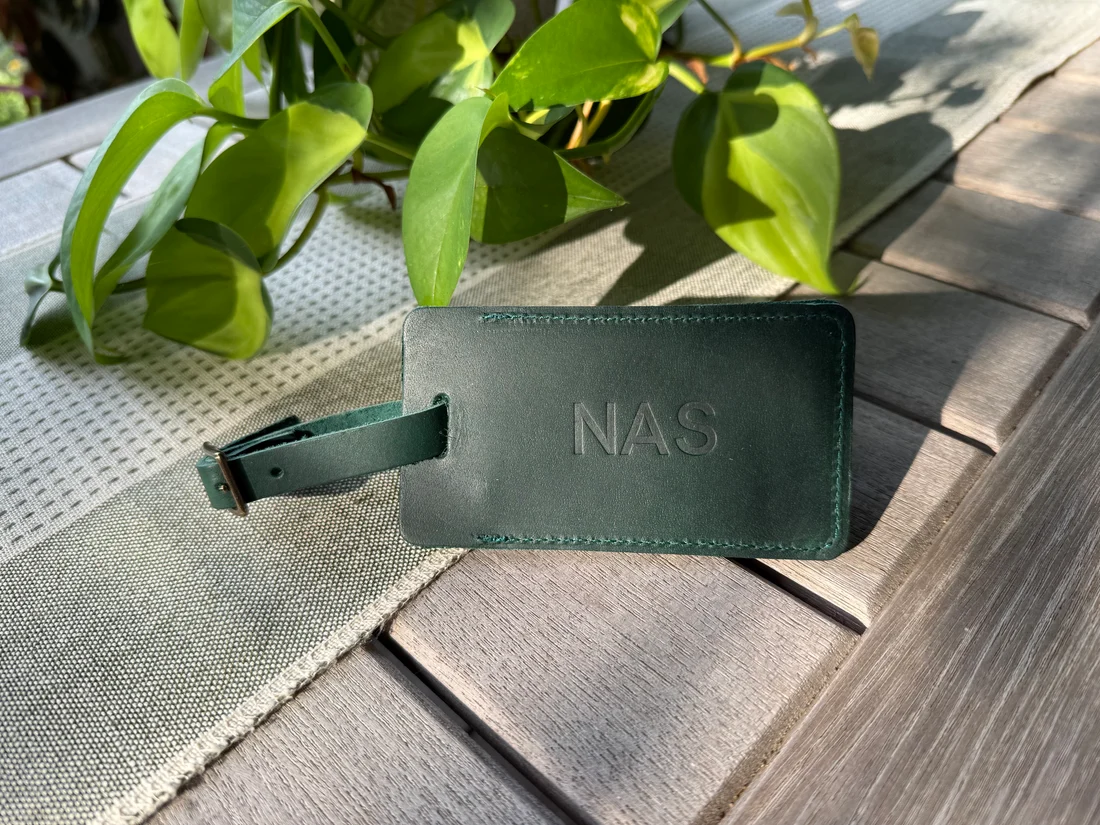
Luggage tags bend and get scraped, so aim for bold and simple.
- Best styles: block letters, monoline names, simple flourishes kept away from edges.
- Placement tip: keep lettering at least a fingertip width from the edges and buckle area to reduce rubbing.
- Finish: flexible finisher in 2 to 4 very light coats.
Keychains
Keychains are high friction. The trick is flexibility and patience.
- Best styles: short words, initials, tiny icons.
- Paint tip: avoid thick paint ridges, especially at corners.
- Finish: flexible finisher, plus extra cure time before attaching keys.
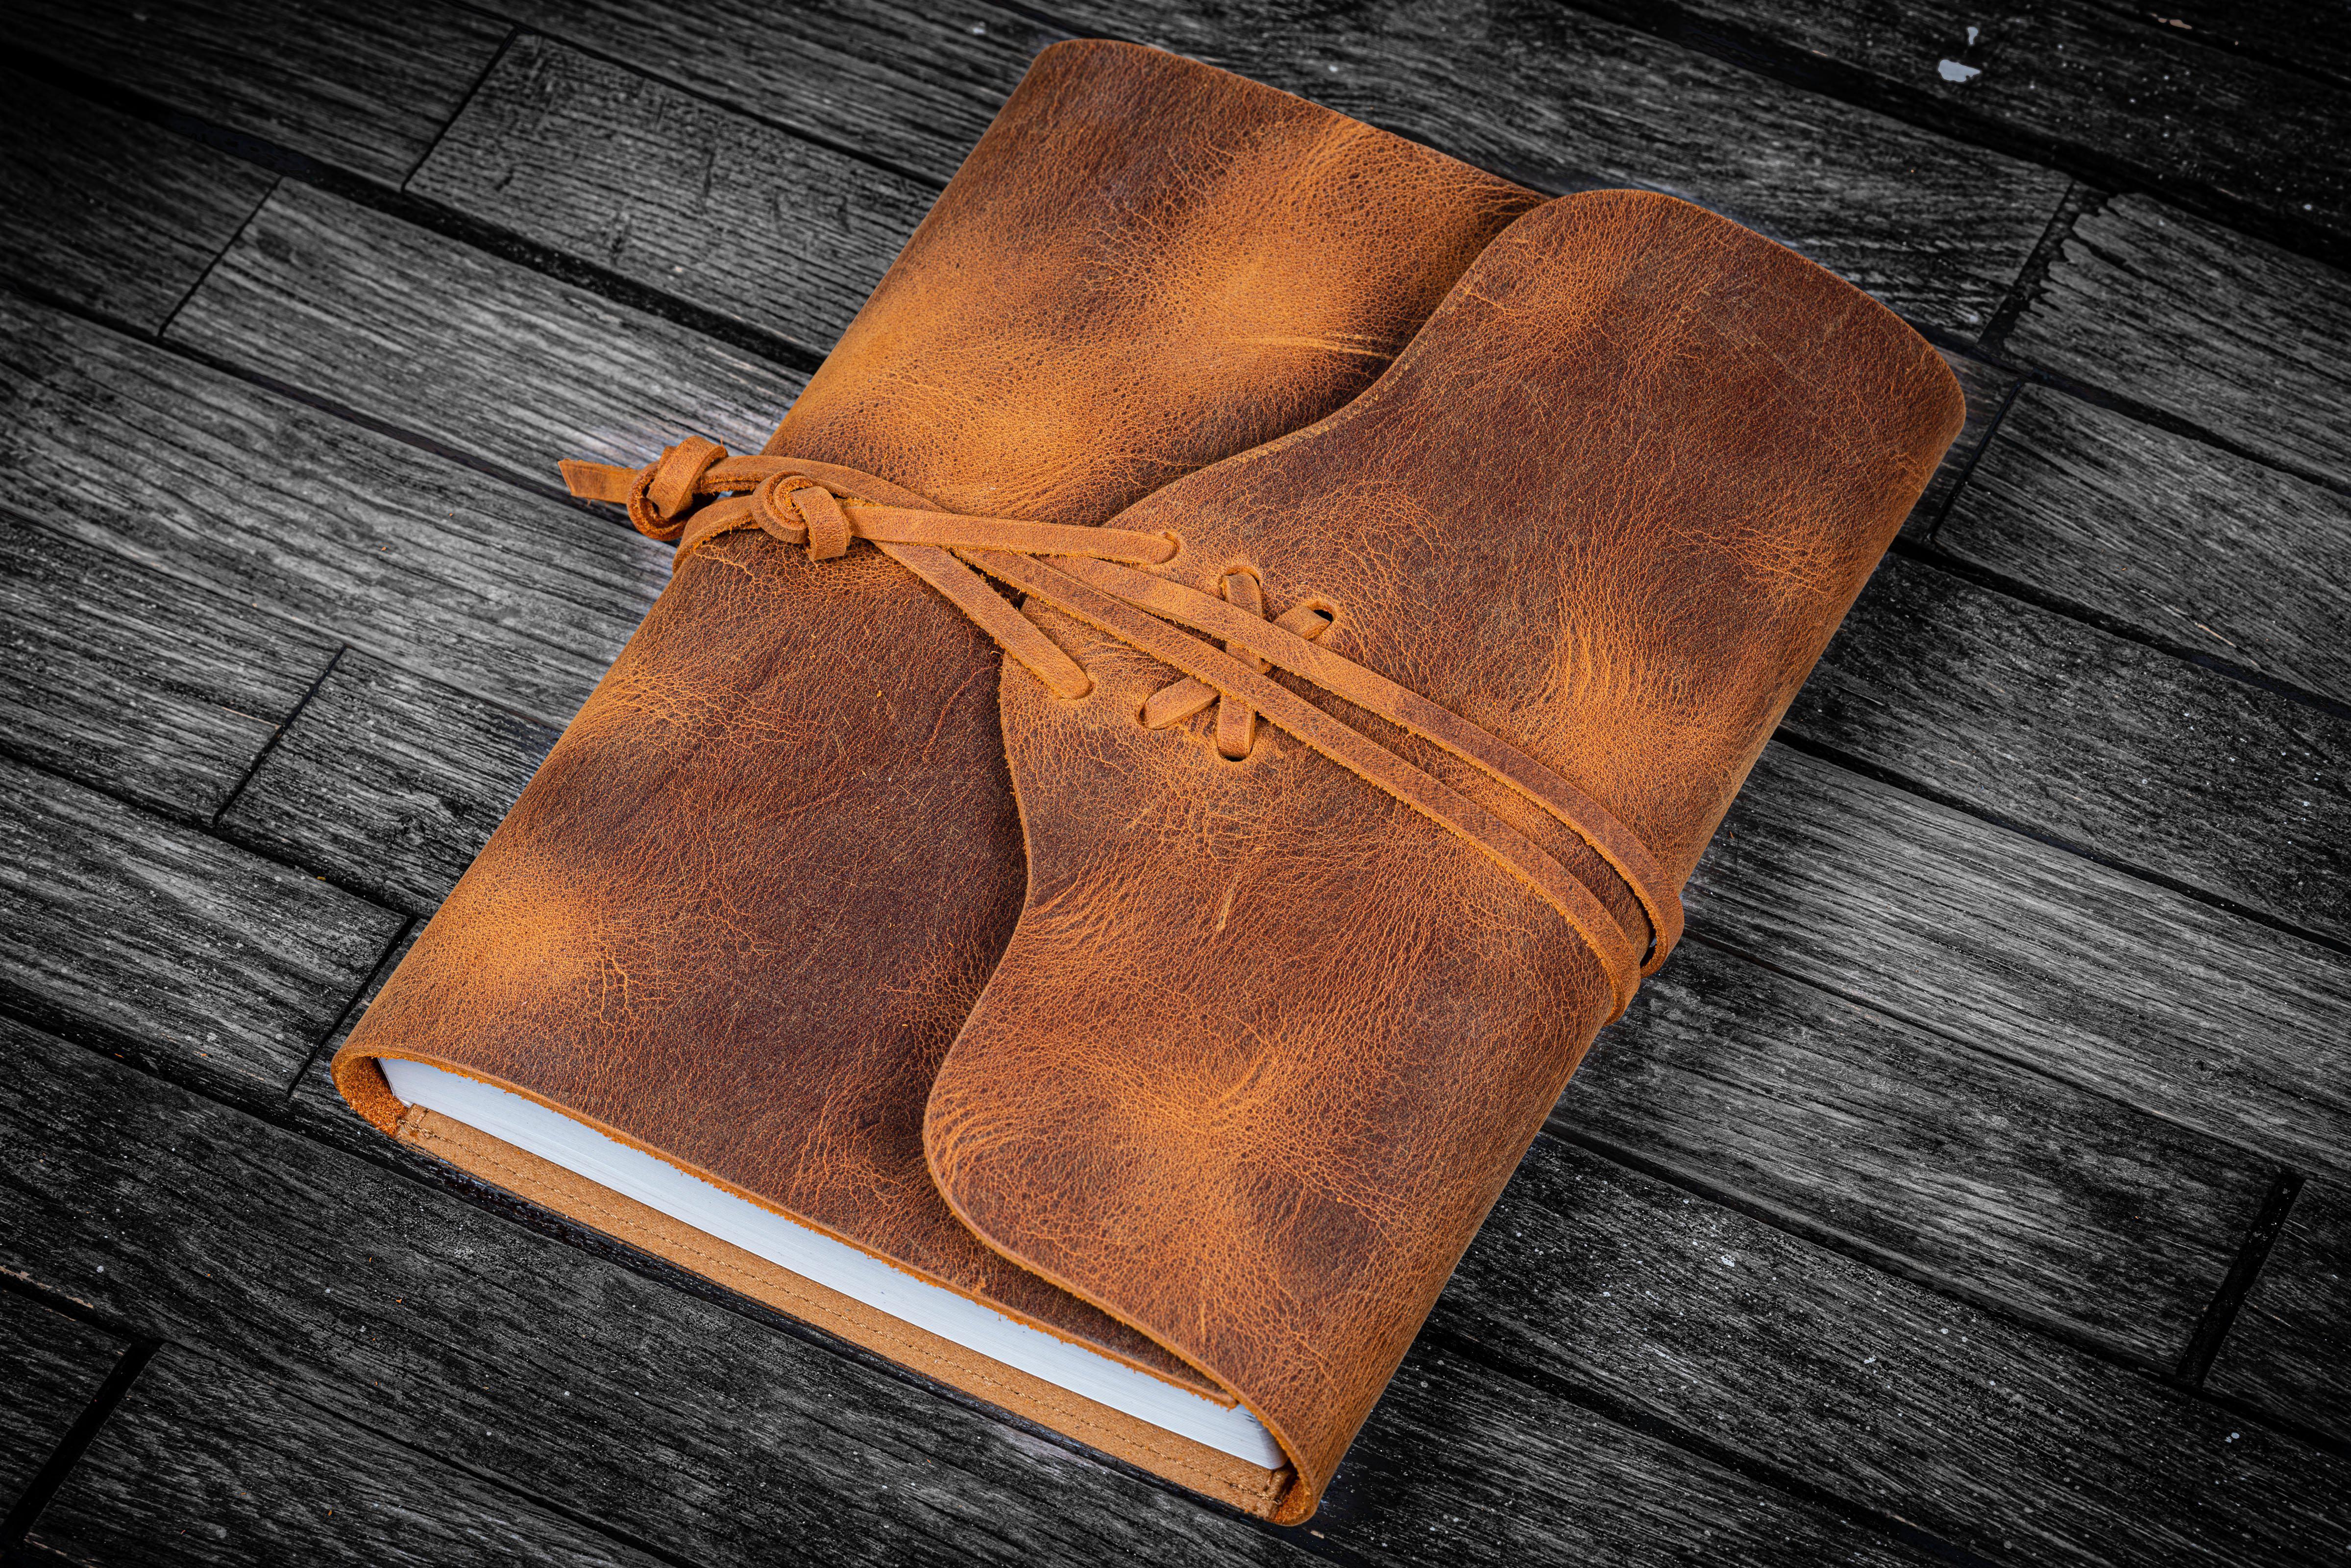
Leather and faux leather journals
Journals are a joy because they usually see less scraping than keychains, but the spine still flexes.
- Best styles: names, dates, short quotes, ribbon banners.
- Placement tip: keep detailed lettering off the hinge and spine area.
- Design idea: add a simple drop shadow for depth. For shadow help, hop to Drop Shadows and 3D Effects for Hand Lettering.
Seal it without cracking
Sealer is your protective shell, but it must be flexible and applied lightly so the leather can still move.
How to apply sealer
- Make sure the lettering is fully cured. If you used an oil-based paint marker, give it extra time and test for smearing.
- Apply a very thin coat of flexible finisher with a soft brush or sponge.
- Let it dry, then add another thin coat. Multiple thin coats reduce streaks and stay more bendy.
- Test paint and sealer compatibility on a hidden spot. Some combinations can soften or smear if the base layer has not cured long enough.
- Avoid sealing the entire item unless you want the whole surface sheen to change.
Matte vs gloss
- Matte hides small brush marks and looks modern.
- Gloss boosts color pop, but can show streaking if applied too thickly.
Genuine vs faux leather
Genuine leather
- Deglazing helps most when the finish is shiny or waxy.
- Flexible leather paint is typically the most reliable.
- Conditioners and oils can interfere with adhesion. Avoid conditioning the lettering area before painting.
Faux leather
- Alcohol cleaning is often enough, but some faux leathers are very slick and need light scuffing.
- Some sealers stay tacky on plastic coatings. Test your finisher on a hidden spot first and do a bend test after it dries.
- Keep layers light. Thick paint is more likely to peel off plastic surfaces.
Troubleshooting
Paint beads up or separates
- Clean again. If the leather is glossy, deglaze.
- Switch to leather paint or add textile medium to acrylic.
- Try a very light base coat first, let it dry, then letter on top.
Lettering scratches off with a fingernail
- Prep was not strong enough. Deglaze and consider gentle scuffing.
- Make sure you are letting paint cure longer before sealing.
- Use a flexible finisher, applied in thin coats.
Cracking when bent
- The paint layer is too heavy. Remove loose bits, then repaint with lighter coats.
- Choose more flexible paint and a flexible finisher.
- Move the design away from bend zones like the spine or strap holes.
Smudging while you work
- Tape off a hand rest area or place a clean sheet of paper under your hand.
- Work from top left to bottom right if right-handed, and the reverse if left-handed. The positioning tips in Left-Handed Calligraphy Smudge-Free Techniques and Grip Adjustments are useful for anyone dealing with smears.
Care tips
- Let your finished piece rest before heavy use. The longer the cure, the tougher the result.
- Avoid soaking. If it gets wet, blot and air dry.
- Do not use harsh cleaners on the lettered area. A gentle wipe is best.
- Expect wear over time on keychains. That is normal. Designing with thicker, simpler shapes makes touch-ups easier.
FAQ
Can you use a regular brush pen on leather?
Most water-based brush pens are not made for leather. They can bead up, fade, or smudge because the surface is nonporous and flexible. Paint markers or leather paint are a better match.
Do you have to use a deglazer?
Not always. Start with an alcohol clean and a test stroke. If adhesion is weak or the leather is glossy and slick, deglazing makes a big difference.
Will sealing make the leather stiff?
A flexible finisher applied in light coats should still let the leather move naturally. Heavy coats can make a patch feel rigid, so build protection gradually.
What if I make a mistake?
While the paint is still wet, lift it gently with a clean cloth using the appropriate solvent for your paint type. Water can work for water-based acrylics, but on genuine leather it can sometimes spot or push pigment into the grain, so use a very light touch. For oil-based paint markers, a tiny amount of mineral spirits on a cotton swab can help, but test first so you do not damage the finish. Once the area is clean and dry, re-prep lightly if needed and repaint.
A quick warm-up
Leather rewards steady strokes more than fancy pressure tricks. Warm up with a few monoline ovals and short words, just like a mini drill session. If you want a simple daily rhythm for your hands, 15-Minute Daily Calligraphy Drills is a cozy place to start, then bring that calm control to your leather project.