Grab your favorite brush and let’s make letters sparkle by painting everything except the words. Watercolor resist lettering uses masking fluid to “hide” your lettering while you splash on juicy washes. When the mask peels away, you get bright, clean negative space calligraphy that looks like magic, but stays pleasantly predictable once you know the order.
What it is
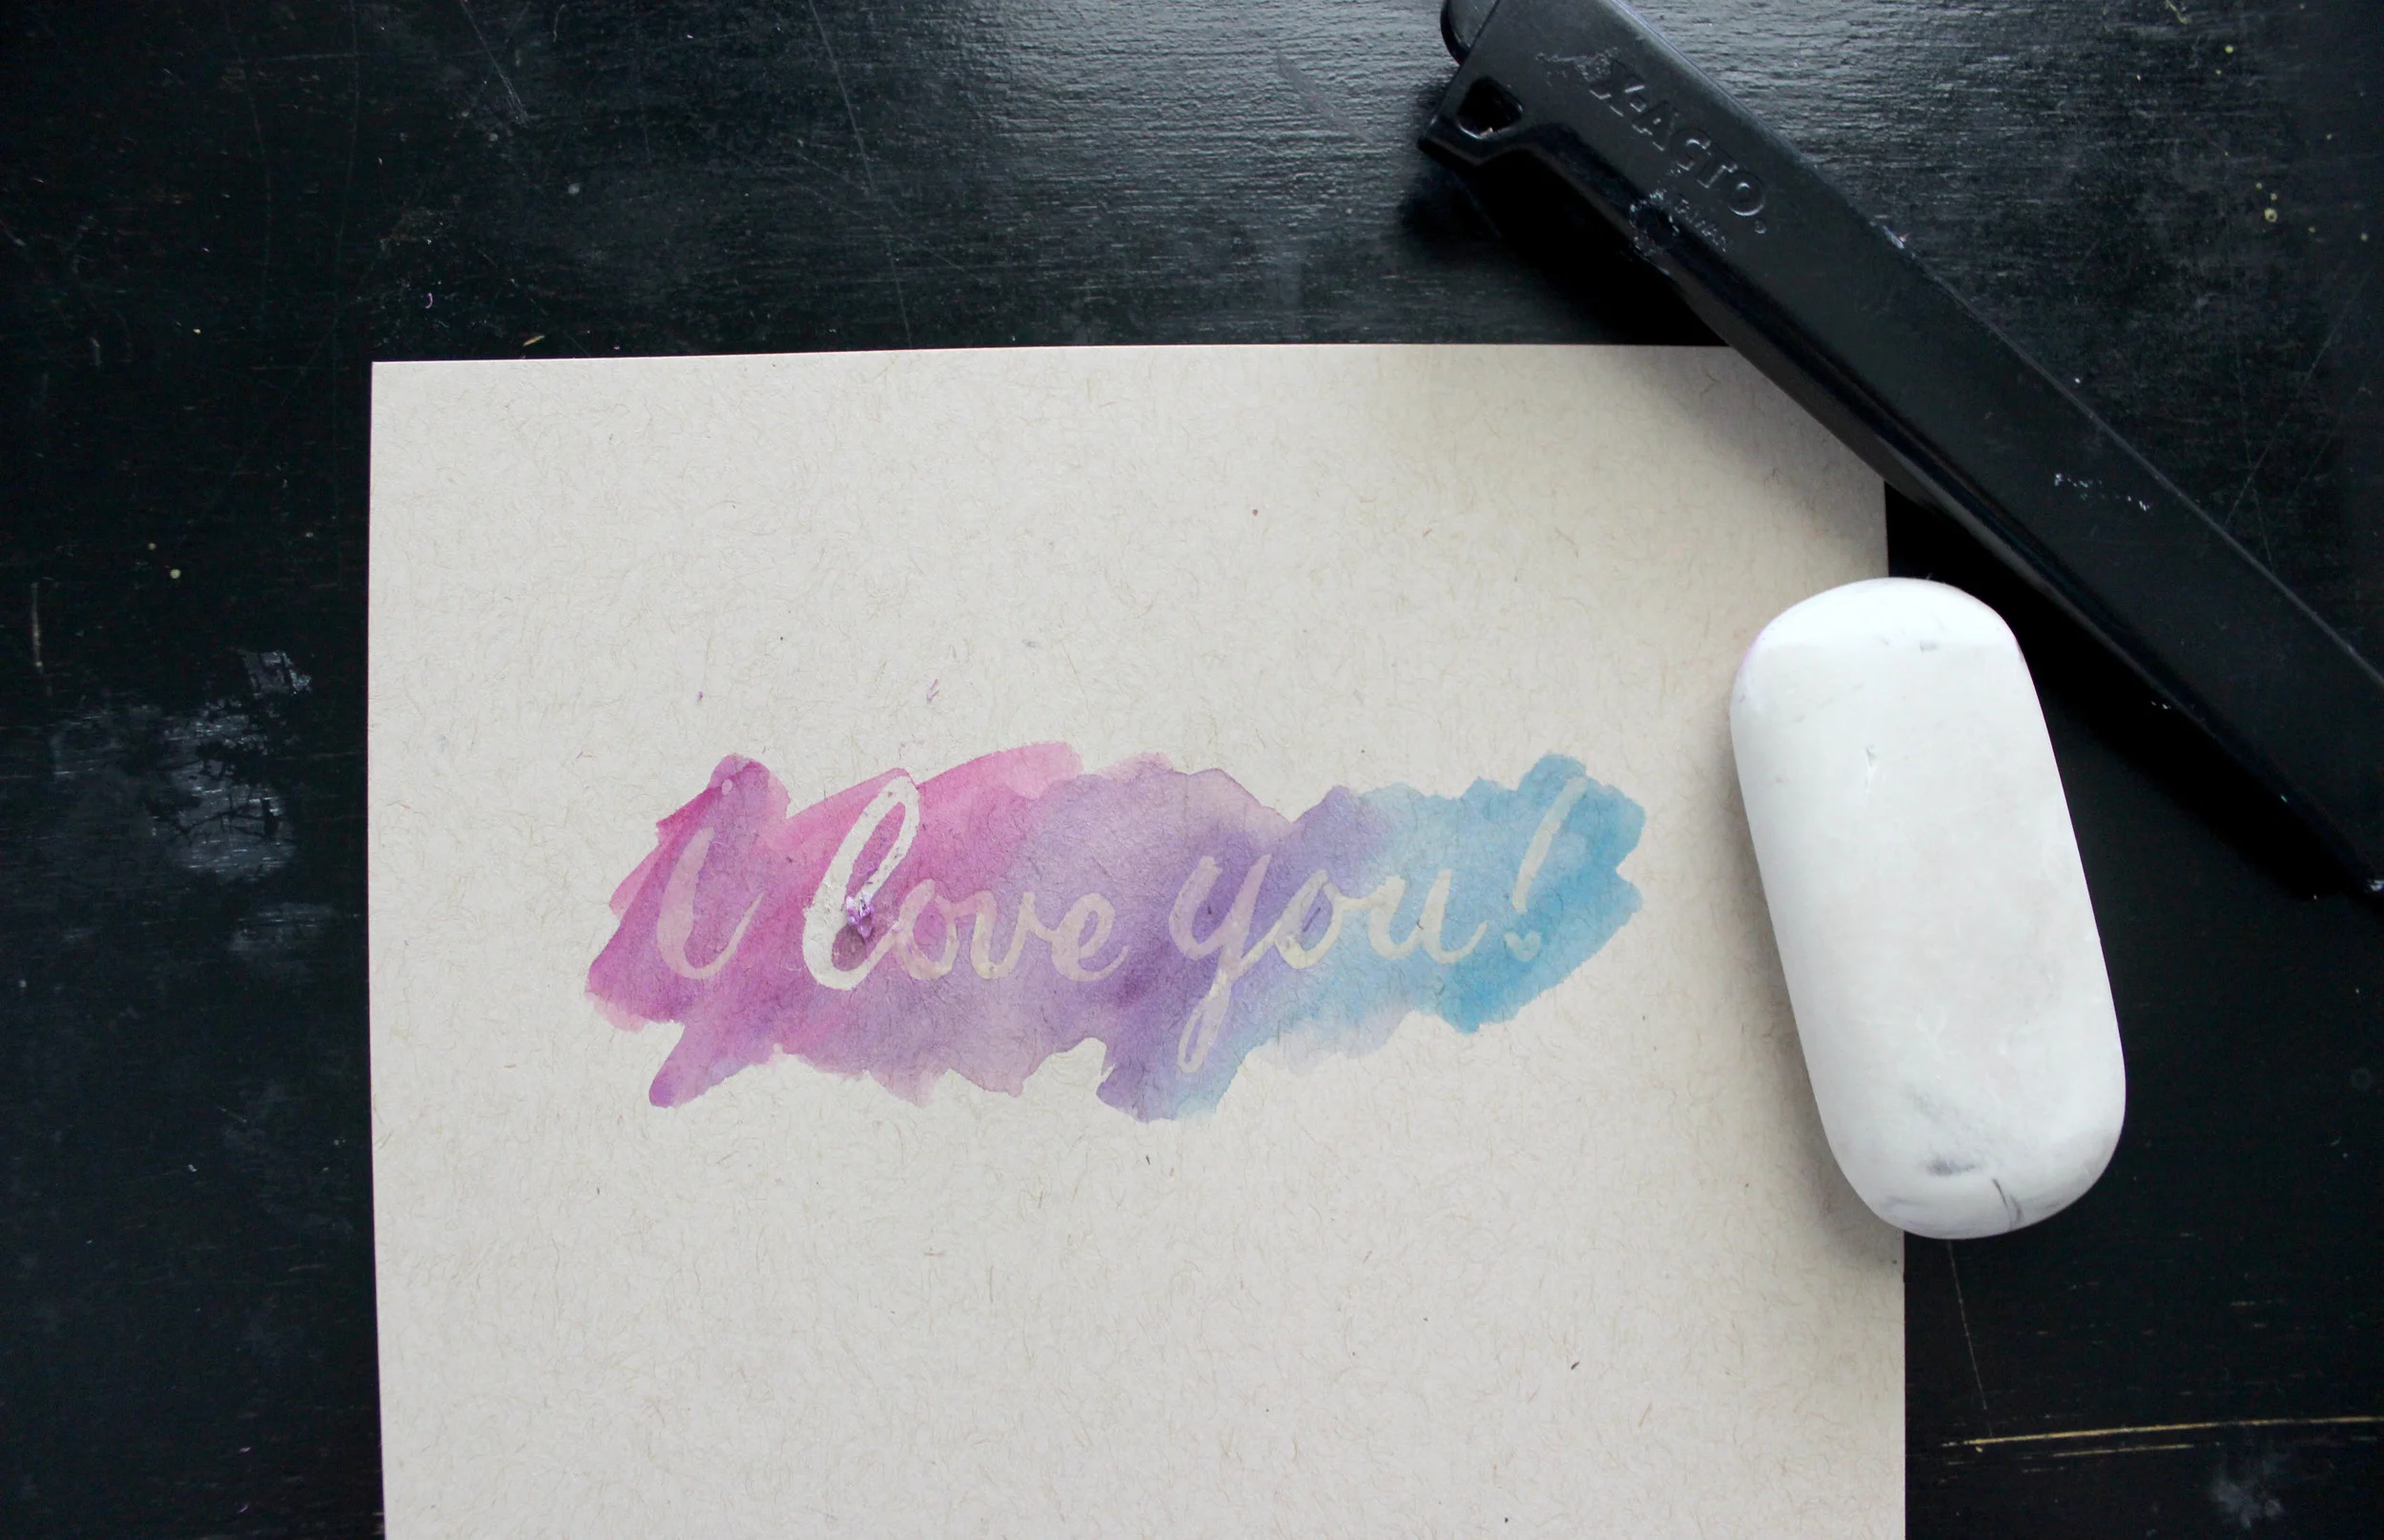
Negative space calligraphy means the letters are not painted. Instead, the background is painted and the letter shapes are left as untouched paper. Masking fluid is the helper that makes this easy because it blocks watercolor from soaking into the paper where you apply it.
In a resist piece, you will:
- Plan a word or phrase.
- Apply masking fluid where you want the white paper to stay.
- Paint bold watercolor washes over everything.
- Rub off the masking fluid to reveal crisp lettering.
Supplies
Masking fluid is a little fussy, so the right setup keeps it fun.
Core supplies
- Watercolor paper (heavier is better, ideally 140 lb or more). Paper choice matters a lot for clean edges and easy mask removal. If you want help picking surfaces that behave nicely, visit Paper That Keeps Brush Pens From Fraying. Many of the same “smooth but sturdy” paper ideas apply here.
- Masking fluid (sometimes called liquid frisket).
- Watercolors (pans or tubes) plus a palette. If you are brand new, know that staining pigments can be less forgiving if you want to lift or soften parts of the background later, so start with a simple, mid-value wash and build up slowly.
- Round watercolor brush for washes.
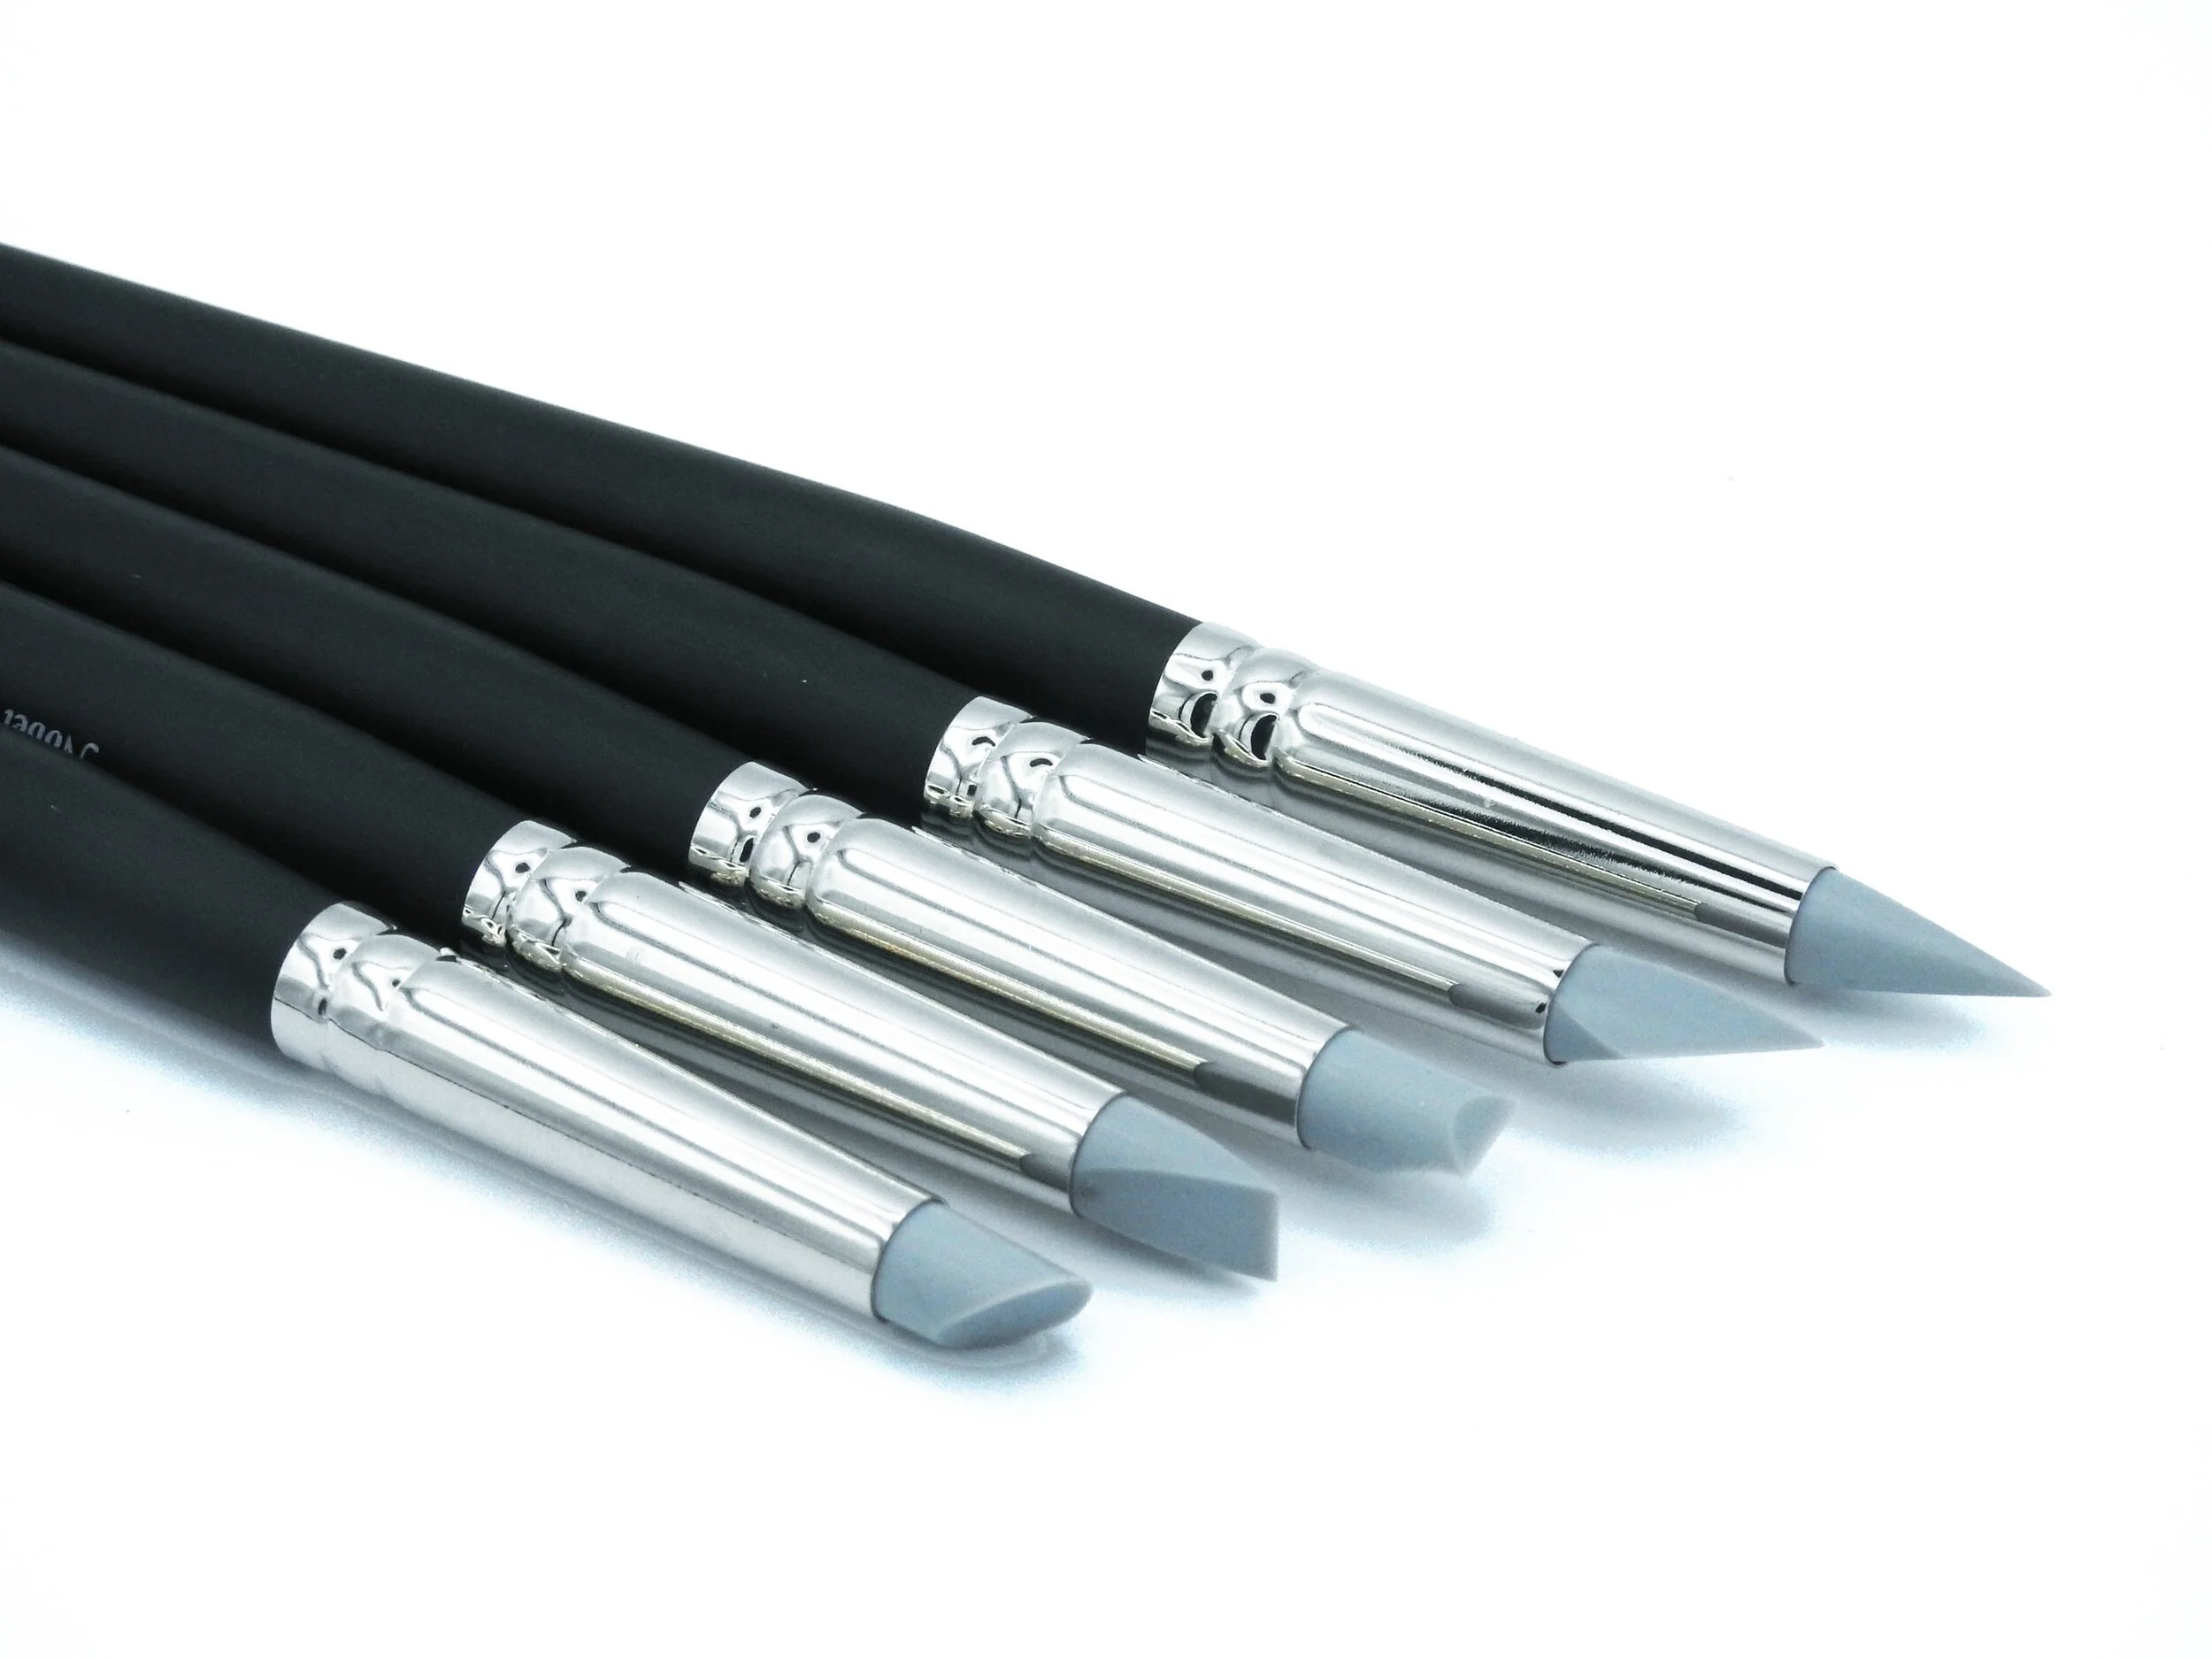
- Old brush, silicone shaper, or dip pen for applying masking fluid. Many artists keep one tool only for masking fluid.
- Clean water, paper towel, scrap paper.
Nice-to-have helpers
- Rubber cement pickup (or clean fingers) to remove dried masking fluid gently.
- Hair dryer (optional) to speed drying between layers. Use low heat or cool, use gentle airflow, keep it moving, and hold it at a distance so you do not buckle the paper, push pigment into mask edges, or trigger blooms in a wet wash.
- Light pencil and eraser for guidelines.
- White gel pen for tiny touch-ups after everything is dry. See options in Best White Pens and Inks for Dark Envelopes.
Quick handling note
Masking fluid often has a strong smell (some contain ammonia) and some formulas contain latex. Work with a bit of airflow, cap the bottle quickly, and test first if you are sensitive or allergic.
Tool-protection reminder: rinse your masking tool immediately after use and do not let masking fluid dry in bristles. It sets fast and can turn a nice brush into a crunchy one.
Before you start
Pick a style
Masking fluid loves simple, confident shapes. These styles are especially friendly:
- Monoline script for clean, modern words (learn the basics in Monoline Lettering 101).
- Big brush lettering with thicker downstrokes (see 8 Basic Brush Lettering Strokes to practice the building blocks).
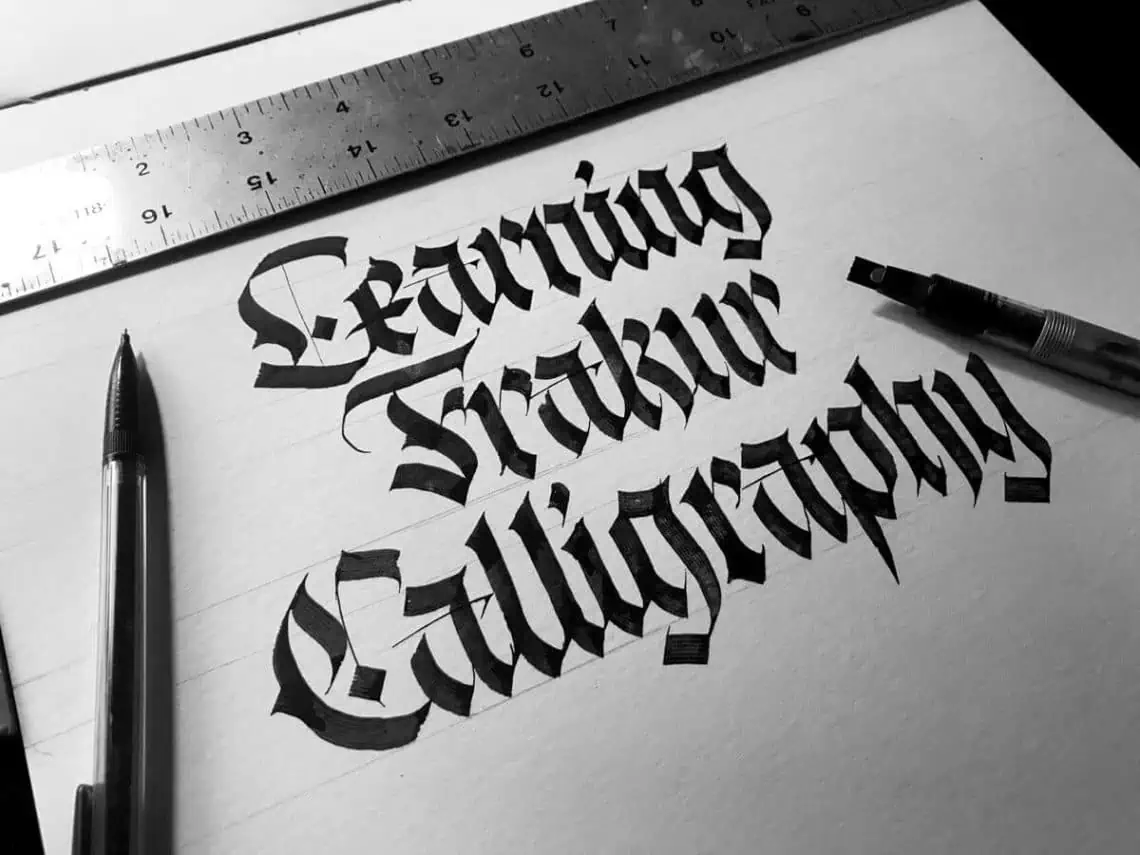
- Block letters for super crisp edges (pair with Serif and Sans Serif Block Letters).
Sketch lightly
Use a light pencil sketch so you know exactly where the masked lettering goes. Keep pressure gentle so graphite does not dent the paper. If you want a well-balanced layout, the tips in Hand Lettering Composition for Quotes help you plan spacing, hierarchy, and margins.
Do a quick test
Before you commit to your final piece, test your masking fluid on a scrap of the same paper. Different papers and masking fluid brands lift differently, and this quick test can save a whole painting.
Step by step
1) Prep your masking tool
Masking fluid can ruin nice brushes, so choose one tool and dedicate it. To reduce sticking, lightly dampen the brush and blot until it is just barely moist. This helps the fluid release from the bristles.
Pour a small amount of masking fluid into a separate dish if possible. Leaving the bottle open for long periods can thicken it.
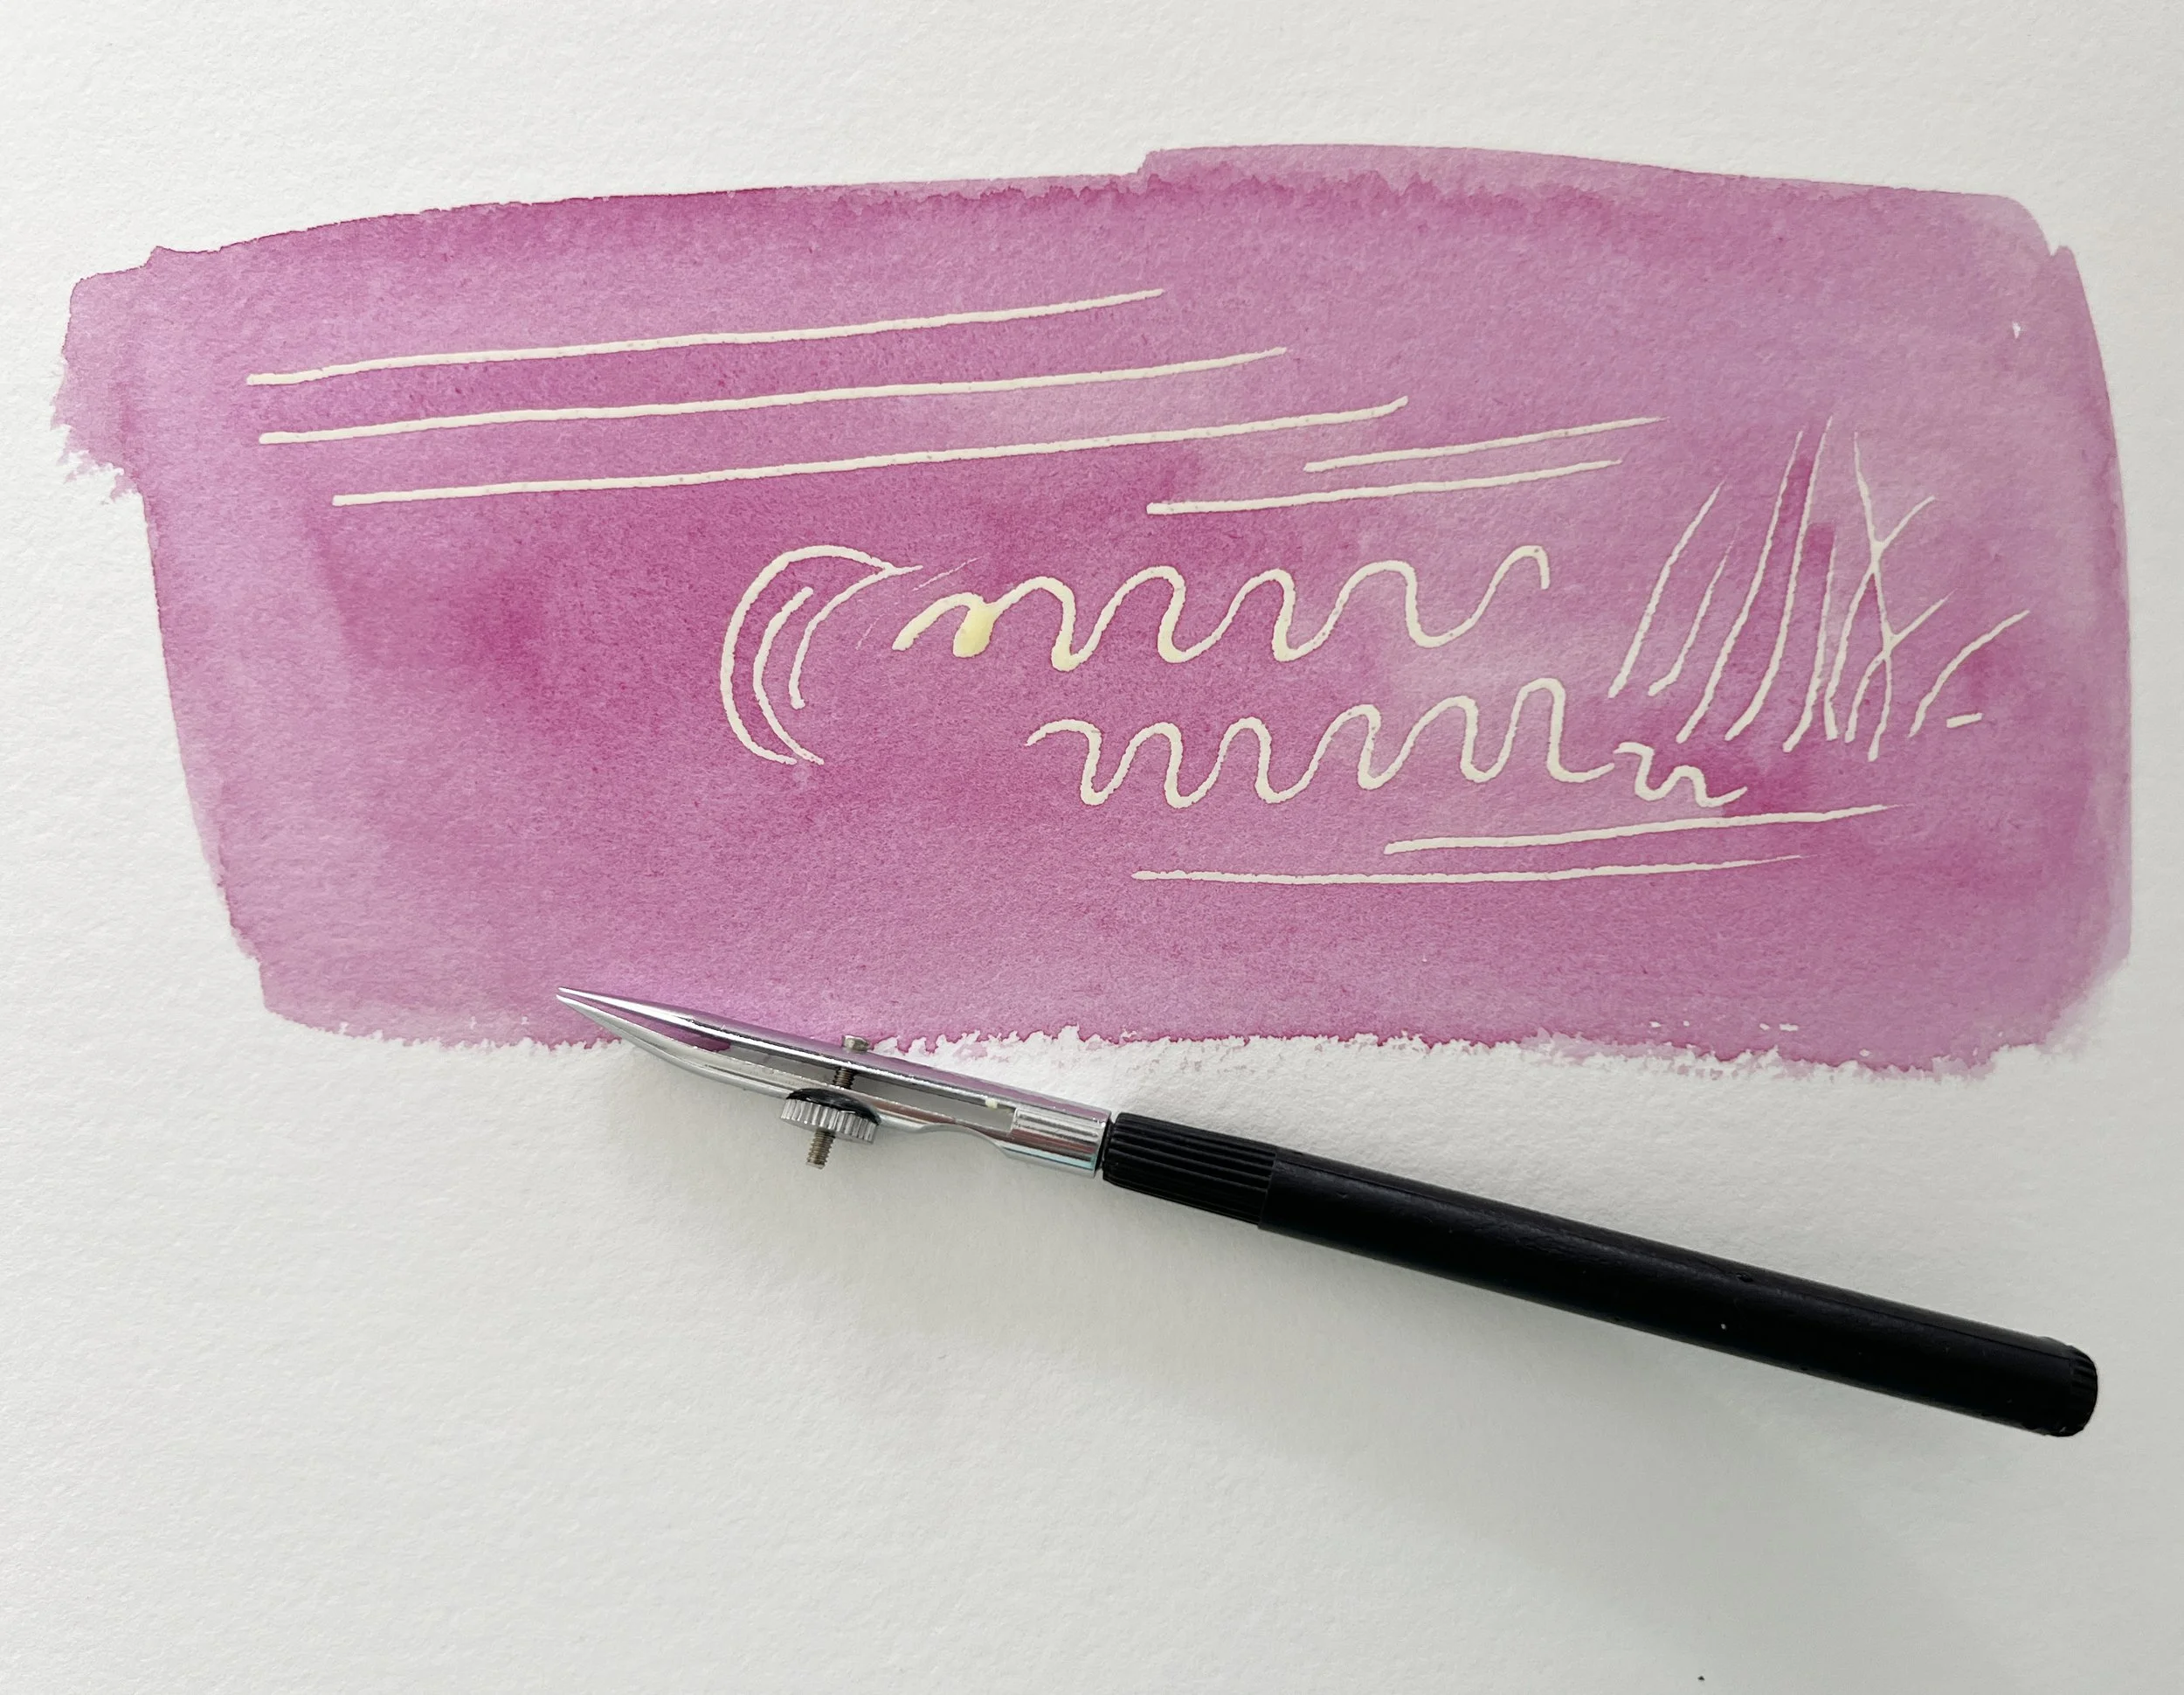
2) Apply masking fluid
Make sure your paper is fully dry. Then apply masking fluid to fill in the letterforms you sketched, covering the full shape of each stroke (not just tracing the pencil line). Go slowly and aim for even coverage.
- For script: focus on smooth curves and keep joins generous so thin gaps do not break when you remove the mask.
- For block letters: use a dip pen or silicone shaper for sharper corners.
- Edge tip: a slightly thicker mask layer is usually easier to peel than a whisper-thin layer.
3) Let it dry
This part is non-negotiable. If the masking fluid is even a little tacky, watercolor can sneak underneath and blur your edges. Dry time depends on thickness and humidity. To check it, tap a small test spot very lightly with the back of a clean knuckle, or touch a corner with a scrap of paper. It should feel dry and slightly rubbery, not cool or sticky.
4) Paint the wash
Now the fun swishy part. Load your brush with watery pigment and paint over the masked letters and the surrounding background. Because the mask is resisting the water, you can:
- Blend two or three colors into a soft gradient.
- Drop in extra pigment for blooms and texture.
- Splatter paint for energy (cover areas you want clean first).
If you want smoother blends, you can borrow techniques from How to Blend Brush Pens. The tools are different, but the ideas about color transitions and working quickly while things are wet translate beautifully.
5) Dry again
Let the watercolor dry until the paper returns to its normal feel and color. Peeling masking fluid off damp paper can tear fibers and rough up the surface.
6) Remove the masking fluid
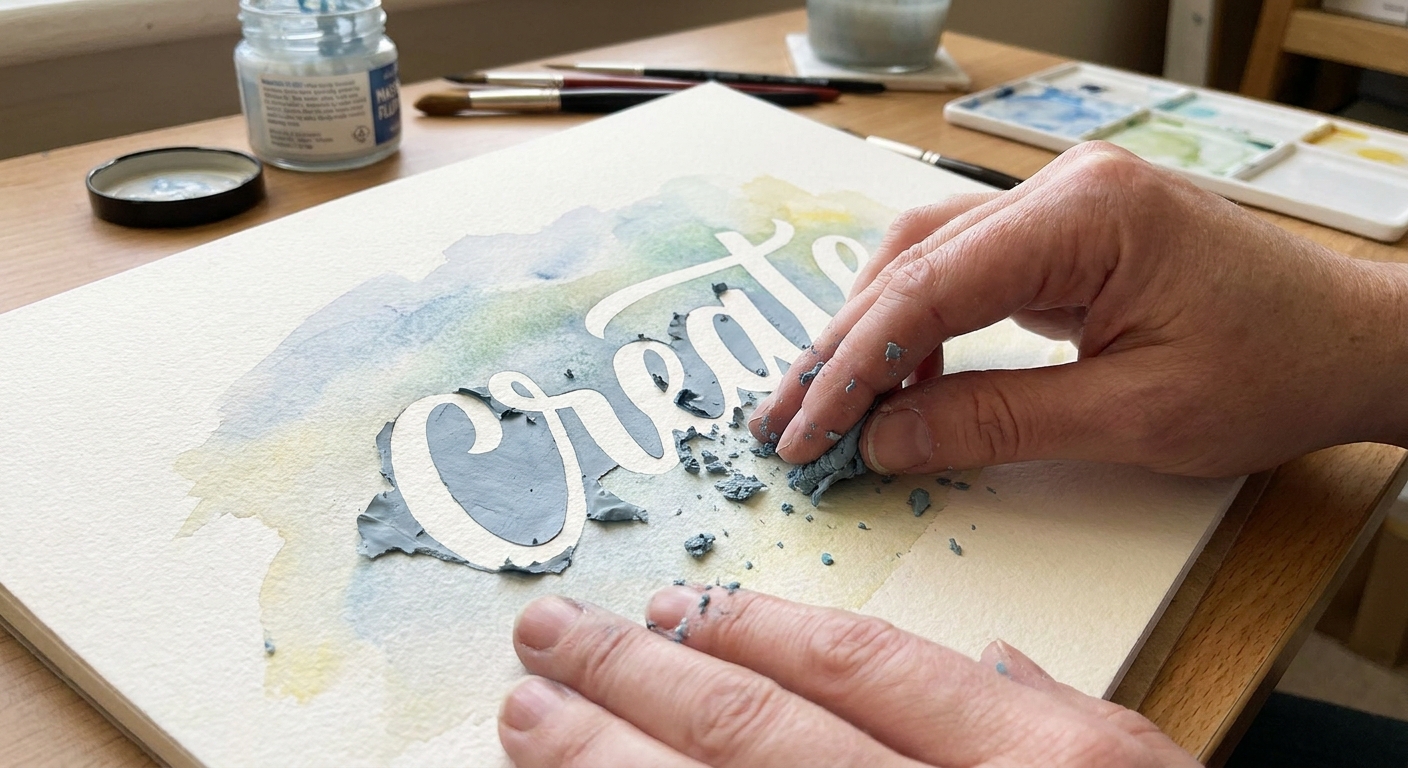
Use clean, dry fingers or a rubber cement pickup to rub and lift the masking fluid. It should roll up into little rubbery bits. Work slowly and avoid scrubbing the paper.
Timing tip: once the wash is fully dry, peel the masking fluid sooner rather than later (the same day is ideal) to reduce the chance of staining or stubborn removal.
7) Finish the piece
At this point, your letters are bright paper white. You can keep them minimal or add detail:
- Add a drop shadow for pop (see Drop Shadows and 3D Effects for Hand Lettering).
- Outline the negative space with a waterproof fineliner for a crisp graphic look.
- Add tiny highlights with a white gel pen on darker areas near the letters for sparkle.
Crisp edge tips
- Use thicker letterforms: very thin hairlines can look broken if the mask peels irregularly. Consider a monoline script or slightly chunky brush lettering.
- Keep your hand steady with guidelines: baseline and slant lines help the word look intentional even when the background is wild. If you enjoy playful movement, Bouncy Calligraphy Baseline Rules can guide a lively sketch before masking.
- Do not overwork the mask: repeated brushing can rough up some papers or disturb the surface sizing, especially on softer or student-grade sheets, and especially if you scrub back and forth.
- Paint confidently across the letters: hesitant, dry brushing can leave texture ridges right at the mask edge.
- Double-dry rule: dry mask before paint, dry paint before peel.
- Keep fingers off the lettering area: skin oils can affect how masking fluid sticks and lifts. If you tend to rest your hand on the page, slide a clean scrap sheet under your palm.
Common problems
My paper tore when I removed the masking fluid
- Likely cause: paper was too light, watercolor was still damp, or you rubbed too aggressively.
- Fix: next time use heavier paper and wait longer. For this piece, let everything dry fully, then very gently tidy fuzzy fibers with a soft white eraser. If needed, touch up the lettering with a white gel pen.
The edges look fuzzy
- Likely cause: masking fluid was not fully dry, or watercolor was pushed under the edge with scrubbing.
- Fix: outline the letters with a waterproof fineliner, or add a shadow to make the fuzziness look intentional and stylized.
The masking fluid stained my paper yellow
- Likely cause: some masking fluids can stain, especially if left on the paper for a long time.
- Fix: peel sooner once paint is dry. If staining happened, a light wash around the letters or a thin outline can help disguise it.
The masking fluid is thick and drags
- Likely cause: evaporation in the bottle or leaving it open too long.
- Fix: work from a small poured amount and keep the main bottle closed. If it is too thick to apply smoothly, it may be time to replace it.
Paint beaded up on the mask and left hard lines
- Likely cause: that is normal behavior on resist areas, but it can leave darker rims when drying.
- Fix: embrace it as texture, or paint a second gentle glaze to help even out the overall background value and color. It will not erase the ridge right at the mask edge, but it can make the wash feel more unified.
Design ideas
- Galaxy wash: deep blues and purples with salt texture and white splatter around the negative space word. Salt works best on a very wet wash, and results can vary depending on pigment and paper.
- Botanical wreath: negative space name in the center with leafy watercolor shapes around it.
- Patterned background: wash first, then add dots or stripes with a waterproof pen once dry.
- Two-step resist: mask the letters, paint a first wash, dry, add more masking fluid for extra highlights, then paint a darker second wash.
Mini drill
If masking fluid feels intimidating, make it tiny.
- Draw three small rectangles on watercolor paper.
- Write one short word inside each in a different style: block, monoline, and chunky brush.
- Mask the letters in all three.
- Paint three different quick washes.
- Peel and compare: which style gave you the cleanest edges and happiest look?
For more steady rhythm in your practice time, pair this with 15-Minute Daily Calligraphy Drills and swap in masking fluid once or twice a week for a fun twist.
FAQ
Can masking fluid be used with brush pens?
It can, but it is a bit of a choose-your-own-adventure. Many water-based markers can reactivate and smear when you paint wet washes over them. Masking fluid can also damage some marker tips, and certain dye inks can stain paper under a mask. For resist lettering, it is usually cleaner to mask first, paint the wash, then add any marker details on top once everything is dry.
Do I need waterproof ink for the sketch?
No. In fact, it is usually best to keep the sketch in light pencil so it can be erased later. If you outline after peeling, choose a waterproof fineliner so it does not bleed if you add another watercolor glaze.
How long can masking fluid stay on paper?
Masking fluid is happiest when it is removed sooner rather than later. Leaving it on for days can increase the chance of staining or paper damage. A good routine is: mask, paint, dry, peel, finish.
Wrap-up
Negative space watercolor lettering is built from simple steps: mask, dry, wash, dry, peel. Start with a short word, use sturdy paper, and do a quick scrap test before your “real” piece. Then let your watercolor do the dancing while the masking fluid keeps your letters clean and bright.