Grab your favorite brush pen and let's draw some beautiful letters together!
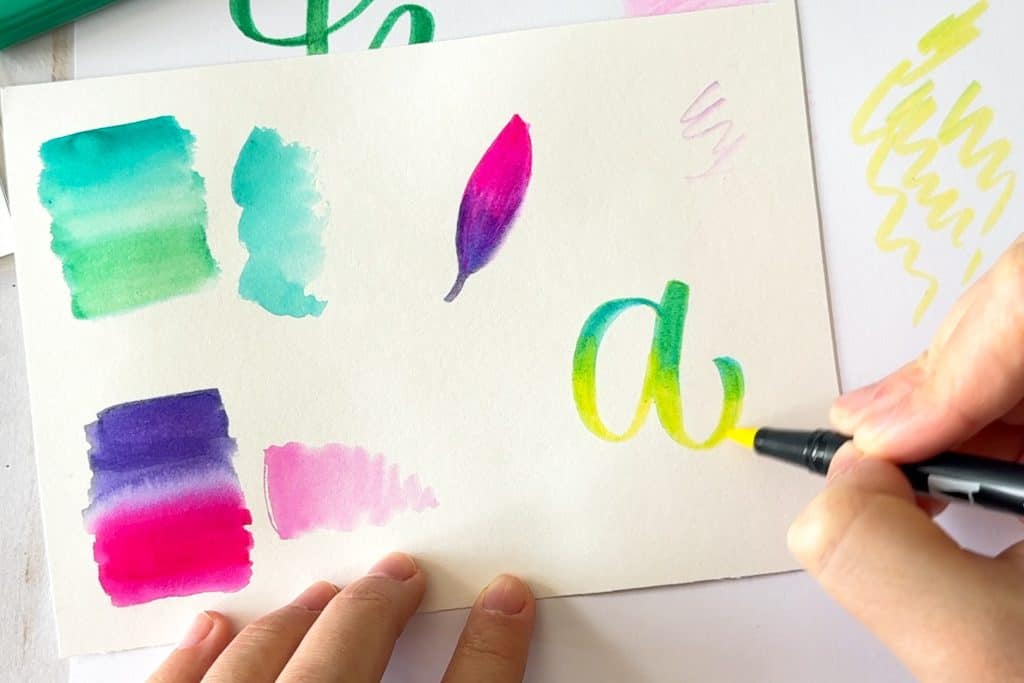
Blending brush pens is how you turn two separate colors into one silky gradient. The trick is simple: move pigment from a darker area into a lighter area while the ink is still damp, then smooth the seam before it dries. Below are five friendly techniques for water-based brush markers, plus quick fixes for the most common blending wobbles.
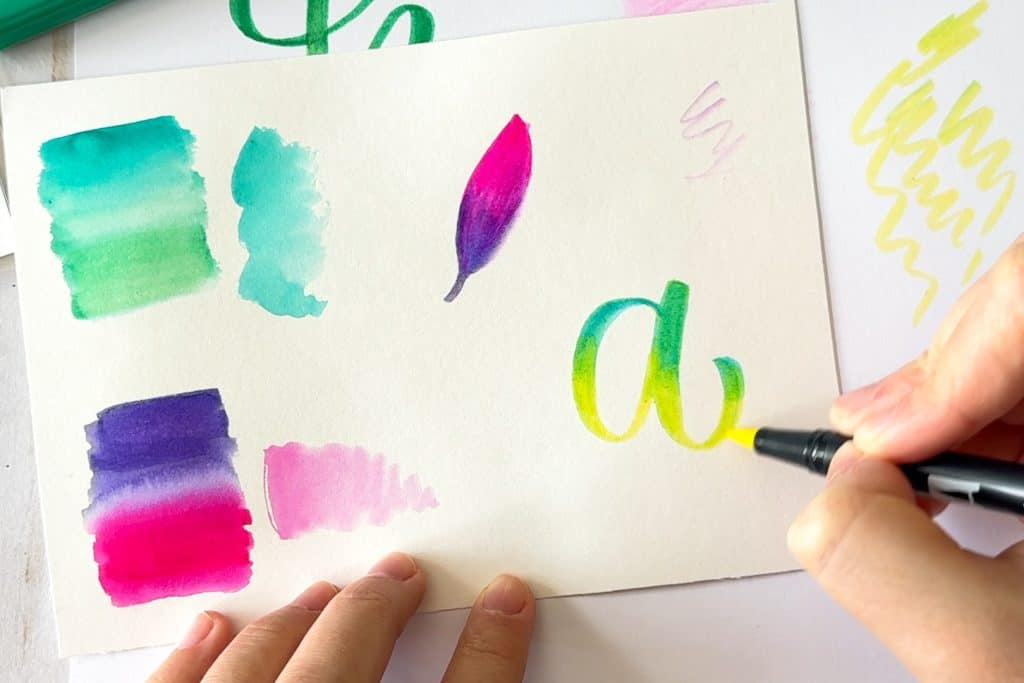
Before you blend: tiny setup that makes a big difference
Use the right supplies
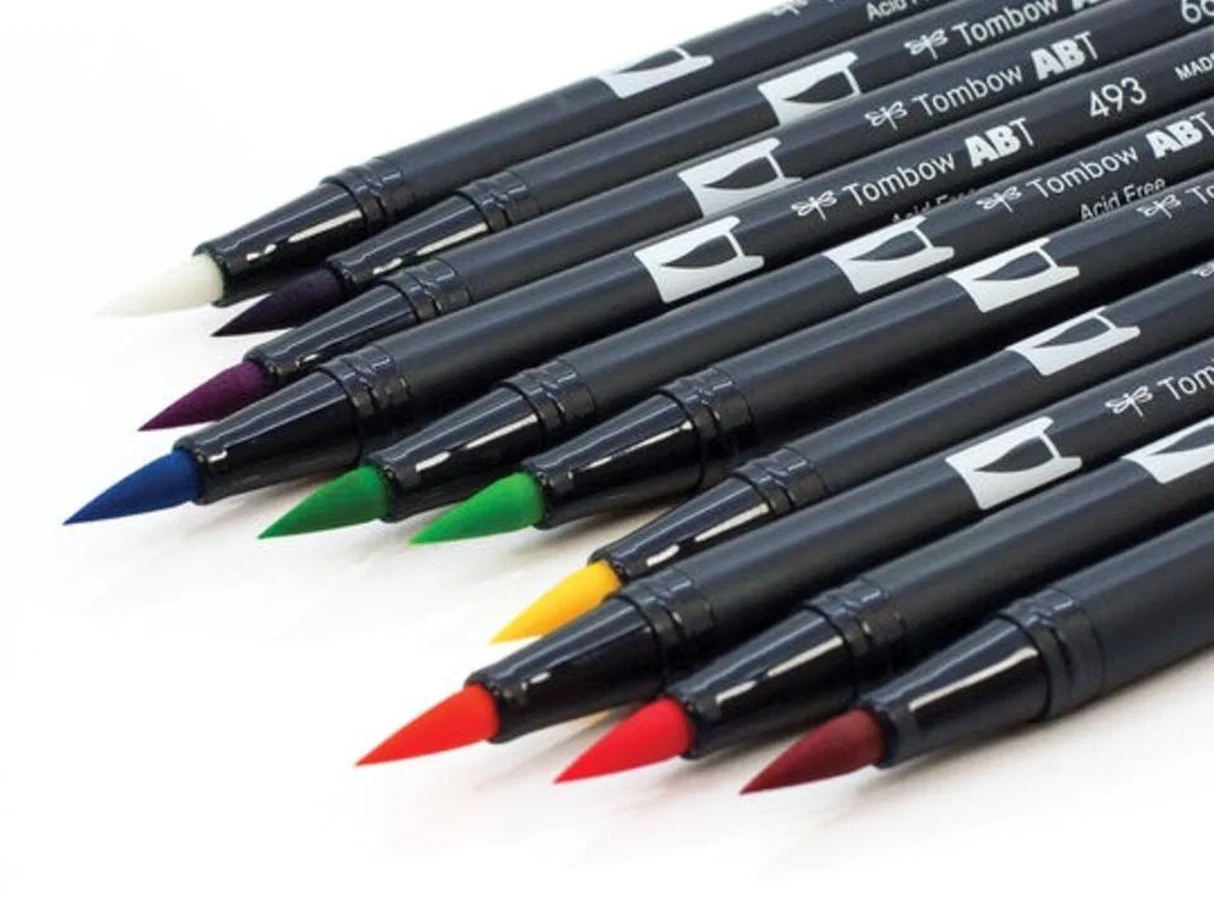
- Water-based brush pens or markers (these typically blend best with water and with each other, but results vary by brand and ink type).
- Super smooth paper to prevent fuzzy edges and frayed tips. If your blends look scratchy, the paper is often the culprit. See paper that keeps brush pens from fraying.
- A mixing surface such as a ceramic dish, a piece of plastic, or packaging acetate.
- Optional: a water brush or small paintbrush and clean water.
Pick colors that want to play nicely
For the easiest ombre, choose two neighbors on the color wheel, like blue and teal, pink and purple, or yellow and orange. If colors feel too far apart, add a bridge color in the middle (pink to purple to blue, for example).
A quick ink note (this explains a lot)
Most water-based markers are dye-based, and dye usually re-wets and moves more easily. Some water-based inks are more pigmenty or more stainy, so they may not re-activate much once they dry. If a technique feels like it is not working, it is often just an ink personality thing, not you.
Warm-up strokes help your blends behave
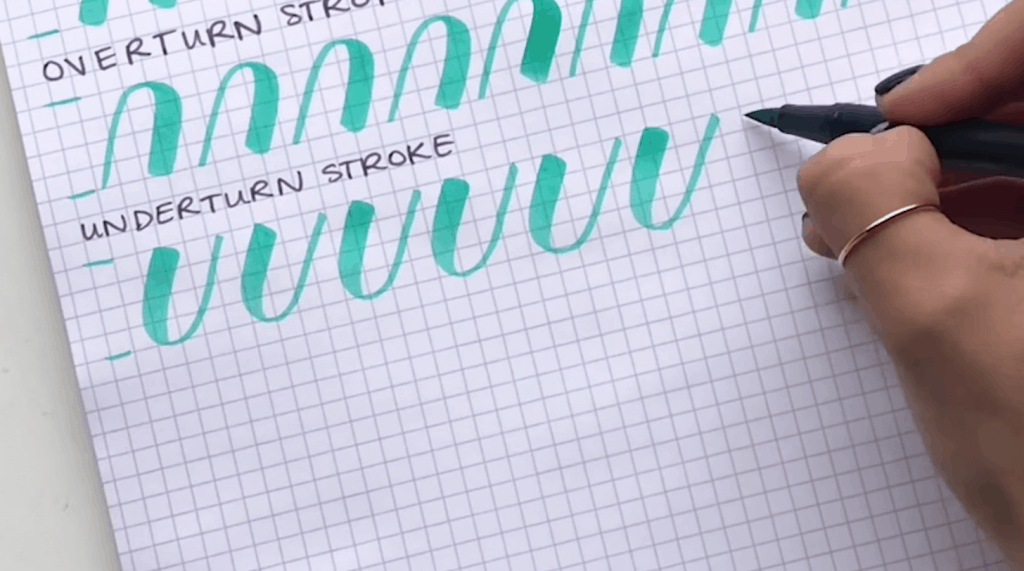
If letter shapes feel tricky, practice the pressure changes first. The same stroke control that makes pretty calligraphy also makes smooth gradients. A quick refresher lives at 8 basic brush lettering strokes.
Technique 1: Tip-to-tip transfer
This method uses one marker tip to kiss color onto another. It is quick, portable, and great for two-color blends.
Steps
- Pick a light pen and a dark pen.
- Gently touch the dark tip to the light tip for 1 to 3 seconds.
- Letter with the light pen, starting where you want the darker color to appear.
- As the ink fades back to the light color, re-tap tips as needed.
Nib’s tiny notes
- Keep the touch gentle so tips do not mash or splay.
- Always transfer dark into light, not the other way around, to help protect your lighter pen from staining.
- After you tap, do a quick scribble with the dark pen on scrap paper to clean its tip, especially if you accidentally picked up any light ink.
- This works best on smaller words or short phrases where you want a quick gradient.
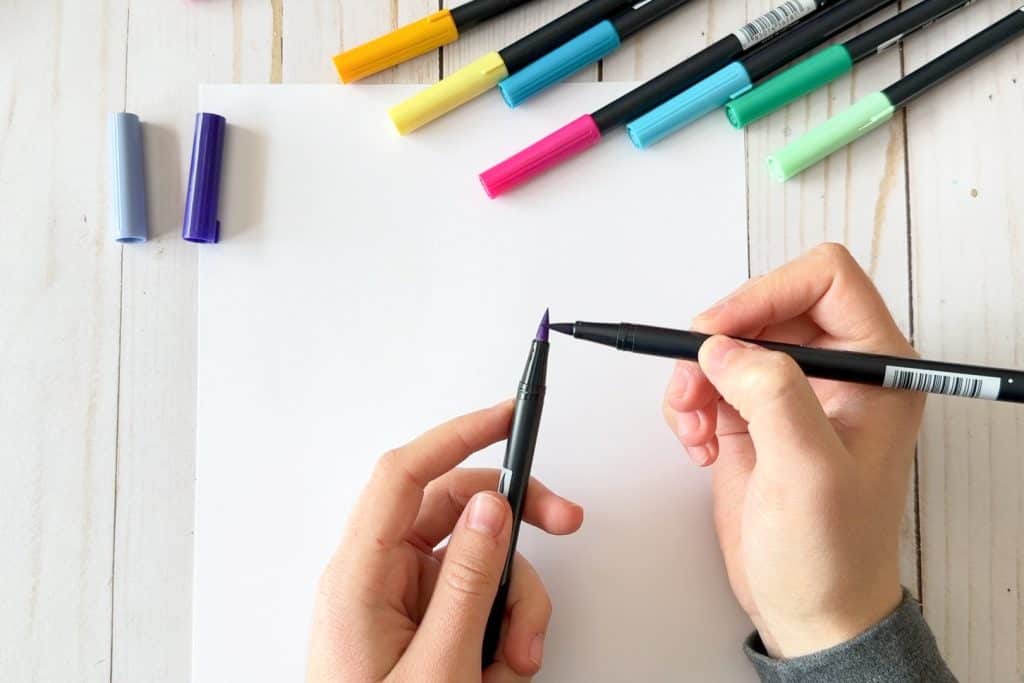
Technique 2: Palette blending
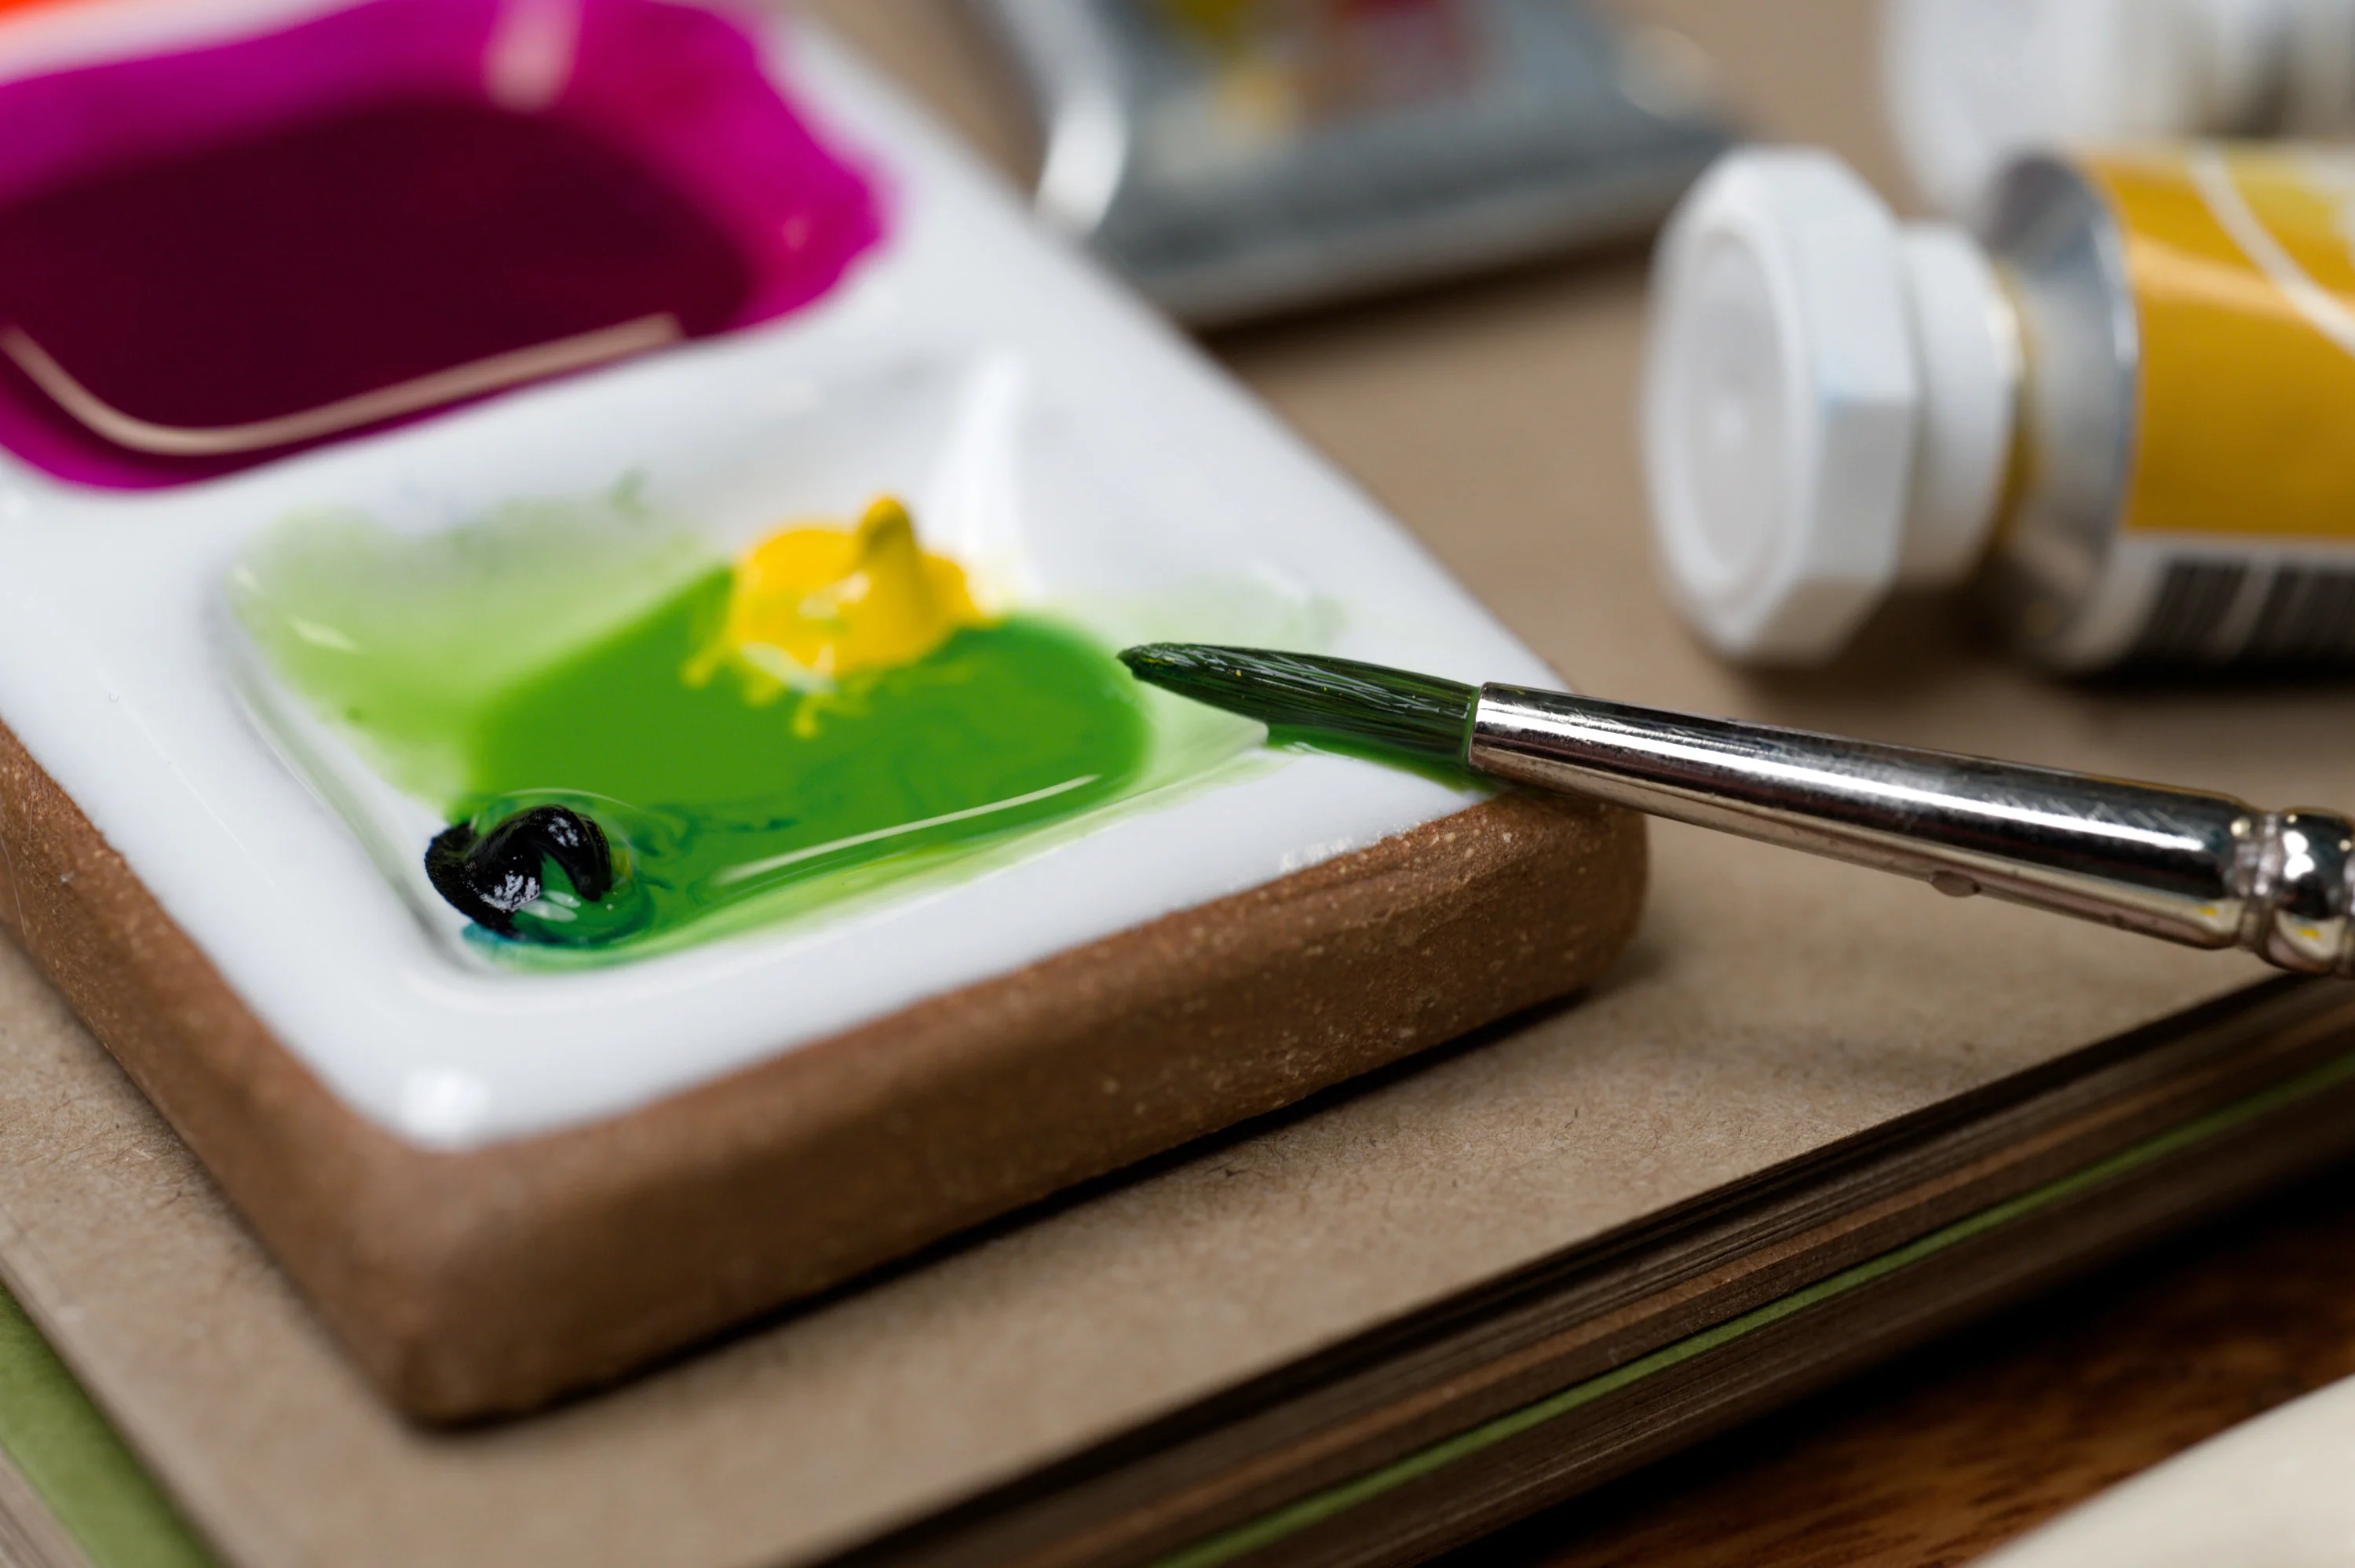
Palette blending means laying ink onto a surface first, then picking it up with a lighter pen or a damp brush. This gives you lots of control and helps create velvety transitions.
Steps
- Scribble a patch of the darker color onto a mixing surface.
- Use your lighter brush pen to pick up a bit of that ink by brushing across the scribble.
- Letter with the lighter pen. Start where you want the darker tone, then move into the lighter area.
- Reload from the palette when the gradient becomes too light.
Extra smooth option
If your pen is not picking up enough pigment, dip a small paintbrush or water brush in clean water, blot once, then touch it to the palette color. Paint the transition directly onto your letters with a light hand.
Technique 3: Water brush blending
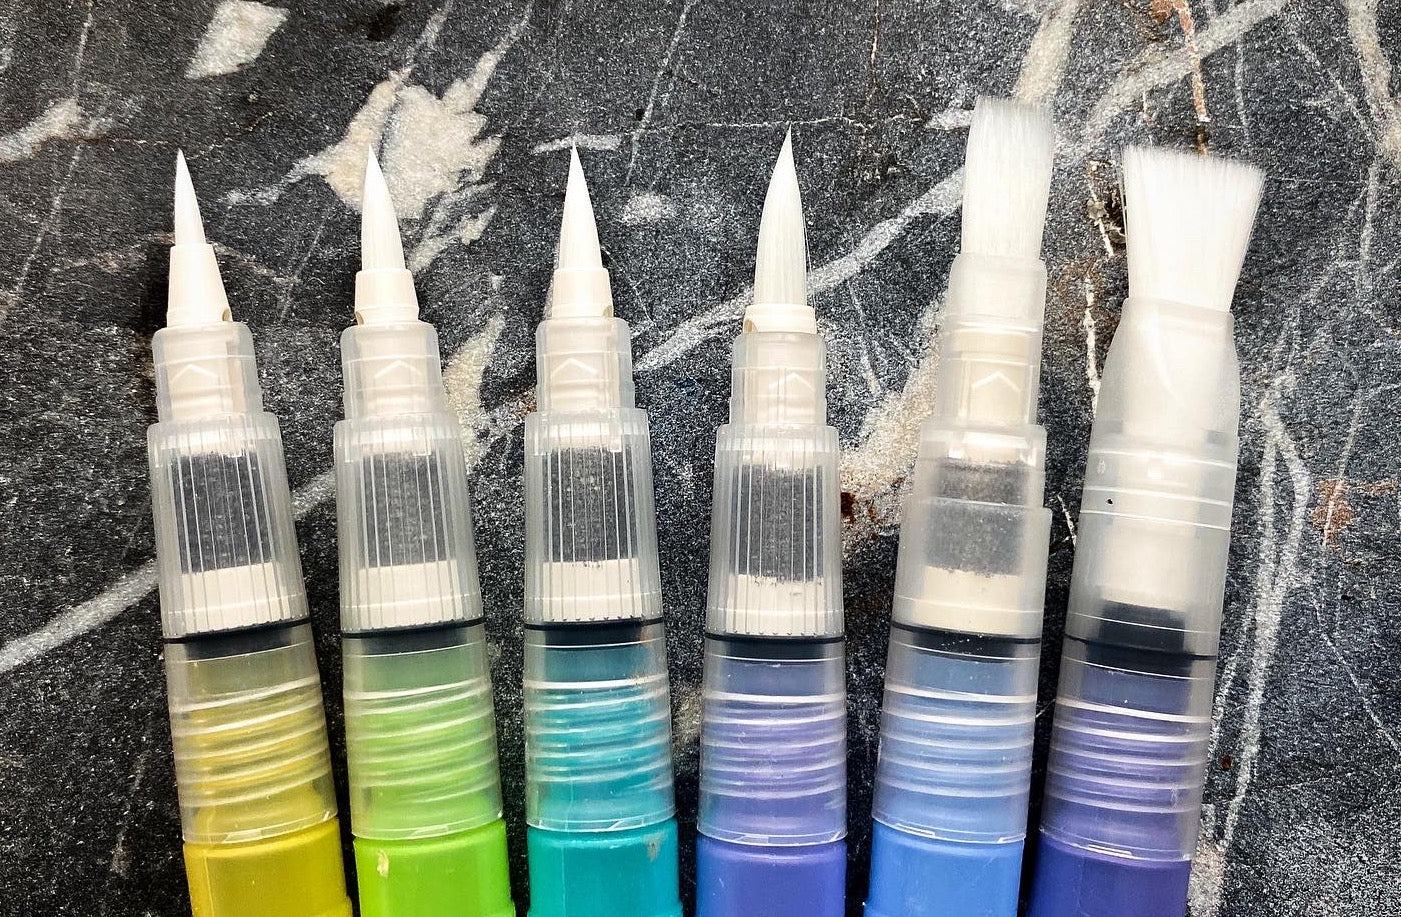
A water brush (or small paintbrush) lets you pull pigment gently, creating a dreamy, airy fade. This is perfect when you want a watercolor-like look from markers, especially if your ink is re-wettable.
Steps
- Write the letter or word with your lighter color.
- Add the darker color where you want the gradient to start (for beginners, pick one consistent spot such as the base of downstrokes, and repeat it across the whole word).
- While the ink is still damp, use a clean, slightly wet water brush to pull the dark pigment into the light area.
- Wipe the brush on a paper towel, then make one more gentle pass to soften the seam.
Keep it crisp
- Use very little water. Too much can create blooms and rough edges.
- Blend with the side of the brush using light pressure, not a scrubbing motion.
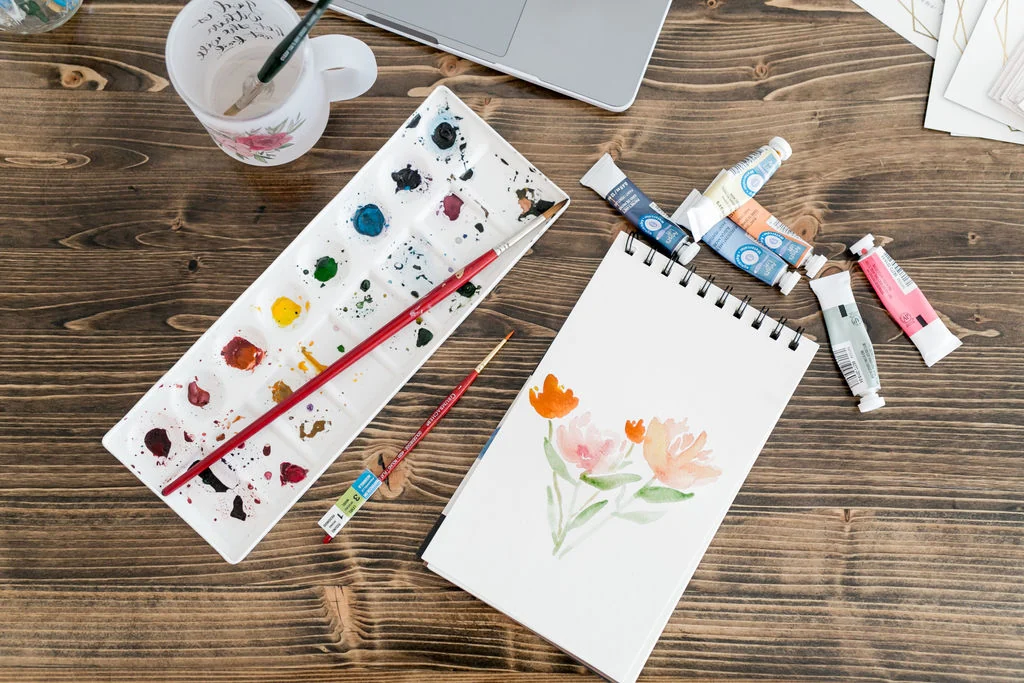
If you love this style, you will also enjoy watercolor lettering supplies for blended calligraphy.
Technique 4: Scribble and pick up
This is a speedy version of palette blending when you do not have a mixing surface nearby.
Steps
- On scrap paper, scribble a small patch of the darker color.
- Immediately scribble your lighter pen over the edge of that patch to pick up pigment.
- Letter with the lighter pen, using the loaded area for the darker portion of the gradient.
When it shines
- Quick practice drills.
- Small flourishes and accent strokes.
- Testing color pairs before using them on your final piece.
Technique 5: Layering with a blender marker
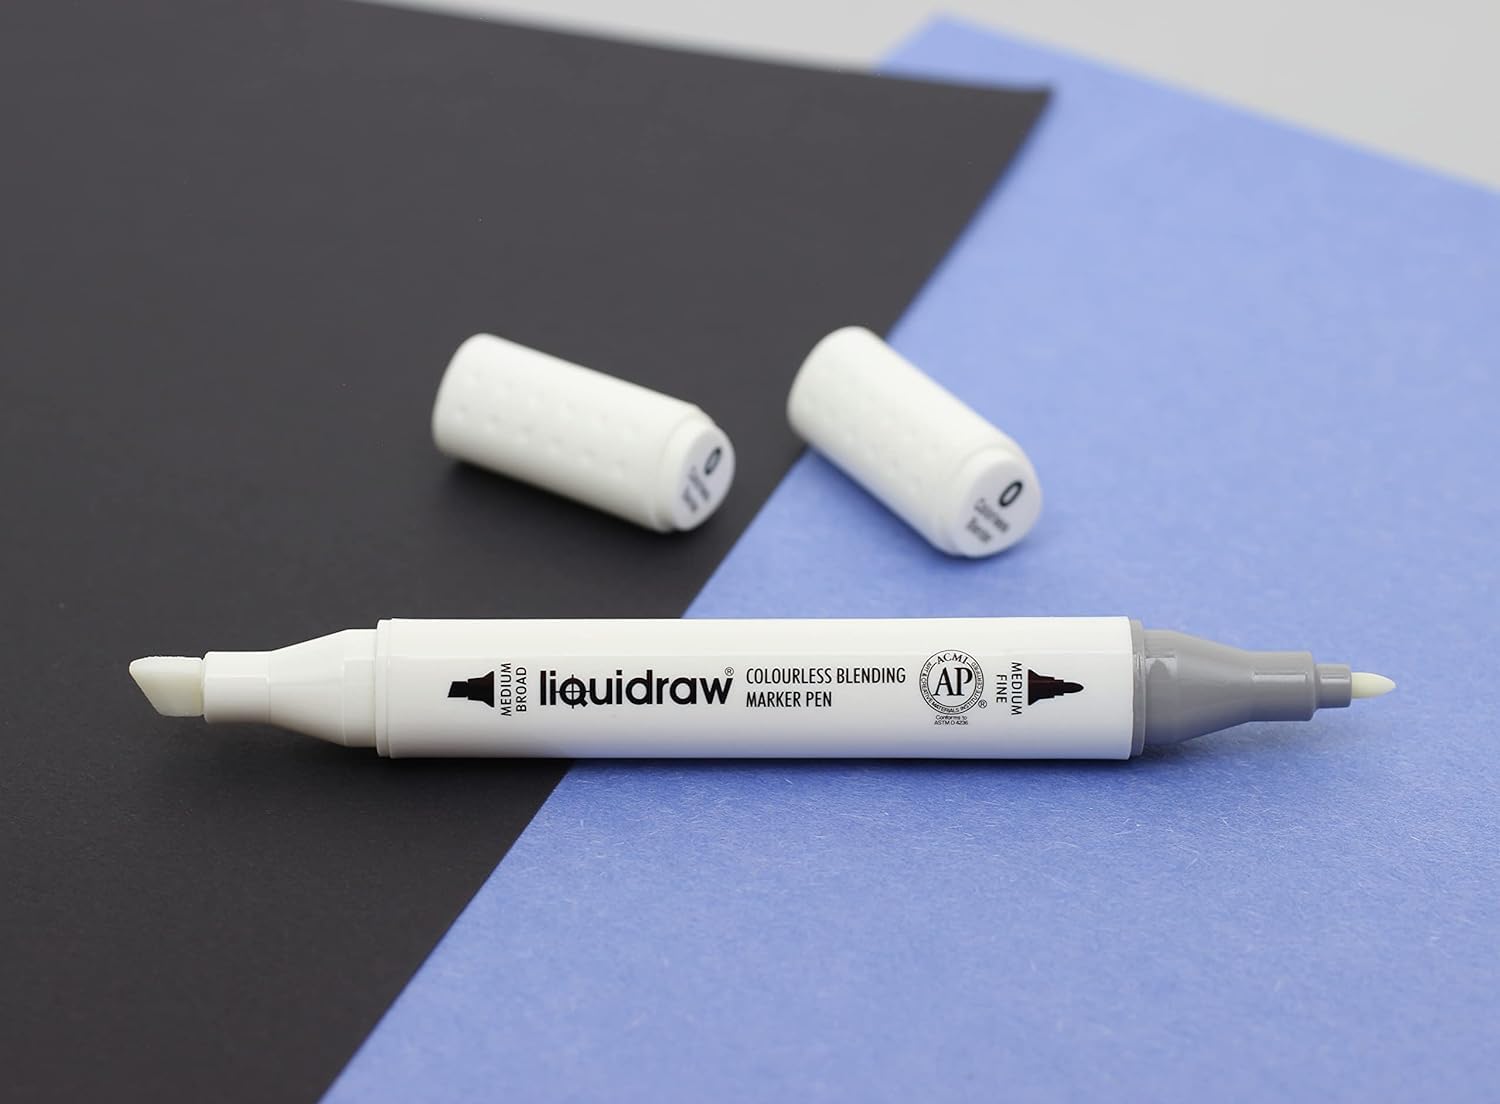
If you have a colorless blender marker made for your marker system, it can act like a gentle bridge between colors. Think of it as a soft broom that sweeps pigment into place.
Steps
- Letter with your first color.
- Add your second color where you want the gradient.
- Use the blender marker on the seam, moving from light toward dark in small strokes.
- Do one last pass with the lighter color to smooth any streaks.
Good to know
- Blender markers can be water-based or alcohol-based. Alcohol-based blenders (common with illustration markers) may cause feathering, halos, or lifting with many water-based brush pens. Test on scrap paper first.
- Not every marker line blends the same way. If the blender lifts too much color, use fewer passes.
- On some papers, blender fluid can spread ink more than expected. Test first.
Where to place the gradient
- Downstrokes: Add the darker color at the base of thick strokes for a grounded, juicy look.
- Upstrokes: Add the darker color near the top for a lighter, floaty feel.
- Across the whole word: Blend left to right for a classic rainbow ombre effect.
- Inside each letter: Blend top to bottom for consistent, modern gradients.
If you want your letters to stay readable while you blend, consistent spacing helps. A gentle guide is bouncy calligraphy baseline rules.
Troubleshooting: common blending problems
My colors look streaky
- Use smoother paper. Rough paper creates texture streaks.
- Blend sooner, while ink is damp.
- Try palette blending or water brush blending for a softer transition.
My paper is pilling
- Use less water and fewer passes.
- Switch to a thicker, smoother sheet made for markers.
My brush pen tip is getting fuzzy
- Check your paper first, then lighten pressure on strokes.
- If the tip is already frayed, see how to fix frayed brush pens for gentle recovery tips.
My blend dries before I can smooth it
- Work letter-by-letter instead of word-by-word.
- If your ink is re-wettable, use a water brush with just a touch of moisture to nudge the seam.
My colors turned muddy
- Try colors closer together on the color wheel.
- Use a middle transition color.
- Keep the overlap zone smaller and do not overwork it.
I have a hard line at the blend point
- Overlap the two colors a little more (even a few millimeters helps).
- Do one light pass with the lighter color over the seam to soften it.
- Switch to palette blending for more control, or blend sooner while the ink is still damp.
A simple practice drill
Pick two colors and do this little rhythm drill for five minutes.
- Draw a row of thick downstrokes with the lighter color.
- Add the darker color to the bottom third of each stroke.
- Blend the seam using your favorite method from above.
- Repeat, making the blend zone thinner each round until you can blend in a very small area.
Want more friendly drills like this? Visit Tutorials & Practice Drills for more warm-ups and lettering lessons.
Quick FAQ
Can you blend any brush pens?
Water-based brush pens often blend best with water and with compatible markers from the same ink family, but results vary by brand, paper, and whether the ink re-wets easily. Test a small swatch first if you are unsure.
Do you need water to blend?
Nope. Tip-to-tip and palette blending can be done without water. Water brush blending is best when you want a softer, watercolor-style fade, and when your ink will cooperate.
What is the easiest blending method for beginners?
Tip-to-tip transfer is the quickest, and palette blending gives the most control. If you want maximum softness, grab a water brush.
Do oil-based or paint pens blend?
On paper, paint and oil-based pens typically layer more than they blend. On nonporous surfaces, some paint markers can mix a bit while still wet, but it is a different look and a different workflow than water-based ombre on smooth paper.