Grab your pointed pen and let’s make those swoopy thick downstrokes happen on purpose. Pressure control in pointed pen calligraphy is all about opening the tines only as much as your nib and paper can handle, then closing them smoothly without digging in. When it feels scratchy or snags, it usually means one small variable is off: angle, speed, ink flow, nib prep, or pressure.
What pressure control really means
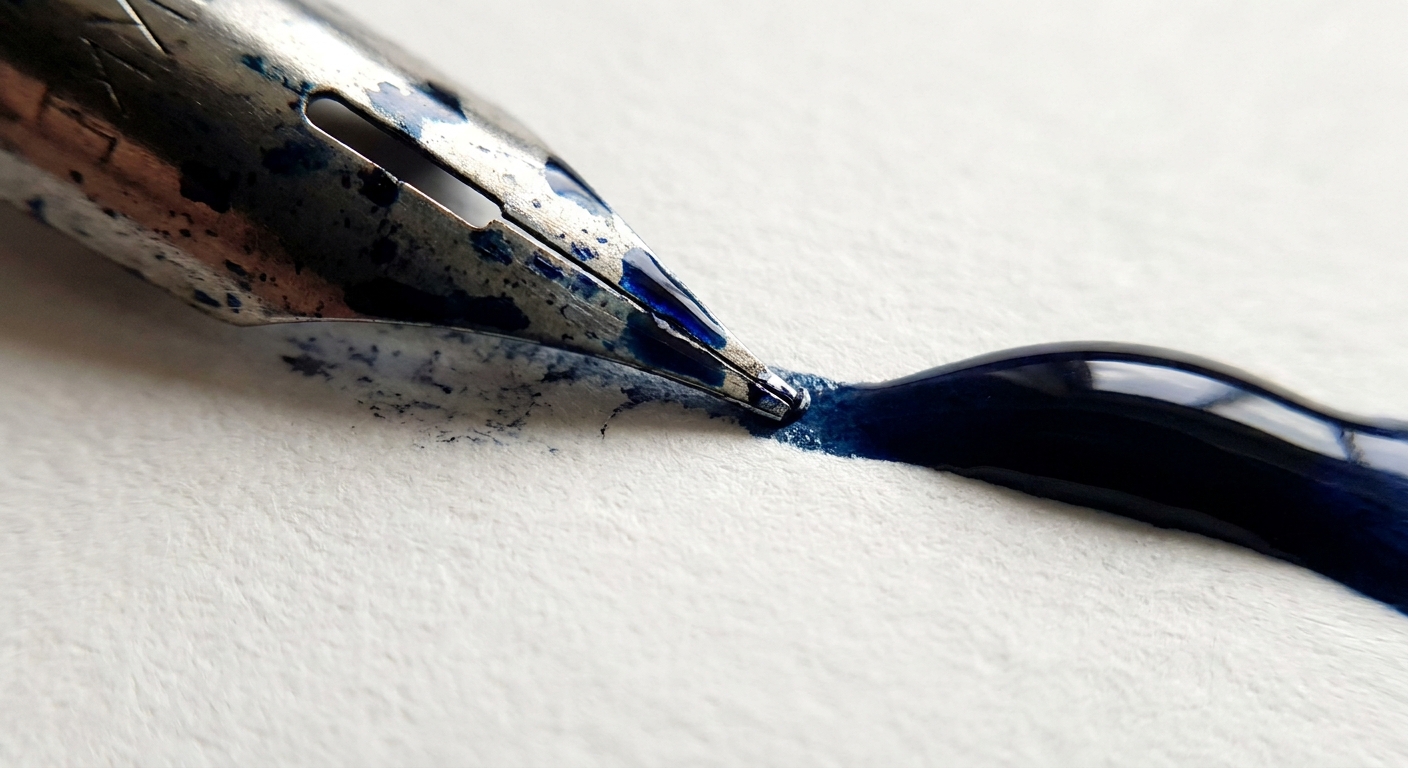
A pointed pen nib has two tines that flex apart when you press down. That separation makes a wider ink line for downstrokes. Pressure control is the skill of:
- Starting with tines closed (hairline)
- Pressing gradually until the tines open evenly
- Keeping the pressure steady through the thick stroke
- Releasing gradually so the tines close cleanly at the end
If the tines pop open suddenly, you get blobs. If they open unevenly, you get scratchy sounds and snagging. And if you lift, turn, or speed up while you are still pressing, you can get messy exits and splatters.
Set up for smooth tine separation
Make sure the nib is clean and prepped
If ink is beading up, skipping, or refusing to coat the nib, pressure is not the real problem yet. Many new nibs have factory oils that cause poor ink flow. A clean, properly prepped nib makes pressure practice feel dramatically smoother. If your strokes suddenly “railroad” even with gentle pressure, pause and clean the nib, then re-ink.
Use paper that does not fight you
Rough or fibrous paper grabs the nib tip and makes snagging much more likely. Smooth, hard-sized paper lets you practice pressure without shredding the surface. If you are not sure what to use, start with the general smooth-paper guidance in Paper That Keeps Pens From Fraying. It is brush-pen focused, but the same principle applies to pointed pen work: smoother and more sealed surfaces tend to snag less and feather less.
Hold the pen so both tines meet the paper
Snagging often happens when one tine is doing all the work. Try this checklist:
- Keep a light grip, like holding a small paintbrush.
- Let the nib point lead, not the side of the nib.
- Maintain a consistent writing angle as you pull down.
- Do not rotate the holder mid-stroke. Rotation makes one tine catch.
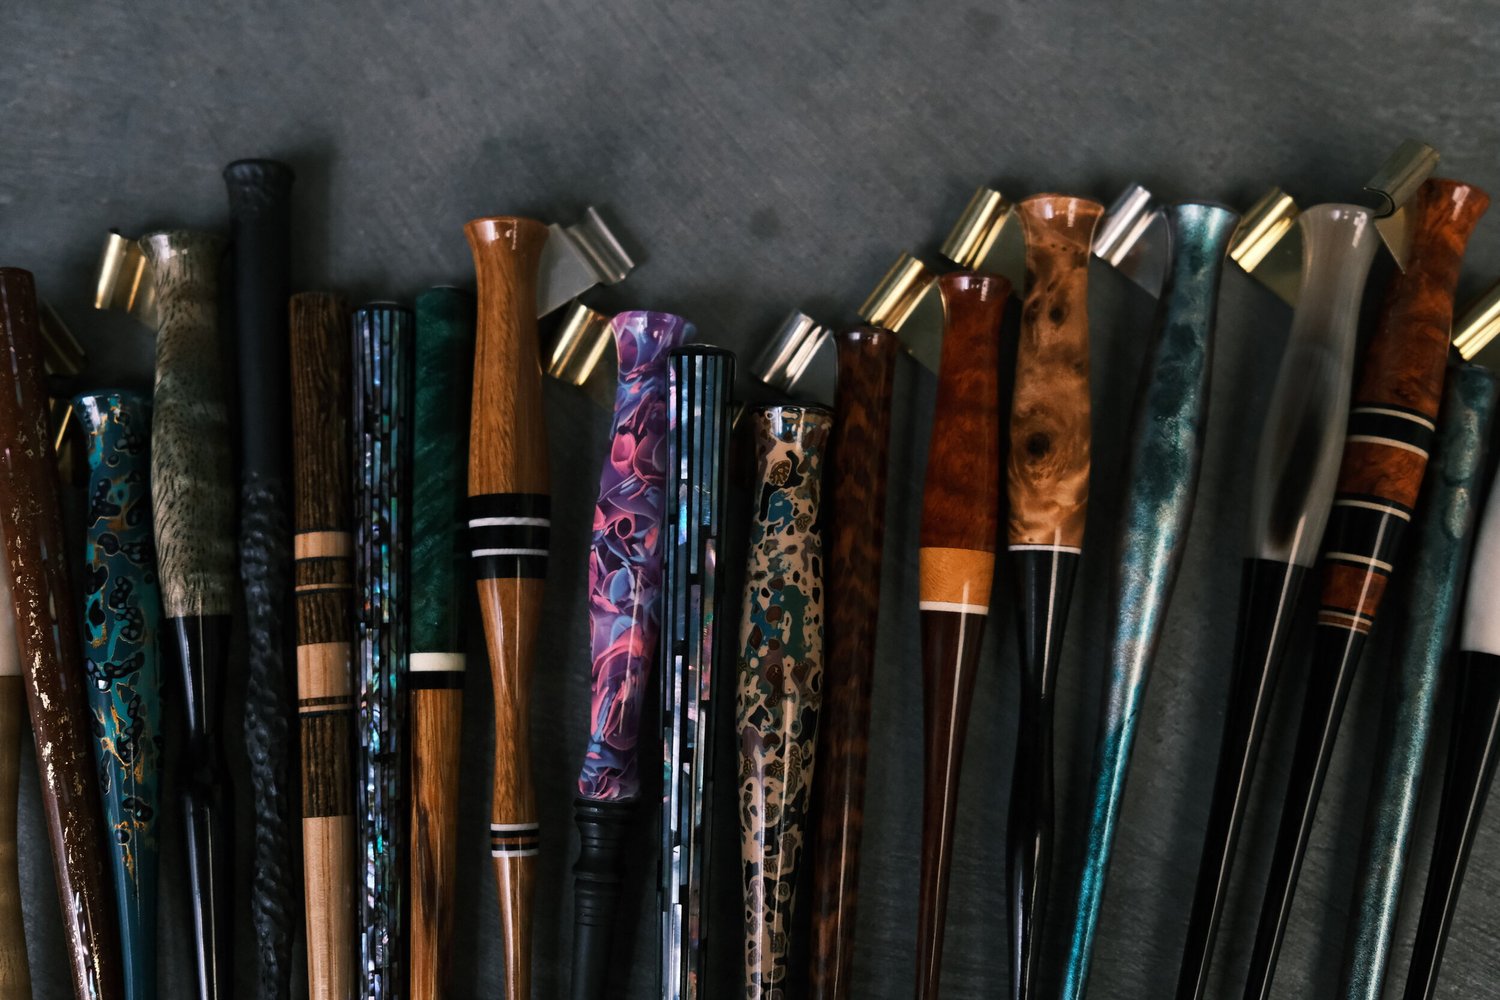
If you are experimenting with holders, see Oblique vs Straight Pen Holders for how angle and comfort can affect stroke quality.
Ink flow should be steady, not over-inked
Too much ink encourages blobs when the tines open. Too little ink makes the nib drag and feel sharp. A helpful target is a downstroke that looks dark and smooth, with no skipping and no puddling at the bottom.
If you want a quick ink overview, Sumi, India, or Walnut Ink Basics can help you choose an ink style that behaves predictably for practice.
Choose a beginner-friendly nib feel
Ultra-flex nibs can look impressive, but they magnify every tiny pressure change. For early pressure control, a nib that is moderately flexible is often easier to manage than one that spreads dramatically with the lightest touch. Whatever nib you use, stop immediately if you feel sharp catching or hear loud scratching. That is how nibs get sprung or bent.
The “just enough pressure” rule
Here is the secret: you do not need maximum flex. Beginners often press until the nib looks impressively wide, and that is exactly when snagging, railroading, and paper damage show up.
- Goal: open the tines only until the stroke is as thick as you want, then stop increasing pressure.
- Feeling: a gentle, controlled “cushion” of pressure, not a hard push.
- Sound: quiet and smooth, not a loud scratch.
Think “press and glide,” not “press and dig.”
Beginner drills for pressure control
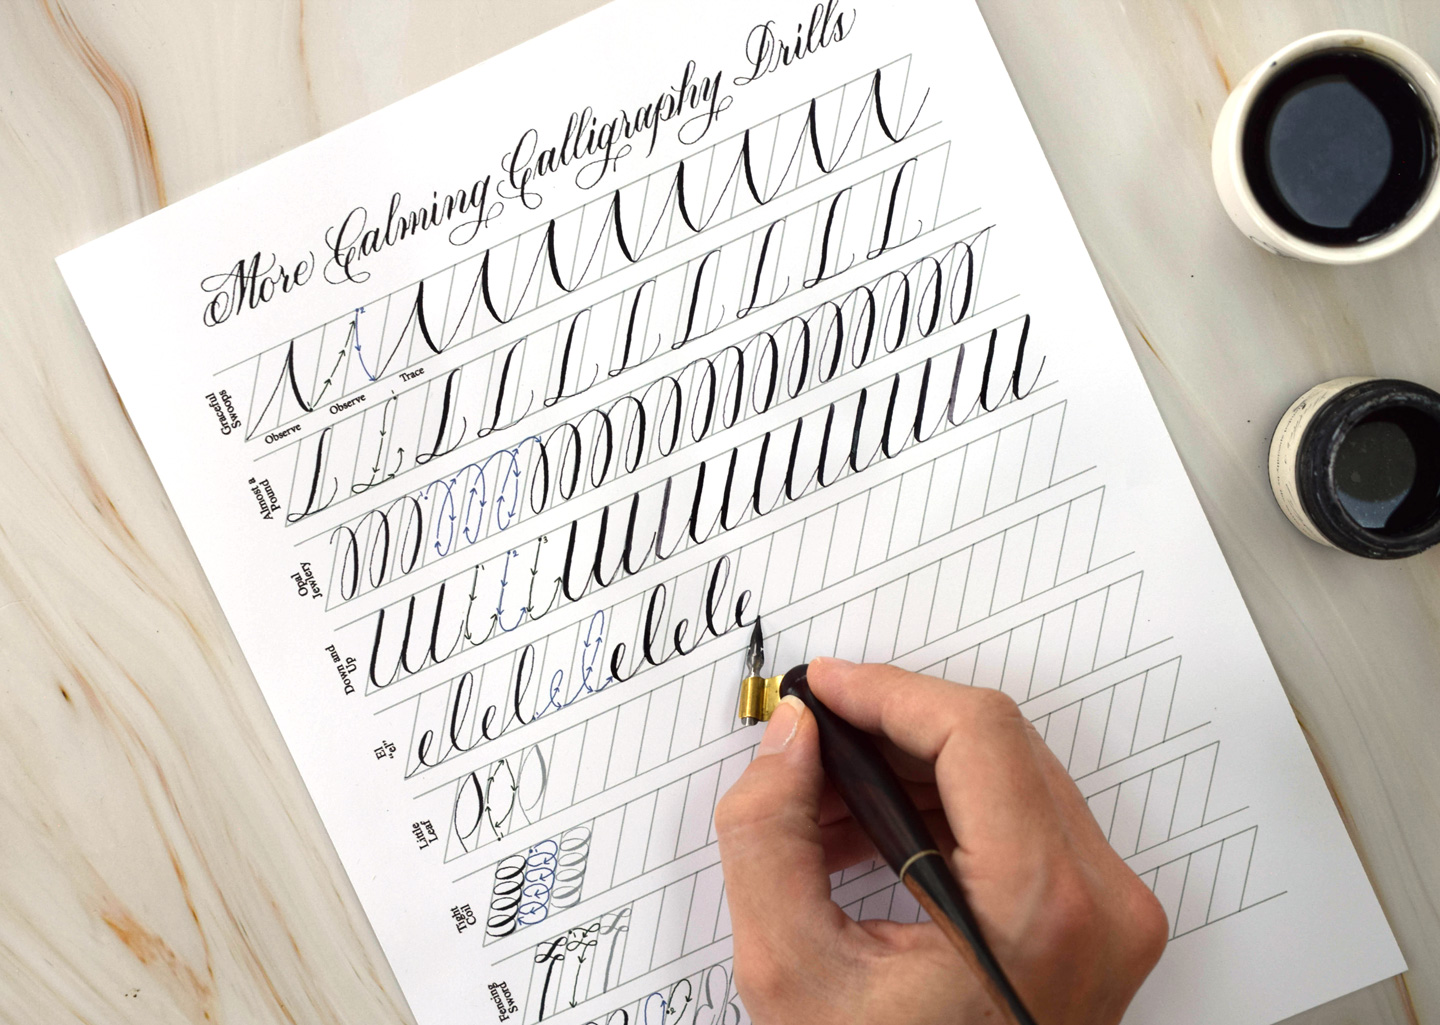
These drills build control faster than jumping straight into words. Practice slowly at first, then speed up only when the strokes look consistent. Re-ink as needed so you are not forcing dry strokes, and give the nib a quick rinse and wipe if it starts feeling gummy.
Drill 1: Hairline to shade to hairline
This drill teaches gradual opening and gradual closing.
- Start with a light hairline for about 1 cm.
- On the next 1 to 2 cm, increase pressure gradually until you reach a comfortable thick stroke.
- Finish by releasing gradually back to a hairline.
Repeat 10 times. Aim for a smooth “cigar” shape, not a sudden bulge.
Drill 2: Slow downstroke ladders
This builds steady pressure on thick strokes without wobble.
- Draw five vertical downstrokes, each about the same thickness.
- Make the first one medium thick, not maximum thick.
- On each next stroke, try to match the thickness exactly.
Watch for “waistlines” in the middle of the stroke. If the line gets skinny midway, the pressure is drifting lighter or the ink is running dry.
Drill 3: Release practice
Snags often happen at the end of a thick stroke because you are still under pressure as you stop or lift. Train the release:
- Make a thick downstroke.
- Before you stop, ease up so the stroke narrows.
- Lift only after the tines are nearly closed.
Look for a tapered end, not a blunt block.
How to stop snagging the paper
If the nib catches, do not push harder. That can tear paper fibers and spring a nib. Instead, use this quick fix list.
Fix 1: Use noticeably less pressure
Make the same stroke again, but stop well short of your usual “max.” Many thick strokes look better with less flex. If you like numbers, think “about a quarter less,” but treat that as a coaching cue, not a rule.
Fix 2: Check for uneven tine contact
If one tine is grabbing, your nib may be rotated slightly. Realign so the slit is centered with your stroke direction. Keep the holder steady through the downstroke.
Fix 3: Slow your downstroke, especially at the start
The most common snag moment is the instant you press to open the tines. Press gradually while moving, instead of pressing fully and then dragging.
Fix 4: Lighten the return strokes
Hairlines should feel like skating. If your upstrokes are scratchy, practice a lighter touch and check that you are not rotating the holder as you move upward. If you want a steady-hand warmup routine, borrow the timing from 15 Minute Daily Calligraphy Drills and swap in pointed-pen strokes.
Common pressure problems
- Railroad tracks (two thin lines with a gap): not enough ink for the amount of flex, ink that is too thick, or flexing too wide. Try less pressure first, then re-ink and check nib prep.
- Blobs at the start: pressing before moving, moving too fast under heavy pressure, or an over-inked nib. Start moving, then increase pressure gradually.
- Scratchy thick strokes: one tine is catching, the paper is too rough, or pressure is changing abruptly. Reduce pressure and steady the angle.
- Wobbly shades: pushing with the fingers instead of the whole arm. Try pulling down using your forearm movement while keeping the grip relaxed.
Putting it into letters
Once the drills look smooth, move into letters that use simple controlled shades:
- i, u, t for straight downstrokes and clean exits
- n, m for repeated pressure ramps
- o for matching thick and thin transitions
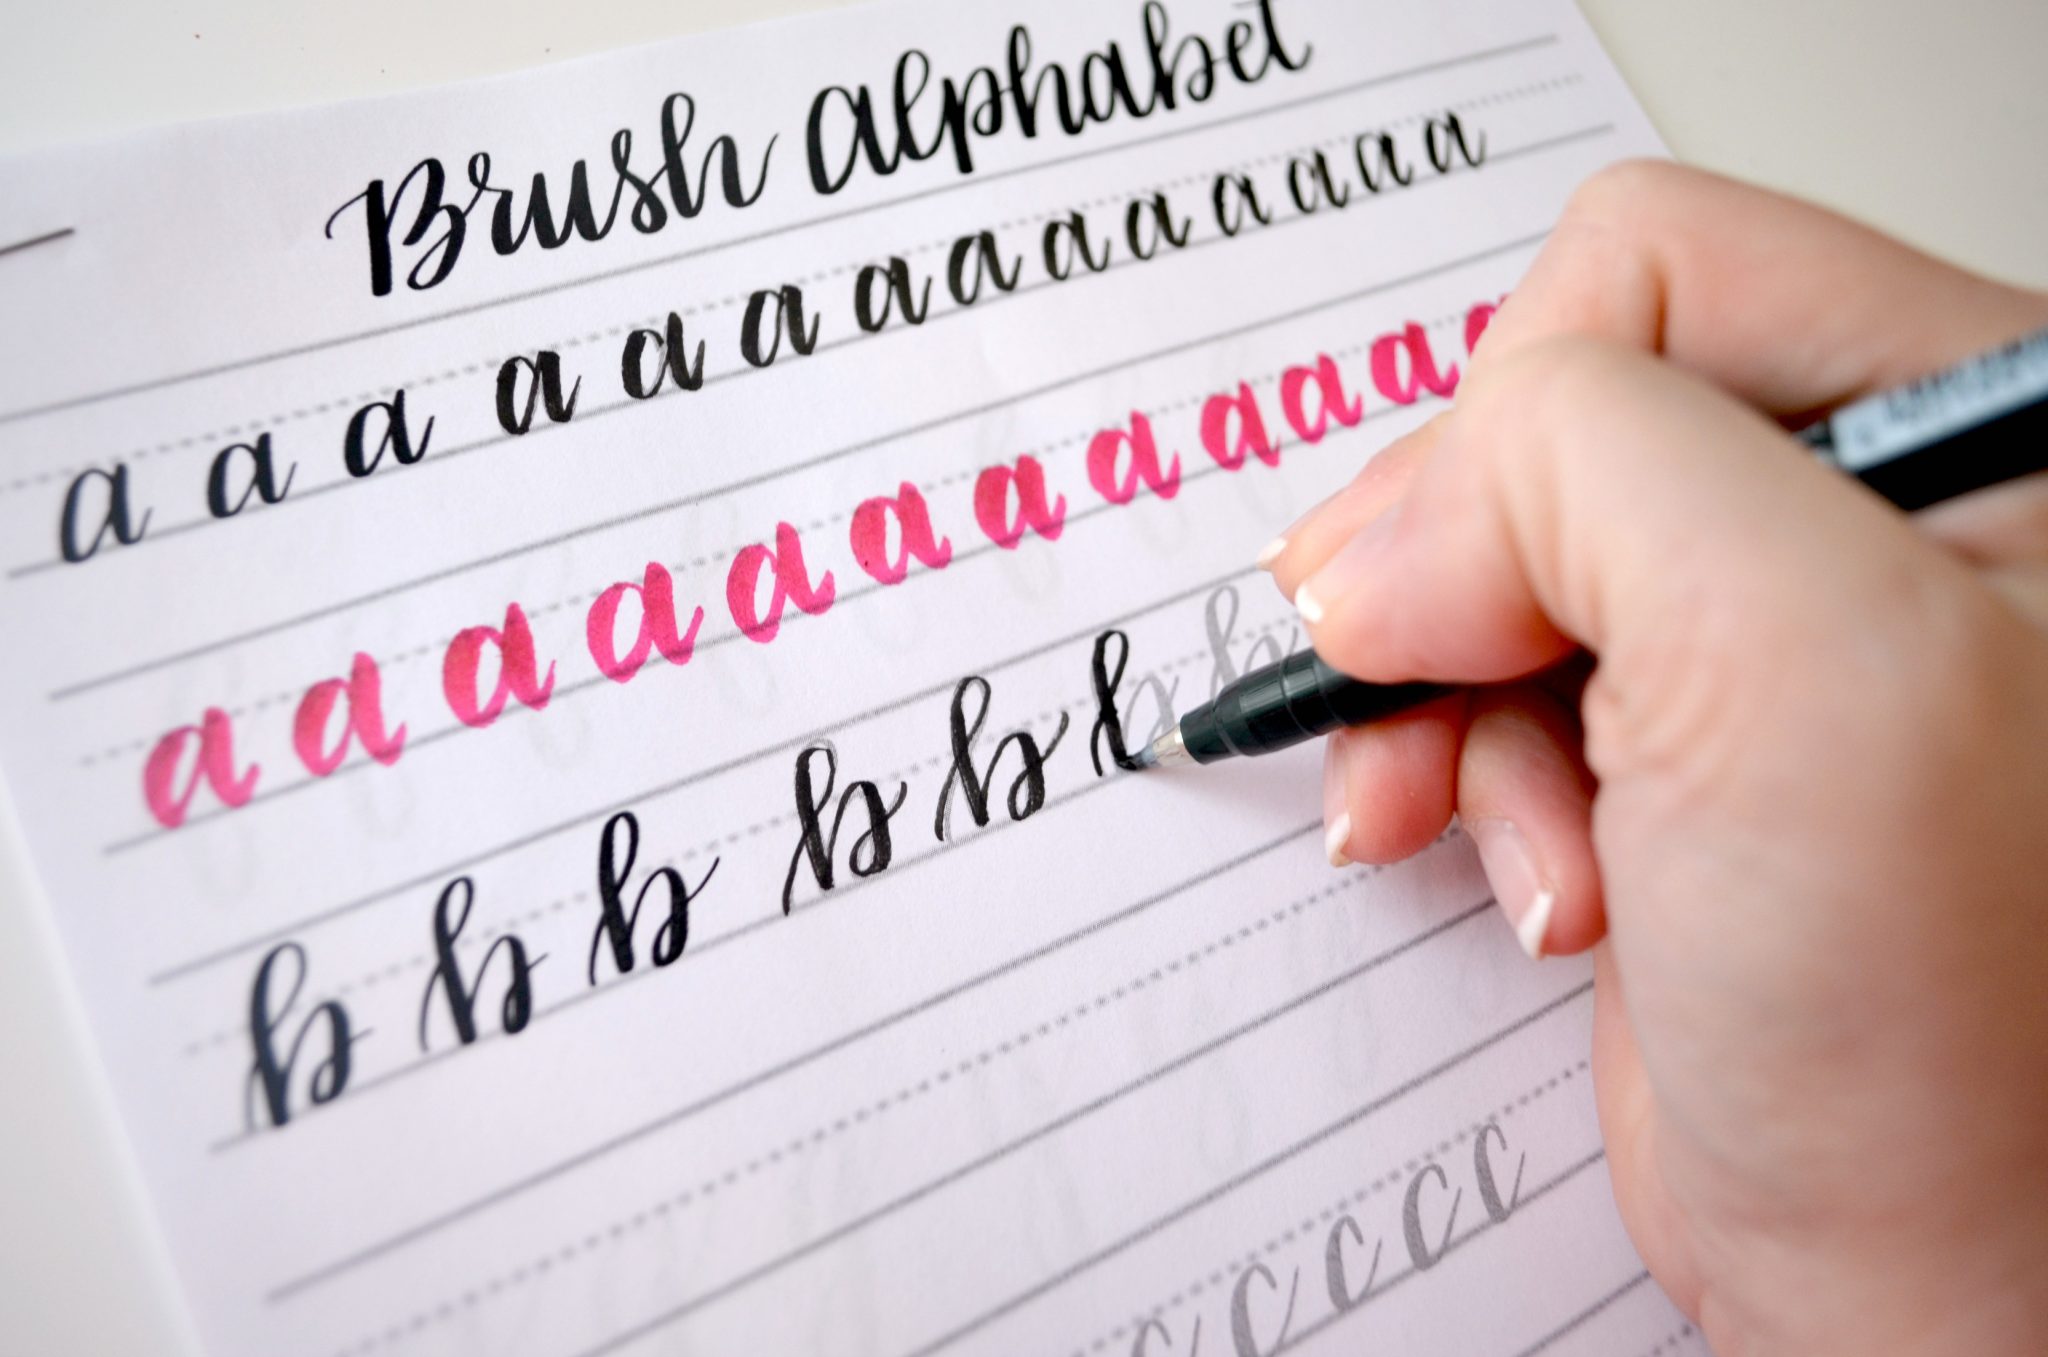
If connecting strokes feel bumpy, the pressure is usually staying on too long. Practice releasing sooner, then connecting with a light hairline. The stroke logic is similar to brush lettering connections, so the movement tips in How to Connect Letters in Modern Calligraphy can still help, even though the tool is different.
A tiny practice plan
- 1 minute: light hairlines only
- 2 minutes: pressure ramps (thin to thick to thin)
- 1 minute: downstroke ladders (match thickness)
- 1 minute: release practice (tapered endings)
Little, rhythmic practice is the fastest path to confident tine control. Keep it gentle, keep it consistent, and those thick downstrokes will start feeling smooth instead of scary.