Grab your favorite chalk and let’s draw some beautiful letters together. Chalkboards are dreamy for big, bold quotes and cozy menus, but they can also be a smudgey little mess if the surface is not prepped or the lettering order is working against you. This guide will walk you through seasoning, layout planning, crisp stroke technique, and smudge-proof finishing for both traditional chalk and liquid chalk pens.
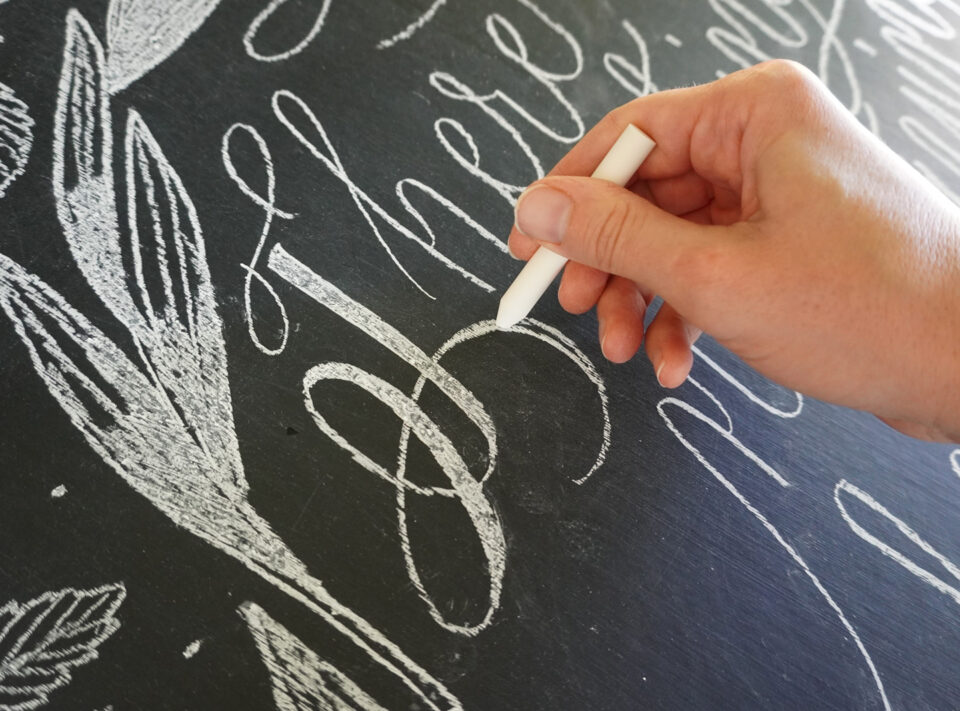
Before you letter: know your board
Smudges usually come from two things: a chalkboard surface that grabs pigment unevenly, or hands that keep brushing through fresh marks. A quick check of your board type helps you pick the right prep and tools.
Chalkboard paint vs. porcelain or slate
- Chalkboard paint is often the smudgiest. It is slightly porous, and some brands create more drag than others.
- Porcelain enamel (many “restaurant” boards) is smoother and usually erases cleaner. Chalk can look a bit lighter on it.
- Natural slate has character and texture. It can look gorgeous, but thin hairlines can break up super-fine strokes.
Standard chalk vs. liquid chalk pens
- Standard chalk gives a soft, dusty look. It blends easily for shading, but it smears if your sleeve slides across it.
- Liquid chalk pens give brighter, sharper lines with less dust. They can still smear while wet, and they may ghost on some painted boards if left too long.
Seasoning a chalkboard the right way
Seasoning creates a thin “base layer” of chalk that fills the pores of a new or freshly cleaned board. This helps future lettering erase more evenly and reduces patchy, grabby spots that cause accidental smears.
How to season (traditional chalk method)
- Start with a clean, dry board. If it has residue, wipe with water, then let it dry fully.
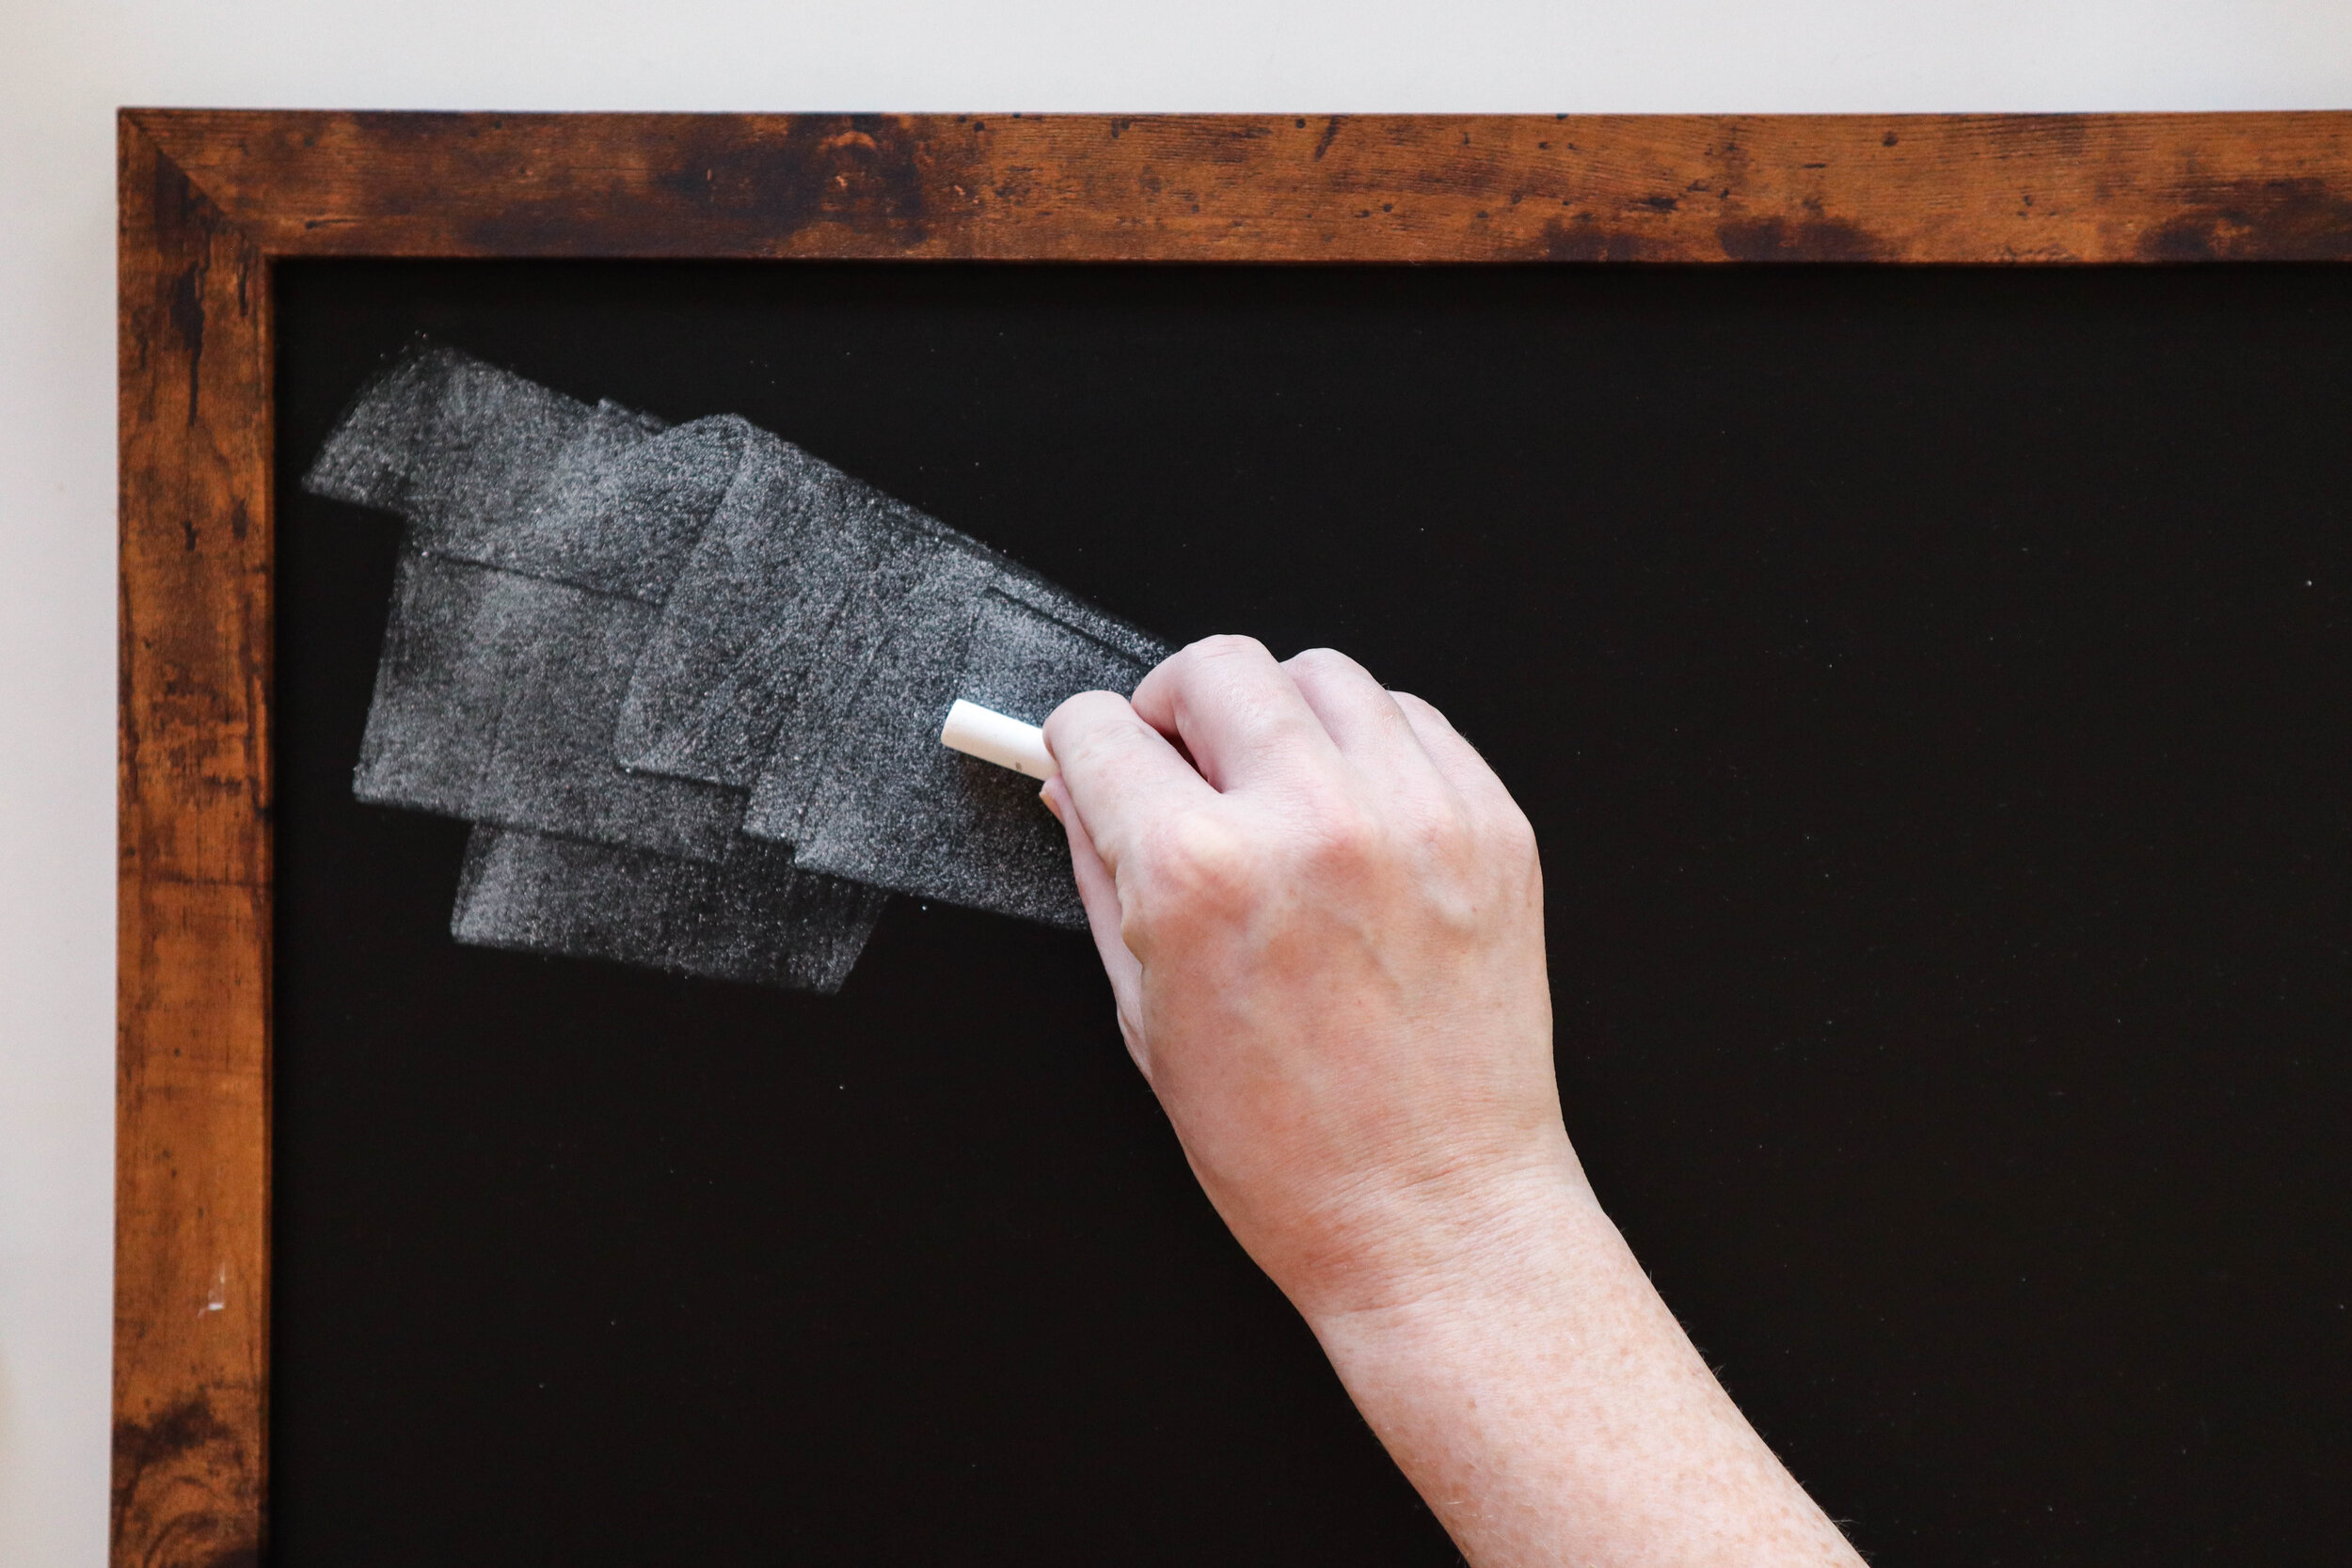
- Cover the whole surface with chalk. Use the side of a piece of chalk and rub in one direction until the board looks evenly gray.
- Buff it in. Use a dry felt eraser or a soft microfiber cloth to press and distribute the chalk into the surface.
- Erase. Wipe off with a dry eraser first. If needed, follow with a barely damp cloth, then let dry.
Tip: Seasoning is mainly for boards used with standard chalk. If you plan to use only liquid chalk markers, you can still season, but test first. Some liquid chalk performs best on a squeaky clean surface.
Clean surface, clean lines
A perfectly clean board is not always the goal. The goal is a surface that behaves predictably.
Best cleaning approach (without streaks)
- Daily dust clean: dry felt eraser, then a microfiber cloth to pick up lingering dust.
- Deep clean: plain water on a microfiber cloth, wrung out well. Wipe in consistent strokes, then buff dry with a second cloth.
- Avoid oily cleaners unless the board manufacturer recommends them. Residue can make chalk skip and bead.
Erase “ghosting” gently
If old writing still shows faintly, it often means pigment has settled into the board texture. Try a damp wipe, then let the board fully dry and re-season lightly. On some surfaces, ghosting is normal and not a sign you did anything wrong.
Tools that help you stay smudge-free
Chalk lettering is all about control and clean edges. A few simple tools make a big difference.
- Microfiber cloths: one for cleaning, one dry for buffing.
- Felt eraser: gives even pressure and smoother fades than paper towels.
- Chalk holder: keeps fingers cleaner and prevents oily fingerprints near your strokes.
- Ruler and T-square: quick baselines and margins for menus and quotes.
- Soft brush: a clean, dry paintbrush to sweep dust away without smearing.
- White colored pencil or pastel pencil: for sketching guidelines that erase more cleanly than chalk lines on some boards.
If your chalkboard art style overlaps with other surfaces like glass or acrylic, you might also enjoy our roundup of markers and paint pens for lettering on glass, wood, and acrylic.
Draft your layout first (so you touch the board less)
Most smudges happen during “figuring it out” time. A quick plan reduces rewriting, erasing, and hand traffic across the board.
Step 1: Set margins and baselines
- Mark a light margin box around the edge.
- Lightly mark baselines for each line of text.
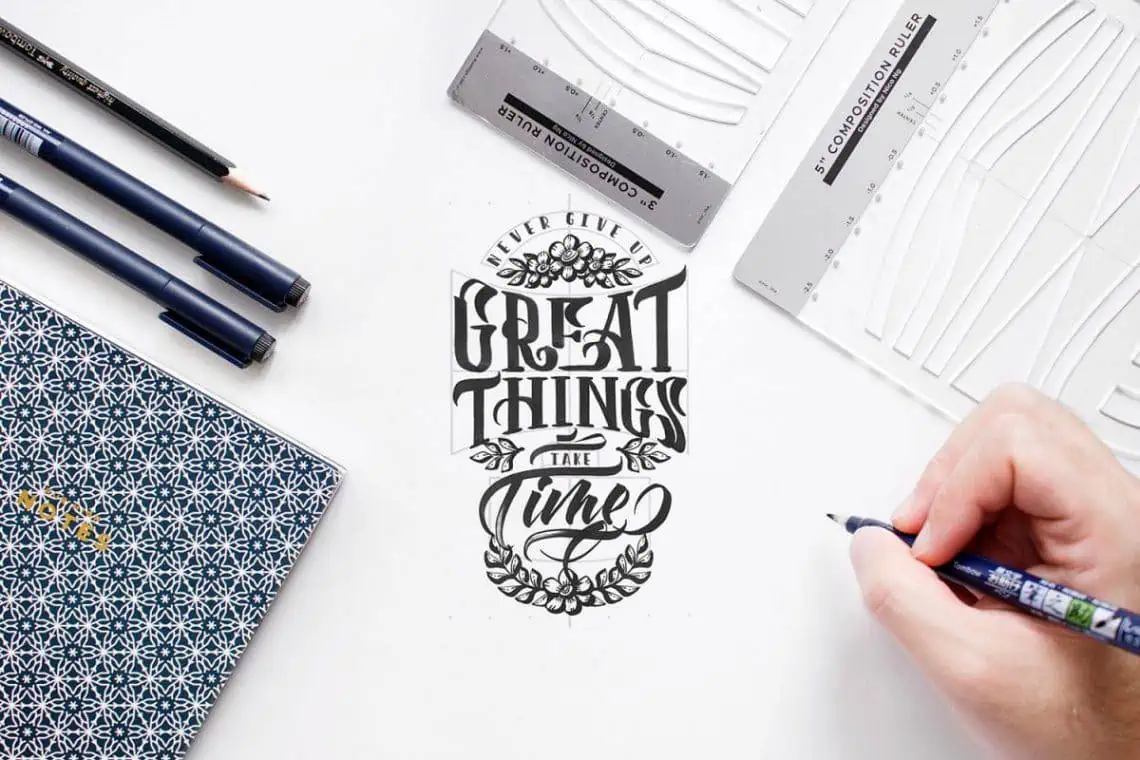
- For bouncy styles, decide how much bounce you want before you start. If you love playful movement, peek at our guide to bouncy calligraphy baseline rules and translate the same idea to chalk.
Step 2: Block in big shapes
Sketch simple rectangles for your largest words, then smaller blocks for supporting words. This keeps spacing balanced and prevents the classic “last word is squished in the corner” problem.
Step 3: Choose a lettering mix
Chalkboard art looks best when it mixes 2 to 3 styles, not 7. A reliable combo is:
- Big word in script
- Supporting words in all caps sans serif
- Tiny accents like dots, sparkles, or simple leaves
Want help picking which words should be big? Our lettering principles for quotes translate beautifully to chalk: hand lettering composition for quotes.
Crisp lettering with standard chalk
Traditional chalk can make wonderfully soft thick and thin strokes, but crispness depends on pressure, angle, and a dust management routine.
Use the right edge of the chalk
- For thin strokes: use a sharp corner. Rotate the chalk often so the edge stays defined.
- For bold strokes: use the side, but keep the angle consistent so the width stays even.
Light pressure first, then darken
Pressing hard at the start grinds pigment into the surface and makes it harder to erase cleanly. Build color in layers:
- Sketch the word lightly.
- Refine letter shapes.
- Thicken downstrokes or fills last.
Work top to bottom, left to right
This simple order keeps your hand away from finished areas. If you are left-handed, reversing the direction often helps: top to bottom, right to left.
Sweep dust, do not wipe it
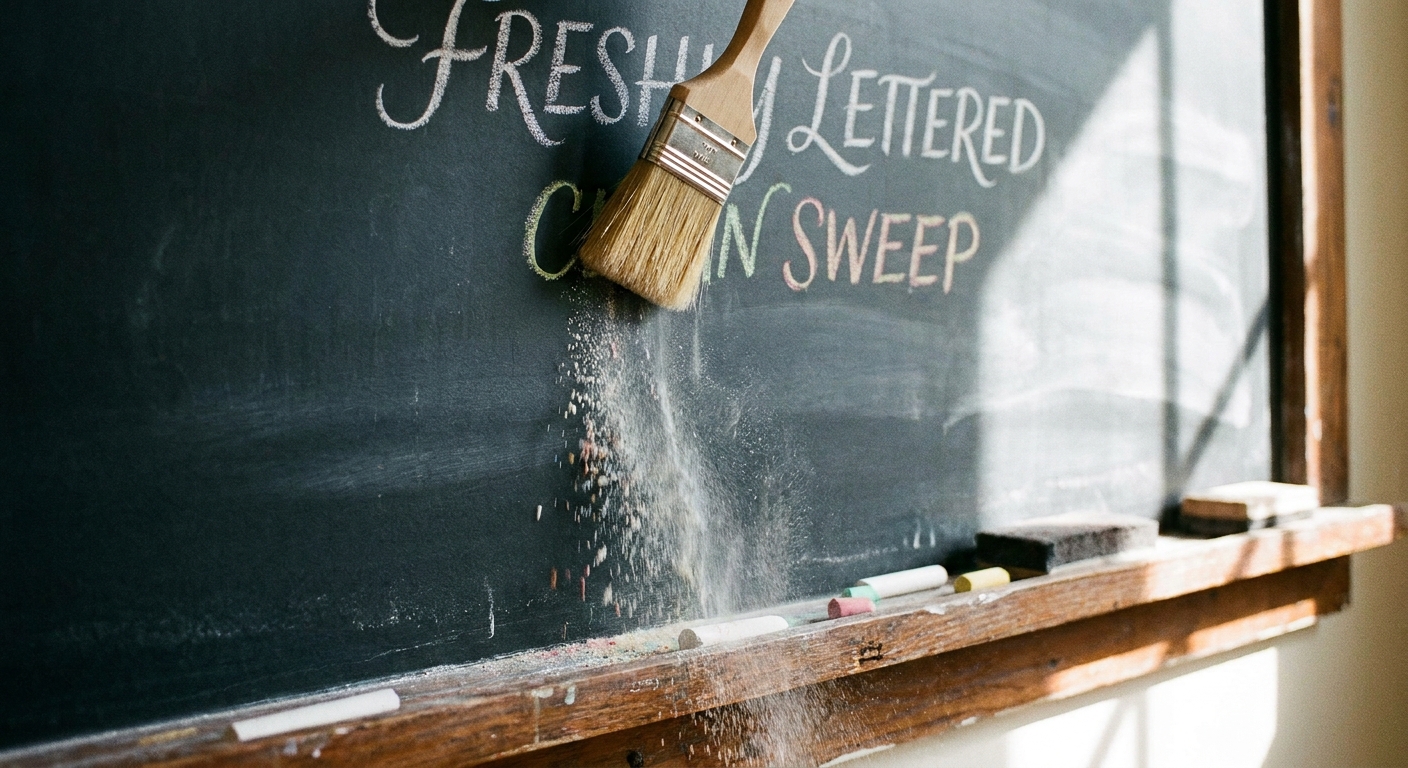
When you see chalk dust building up, use a clean, dry brush to flick it down to the tray. Wiping with your hand or cloth is the fastest way to create gray smears around your letters.
Clean lines with liquid chalk pens
Liquid chalk can look wonderfully bold and modern, especially for menus and crisp block lettering. The secret is patience during dry time and a consistent stroke speed.
Prep and prime
- Shake well with the cap on.
- Prime on scrap paper until the ink flows evenly.
- Test your board in a corner. Some painted boards can stain if the ink sits for a long time.
Slow enough to be smooth, fast enough to be even
If you creep too slowly, ink can pool at the ends of strokes. If you rush, edges can wobble. Aim for a steady glide, and lift at the end of each stroke instead of dragging to a stop.
Let it dry fully before adding details
Most smears with liquid chalk happen when adding highlights, shadows, or a second color too soon. If you are layering, give the first layer time to become matte, not shiny.
Fix mistakes the right way
- While wet: a damp cotton swab can lift small slips cleanly.
- Once dry: use a damp cloth and gentle pressure. If you scrub hard, you can create a “clean spot” that looks different from the surrounding board. Buff lightly afterward to even the finish.
How to make chalk letters look like calligraphy
Even with chunky chalk, you can mimic modern calligraphy by building thick and thin contrast.
Option 1: Faux calligraphy with chalk
- Write the word in a simple script.
- Add a second line to thicken the downstrokes.
- Fill in the downstroke space.
This is the same idea used with pens. If you want to practice the concept off the chalkboard first, the steps match our guide to faux calligraphy with any pen.
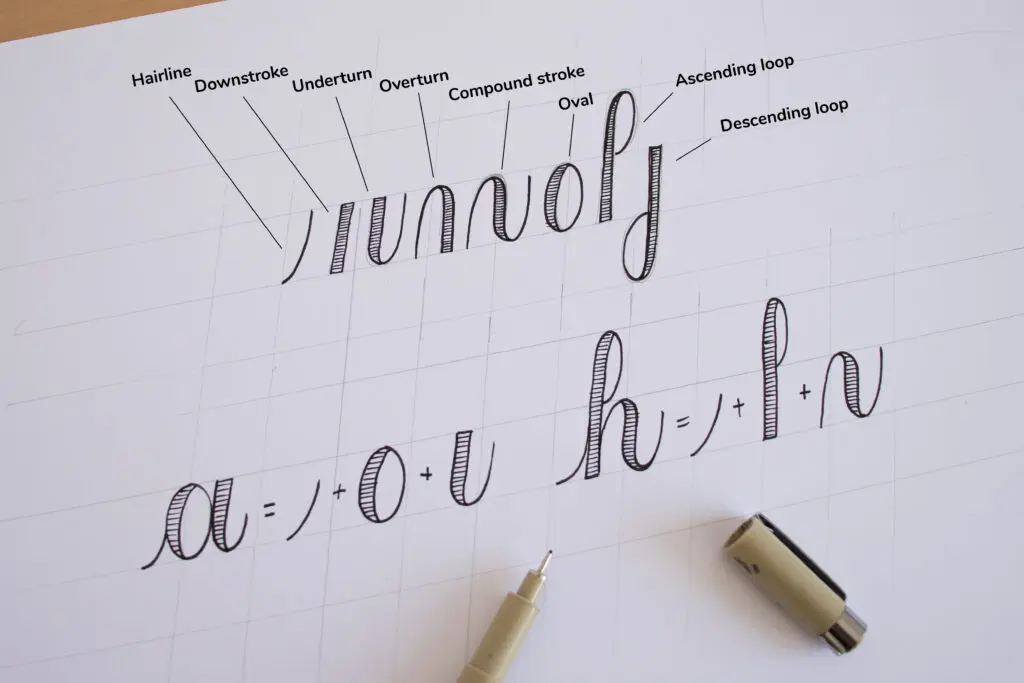
Option 2: Build strokes with “basic shapes”
Think in strokes instead of letters. An oval for an “o,” a tall stem for an “l,” then connect. If you want a brush-lettering style mindset, the motion vocabulary is similar to basic brush lettering strokes, just with chalk texture.
Smudge-proof workflow (the order matters)
If you only change one thing, change your order of operations. A smudge-proof workflow keeps your hand away from finished areas and avoids dusty blending until the end.
- Clean and dry the board.
- Light guidelines and layout blocks.
- Letter the largest words first. They control spacing.
- Add medium words next.
- Add small details last. Dots, sparkles, tiny caps, and flourishes are easy to bump.
- Dust sweep and edge cleanup.
- Shadows and highlights. Only after everything else is stable.
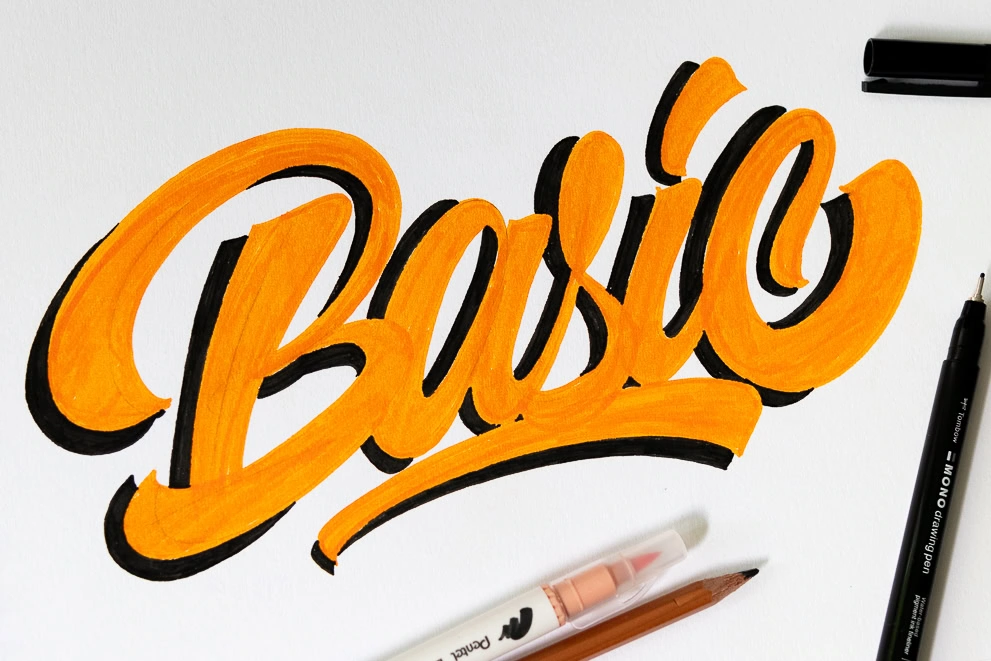
If you love the look of depth, keep shadows simple and consistent. The same shadow logic used in pen lettering works great on boards: drop shadows and 3D effects for hand lettering.
Quick fixes for common chalkboard problems
Problem: Everything looks hazy
- Too much dust. Sweep with a soft brush, then lightly buff around letters with a clean dry microfiber cloth.
- Chalk is too soft for fine details. Try a harder chalk stick or switch tiny details to a liquid chalk pen.
Problem: Letters look patchy or skip
- The board is grabbing pigment. Re-season lightly or clean and dry fully before writing again.
- Chalk edge is too rounded. Rotate or snap to expose a sharper corner.
Problem: Erasing leaves streaks
- Use less water. A cloth should be barely damp.
- Buff dry immediately with a second cloth.
- On painted boards, streaks sometimes mean the surface is wearing unevenly. Seasoning can help even it out.
Problem: Liquid chalk will not come off clean
- Try plain water first, then gentle soap if needed.
- If the board is painted, avoid harsh abrasives. They can change the sheen of the surface.
- In the future, do a small test and do not leave liquid chalk on for long stretches if your board tends to stain.
Sealing chalkboard art (when you need it to last)
Most chalkboard designs are meant to be temporary. If you need your artwork to last for an event without accidental sleeve-smears, you have a few options.
Option 1: Leave it unsealed and set boundaries
Place the board where people will not brush past it. This is surprisingly effective for party signs and small displays.
Option 2: Use a fixative spray carefully
Work in a well-ventilated area and follow the product label. Light coats are safer than one heavy coat, which can drip and darken your chalk. Always test on a small corner first because some sprays can change contrast or make erasing harder later.
Option 3: Choose liquid chalk for durability
Once fully dry, liquid chalk is usually more resistant to casual smudging than dusty traditional chalk. It is a good choice for boards that will be handled or moved.
Practice drills for smoother chalk strokes
Chalk is wonderfully forgiving, and drills make your hand steadier fast. Try this 10-minute warmup on a small corner of the board, then erase.
- Pressure ladder: draw 10 vertical strokes from whisper-light to bold.
- Ovals: fill a row with slow, consistent ovals for smoother “o” shapes.
- U-turns: practice “n” and “m” arches to improve rhythm.
- Basic caps: write A E N R S in simple block capitals, focusing on even spacing.
For more steady-hand practice that translates to any tool, you can borrow the pacing from our 15-minute daily calligraphy drills and do the same motions in chalk.
Chalkboard lettering FAQ
Should you season a chalkboard before using liquid chalk markers?
Not always. Many boards work best with liquid chalk on a clean, dry surface. If your board is brand new and grabby, a very light seasoning can help, but do a test patch first.
How do you keep your hand from smearing chalk?
Work top to bottom, left to right, keep a clean brush nearby to sweep dust, and avoid resting your palm on finished areas. If needed, place a clean sheet of paper under your hand as a simple barrier.
Can you mix regular chalk and liquid chalk on the same board?
Yes. A common approach is big soft fills in standard chalk, then crisp outlines and tiny details with a liquid chalk pen. Just make sure chalk dust is swept away before applying liquid chalk so the pen tip stays clean.
Why do my white chalk letters look gray?
That usually happens when chalk dust spreads into the background. Use lighter pressure, sweep dust instead of wiping, and save blending or shading for the very end.
One last swoop
Smudge-free chalkboard art is mostly prep and order: season when appropriate, plan your layout, letter big to small, and sweep dust like it is tiny glitter that wants to wander. With a little rhythm, your chalk strokes will look crisp, confident, and ready for their close-up.
If you want more lettering techniques that pair nicely with chalkboard style, hop over to Styles & Techniques for more cozy, creative practice.